Rock Slider Mod - How to!
#1
Hey guys as all you H2 owners know its nice to have factory rock rails. But.... It sure would be nice to have them come off the body a little to not only protect from rocks underneigth the truck but also protect the truck when the trail get a little to tight and you are forced to pivot off of a tree.
A before picture!

So to do this you will need.
-5ft. of 1 1/2" Steel Square tubing with a 1/4" wall.
-29 M12x1.75x80MM Bolts. Make sure these are graded 10.9!!!!!!
(I bought 90MM bolts and they were a bit too long and had to stack washers to get them to work thanks to the idiot that took the order at Fastenal)
-Grade 8 washers.
-Black Rustolium.
Cut your tubing into 2 1/2" lengths and drill a 7/16" hole in the center of the pieces. You will need 20 of these and it will take quiet a bit of time to drill and cut. Clean them up and shoot a couple coats of paint on them. When you get done they should look like this.

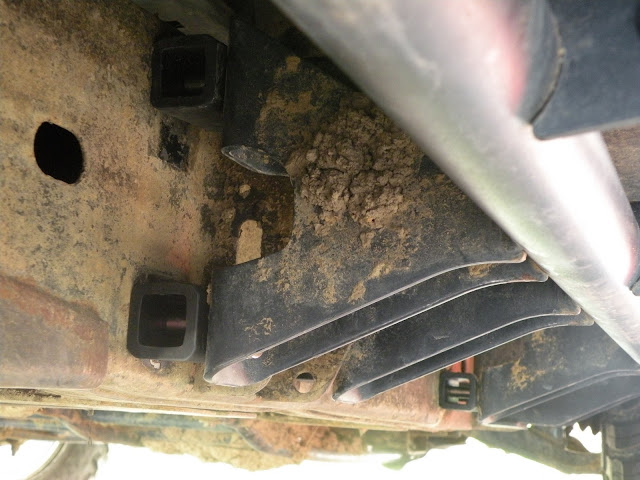
Then its time to get under the truck. Remove the two bolts from the very front and most rear brackets and tread your new bolts in with nothing on them. Then remove the rest of the bolts from the H2 frame and slide out your rock slider. It should look something like this.

Now that you have room to work, start by placing your spacers between the rail bracket and the frame in the center. Put a washer on your bolt and thread it in...THREAD THEM ALL IN BUT TO NOT GET TIGHTEN THEM DOWN. YOU WANT ROOM TO BE ABLE TO MOVE THE SLIDER AROUND TO GET ALL THE SPACERS IN!!! Work from the center out. Once you have all spacers in and all bolts started then torque to 35ft lbs. or as tight as you can with a small 3/8" ratchet. (Its a tight area to work in I used a cordless impact with a swivel and extension for most of the bolt turning then torqued them by hand.) Any it should look something like this.


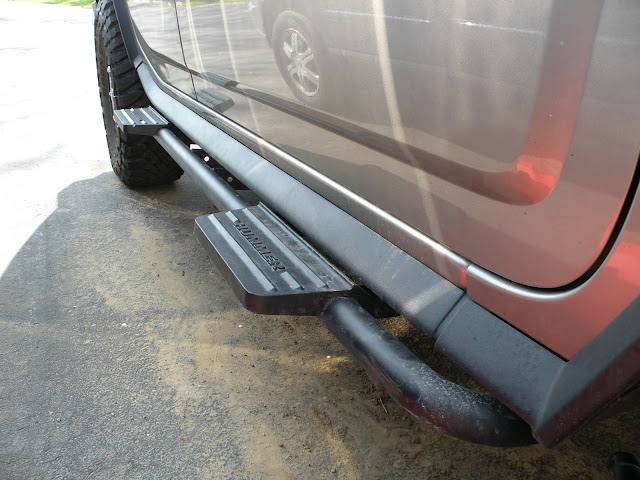
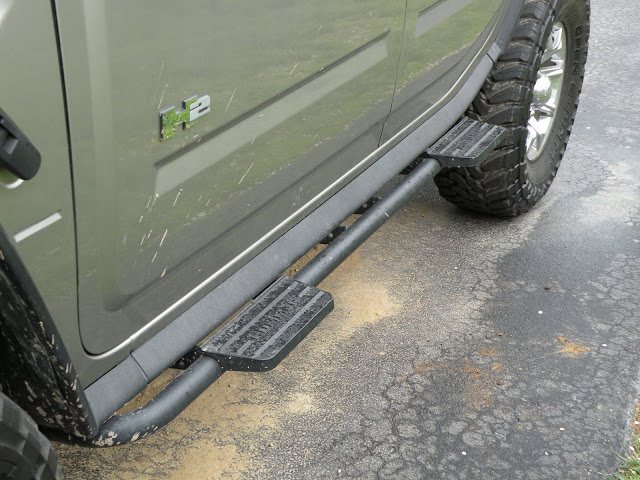
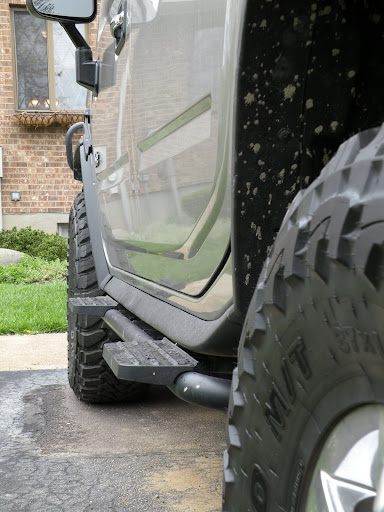
Once you get out from under you got your finished product!


A before picture!
So to do this you will need.
-5ft. of 1 1/2" Steel Square tubing with a 1/4" wall.
-29 M12x1.75x80MM Bolts. Make sure these are graded 10.9!!!!!!
(I bought 90MM bolts and they were a bit too long and had to stack washers to get them to work thanks to the idiot that took the order at Fastenal)
-Grade 8 washers.
-Black Rustolium.
Cut your tubing into 2 1/2" lengths and drill a 7/16" hole in the center of the pieces. You will need 20 of these and it will take quiet a bit of time to drill and cut. Clean them up and shoot a couple coats of paint on them. When you get done they should look like this.
Then its time to get under the truck. Remove the two bolts from the very front and most rear brackets and tread your new bolts in with nothing on them. Then remove the rest of the bolts from the H2 frame and slide out your rock slider. It should look something like this.
Now that you have room to work, start by placing your spacers between the rail bracket and the frame in the center. Put a washer on your bolt and thread it in...THREAD THEM ALL IN BUT TO NOT GET TIGHTEN THEM DOWN. YOU WANT ROOM TO BE ABLE TO MOVE THE SLIDER AROUND TO GET ALL THE SPACERS IN!!! Work from the center out. Once you have all spacers in and all bolts started then torque to 35ft lbs. or as tight as you can with a small 3/8" ratchet. (Its a tight area to work in I used a cordless impact with a swivel and extension for most of the bolt turning then torqued them by hand.) Any it should look something like this.
Once you get out from under you got your finished product!
#8
the bolts at the top of the rock rails i cannot seem to get to with a universal and a socket.
i cannot get any leverage the socket just slips??
cannot use a wrench as the space it too tight.
messed around for an hour last night!!
i cannot get any leverage the socket just slips??
cannot use a wrench as the space it too tight.
messed around for an hour last night!!
Thread
Thread Starter
Forum
Replies
Last Post
ChevyHighPerformance
PRIVATE For Sale / Trade Classifieds
11
08-13-2006 09:13 PM


