Rear Air Ride Random Drops / Air Blending Door
#21
Part Two:
This morning I started the cleanup... I scraped with a putty knife, then I wire brushed it, and then I used some soapy water to scrub it... Best I can do without a lift. I am letting it air dry now... once there is no sign of water I will make sure it’s ready for the first coat of Rust Converter... which takes two coats and 48 hours...
I sure do hope my after pic’s look better than my before pic’s... I didn’t realize how crappy looking it was under there: (Note: these pics are before scrub and wash)
#22
Sounds like you are having fun.
My hummer is at the local GM place today getting the flash done right now.
I'm working on an off the shelf air compressor filter swap that doesn't involve lots of tape. I've got one part that i had to special order. I think when that comes i will have a nice filter system that will be much better then the stock for less then $50. When i get it done i will post the parts and pictures.
#23
Cool, I will be watching for it... I still need to find and remove mine... I just completed the frame restoration... it went well I wish I had a lift to do it on, and for future info if anyone reads this the Eastwood frame restore kit comes with 2 of each can... you really need 3 for the hummer if you want to sneak in the suspension parts (but they say frame resto, not frame and suspension)... It will be dry tomorrow and then I will put the new bags in and pull the filter. Picís will be posted tomorrow.
Let me know what that filter looks like...
Let me know what that filter looks like...
#25
The restoration kit was from Eastwood... it turned out pretty good, but like i said for the Hummer you honestly need one more of each can (so I will have some after touch up to do sooner or later)... but if you are used to spraying with a can, then you may do OK... my thing was I decided to try and get as much of my suspension as I could in with the frame... so I stretched it a bit. But don’t get me wrong... it’s come a long way (pic’s tomorrow).
The rust converter should be focused on the rusty parts, don’t waste it (like I did) on areas with paint... And be ready for long dry times, first can 48 hours (I cut it about 6 hours short, second can 4 hours, third can up to 78 hours... These are full cure times... so it should not stay tacky to touch the whole time...
I am a lot happier with it... it looked bad before... Now if I can just get my bags in and done... then fool with that filter... then I will save some cash and make the trip for the program as well...
#26
All done, bags are in, No more paint so I am on hold for a few touch up areas till next time... but it came along way... I have aired up the bags and they are holding, time will tell but it should be fine... After I save a few pennies I will take it in for re program and might still do the suspension level learning as well... I seem to be consistently 1/2 inch off. But I am not going anywhere till I have tested out the new bags.
Oh and I can touch the filter but my hands seem to be too big to get it out... I may need to remove the inner well or try to pull it through the filler neck opening once I remove the insert???
Before:

After:

Oh and I can touch the filter but my hands seem to be too big to get it out... I may need to remove the inner well or try to pull it through the filler neck opening once I remove the insert???
Before:

After:

Last edited by myrddin; 08-03-2010 at 01:54 PM.
#27
Hey Rotten... Can you lend me a hand?
I read somewhare that over night you should not see more than 1mm drop in the rear of the H2... I think that is off but who knows. With you just getting the new program can you measure and let me know?
they say to measure from the bumpstop cup down the center of the bumpstop to the bumpstop plate on the axle.
I just started mine and plan to let it sit for an hour-ish than I will measure and then chk it agn in the morning.
Other than that does yours ever settle over night?
#28
Mine doesn't seem to settle much. The compressor may kick on for a few seconds in the morning. I'll try to get a measurement soon.
I finally got everything together for my new air filter. Some of the following pictures are blurry, sorry.
Only had to order one part.

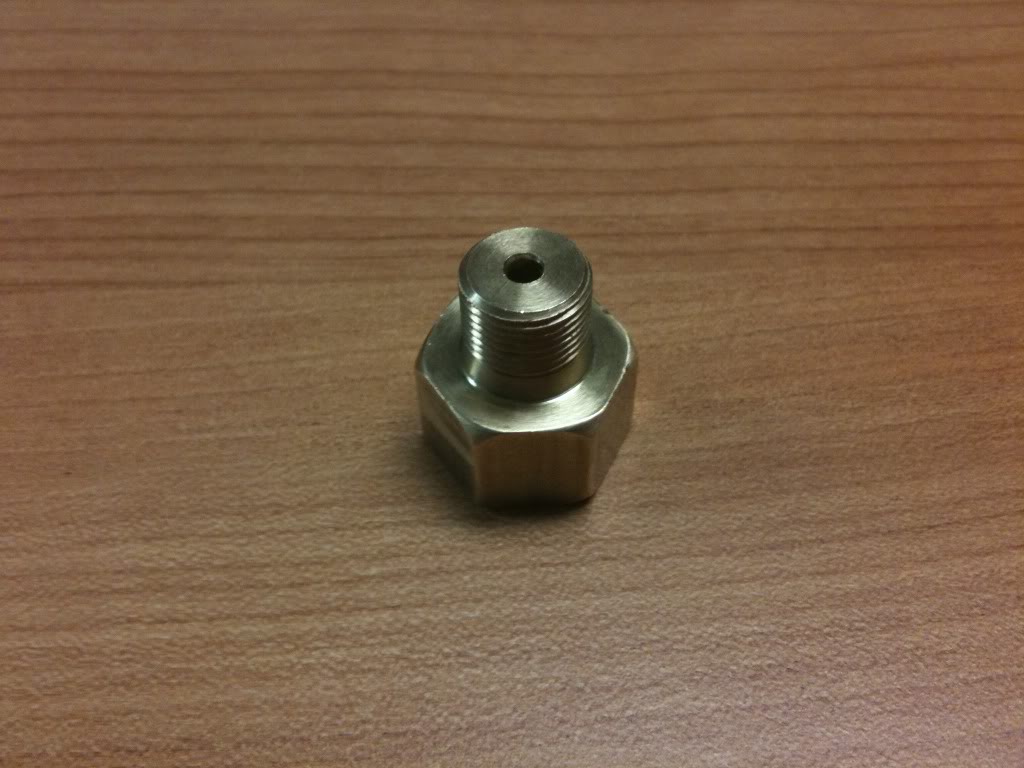
It's the Auto Meter metric "adaptor" 2266
It is used to 1/8 NPT to M12X1 for their oil pressure and electric water temperature gauges. It was around $10 plus shipping.
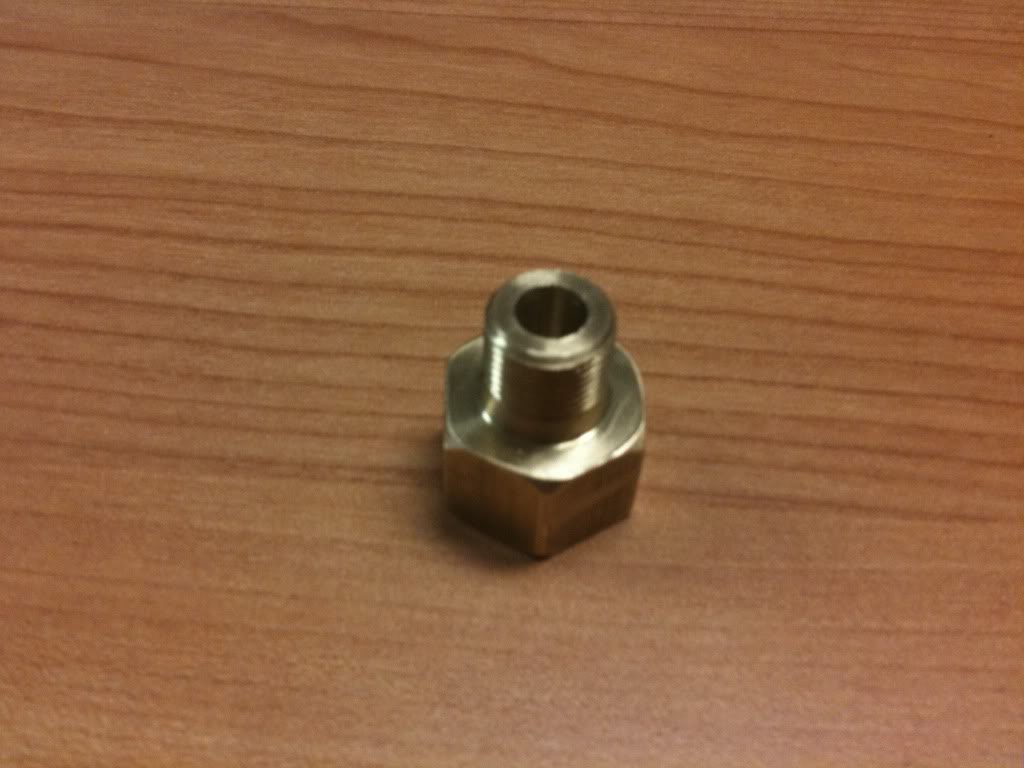
I felt it was a bit restrictive, so i put it in a vise and used a cordless drill with a 1/4" bit to open it up a bit.

There, much less restrictive then the original.
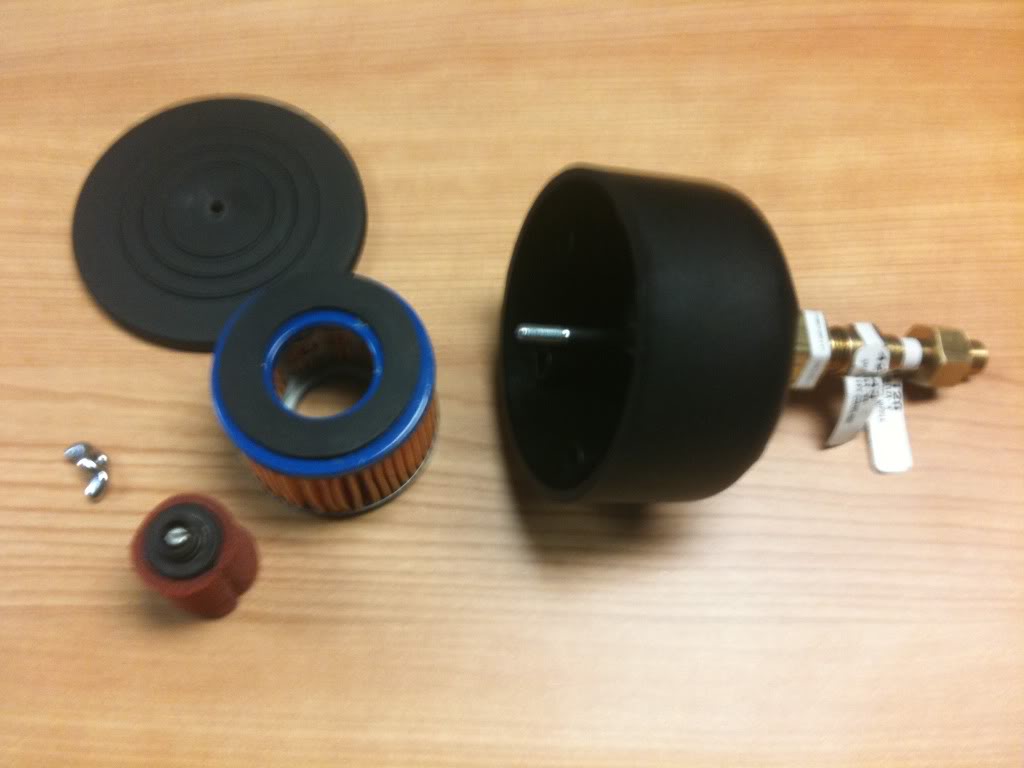
Here's a picture of all the parts, everything in total was probably around $45.

Starting from left to right, new off the shelf canister with removable air filter. This has a 1/2" pipe thread exit.
The next piece is a 1/2" pipe thread to 1/4" pipe reducer.
Then a 1/4" pipe to 1/8" fine pipe thread coupling
Next is a 1/8" close nipple
Then the Auto Meter 2266 "adaptor"
I put a little teflon tape on it (probably doesn't need it but i had some so why not?) then put it all together and screwed it onto the line. I tucked it into a different spot for now, but later i may need to remove a few screws from the fender well and locate it back in the original position.
I finally got everything together for my new air filter. Some of the following pictures are blurry, sorry.
Only had to order one part.

It's the Auto Meter metric "adaptor" 2266
It is used to 1/8 NPT to M12X1 for their oil pressure and electric water temperature gauges. It was around $10 plus shipping.
I felt it was a bit restrictive, so i put it in a vise and used a cordless drill with a 1/4" bit to open it up a bit.

There, much less restrictive then the original.
Here's a picture of all the parts, everything in total was probably around $45.

Starting from left to right, new off the shelf canister with removable air filter. This has a 1/2" pipe thread exit.
The next piece is a 1/2" pipe thread to 1/4" pipe reducer.
Then a 1/4" pipe to 1/8" fine pipe thread coupling
Next is a 1/8" close nipple
Then the Auto Meter 2266 "adaptor"
I put a little teflon tape on it (probably doesn't need it but i had some so why not?) then put it all together and screwed it onto the line. I tucked it into a different spot for now, but later i may need to remove a few screws from the fender well and locate it back in the original position.
Thread
Thread Starter
Forum
Replies
Last Post
hummerhack
PRIVATE For Sale / Trade Classifieds
1
12-17-2014 03:25 AM
03Hummer1984
PRIVATE For Sale / Trade Classifieds
8
03-10-2013 07:10 AM
itsxthexslim
PRIVATE For Sale / Trade Classifieds
3
04-07-2012 12:04 PM
JAMBALAYA421
PRIVATE For Sale / Trade Classifieds
3
01-30-2009 05:01 PM


