
New Streetglow product install + review**UPDATE**
#1
 10-28-2007, 01:05 AM


I was contacted by the company streetglow a few weeks ago and asked if I would install a few of their new SUV products that they are releasing at SEMA this year.The first thing I installed were side LED light bars. Unfortunetly the install on the h3 was not as straightforward and easy as on most suv's. The LED light bar mounts onto the pinch-weld...but the h3 has that rocker body cladding that actually covers the pinch weld. So first thing to do was to remove the lower rocker cladding

now that thats off I had to make some new brackets to hang the light bar right below the pinch-weld, mounting onto the pinc-weld just isn't possible. Here is what it looked like after mounting:

Once that was done all that was left was to wire it up and reinstall the rocker covering. There are 3 wires, orange- positive that I tapped into my HID headlight relay so they turn on when the headlights are on....White- positive to the door switch so that the Lightbar lights up white when the door is open....black-ground.
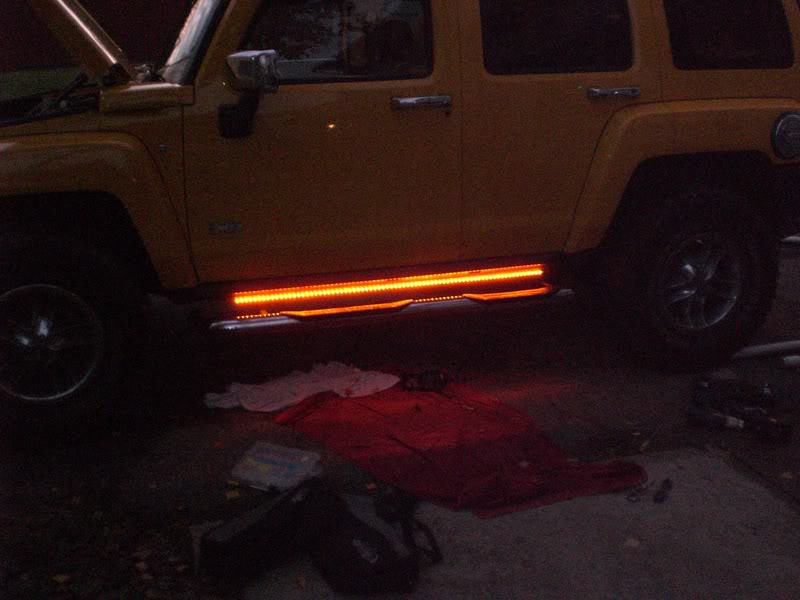
I don't have a pic of the white lights on yet...I kinda forgot but here is how they look when the headlights are hooked up. I am surprised....they look AWESOME!!!
With Flash....

Without Flash...they are BRIGHT!!

Overall I like em...harder install than I was expecting, but nothing on the h3 is easy anyway I know it mounts below the pinch-weld so it may be at risk when wheeling...but it also mounts above the side step bar bracket and above the frame so it's somewhat protected..
I have a few more products to install...I'll make new posts as I get them installed.
now that thats off I had to make some new brackets to hang the light bar right below the pinch-weld, mounting onto the pinc-weld just isn't possible. Here is what it looked like after mounting:
Once that was done all that was left was to wire it up and reinstall the rocker covering. There are 3 wires, orange- positive that I tapped into my HID headlight relay so they turn on when the headlights are on....White- positive to the door switch so that the Lightbar lights up white when the door is open....black-ground.
I don't have a pic of the white lights on yet...I kinda forgot but here is how they look when the headlights are hooked up. I am surprised....they look AWESOME!!!
With Flash....
Without Flash...they are BRIGHT!!
Overall I like em...harder install than I was expecting, but nothing on the h3 is easy anyway
I know it mounts below the pinch-weld so it may be at risk when wheeling...but it also mounts above the side step bar bracket and above the frame so it's somewhat protected..I have a few more products to install...I'll make new posts as I get them installed.
#2
10-28-2007, 01:22 AM

How hard was that cladding to take off?
I damaged one on my last excursion and it's bugging the hell out of me.... but I can't pay dealer replacement costs.
I damaged one on my last excursion and it's bugging the hell out of me.... but I can't pay dealer replacement costs.

#4
10-28-2007, 01:44 AM
gunner, it's real easy...there are two 10mm bolts, one in each wheel well. Then there are a few clips under the truck by the pinch-weld. You have to use a flat blade screw driver and push the tabs in then slide the cladding away from the pinchweld...there are two tabs per clip. The rest of the cladding is held on by nothing but plastic push clips..I started at the rear and slowly worked each one out....you can see in the pic the holes where the clips go into. I was expecting it to be harder to remove but it wasn't hard at all...especially once you get over the cold sweats from fear of breaking it in half

#6
10-28-2007, 01:23 PM

Where's my tailgate light strip? Where's the rest of the light bling IK? BTW, nice job and good detail on the plastic rocker cover moulding remove!
Where's the rest of the light bling IK? BTW, nice job and good detail on the plastic rocker cover moulding remove!
#7
10-28-2007, 08:46 PM
Here's an update...I'll keep it all in the same thread so that the folks at streetglow can see everything.
First off...here are the side bars when you open the door or unlock the doors with the keyless entry.

Next to install was a brand new product...a 4 way strobe kit with wireless remote and 14 pre-programmed patterns. Unlike other strobe kits that are for show and have pretty colors these are clear and SUPER BRIGHT, shouldbe great for contractors,EMT,Volunteer Fire...or for just bieng different
First thing to do is remove the grill...
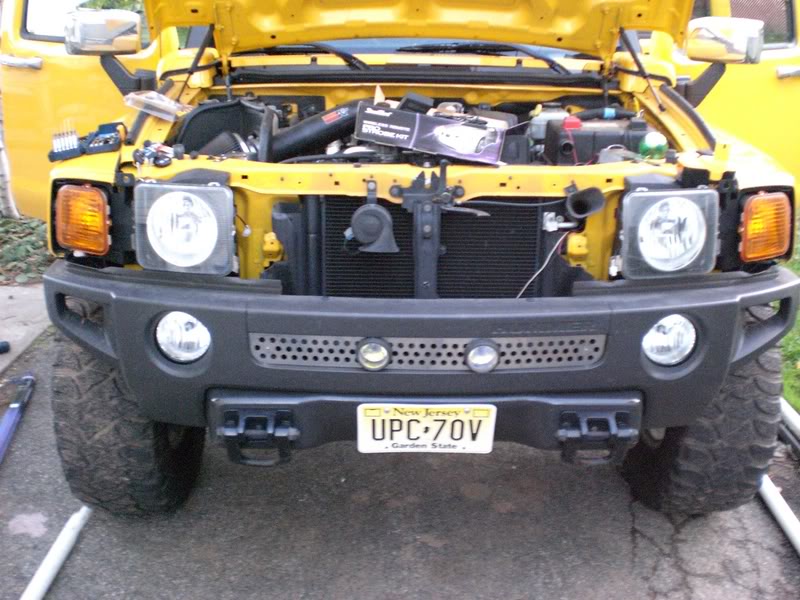
Next drill a 5/8 hole into the headlight....then vacumn all the shaving out of the headlight...I adapted a small tube to my shopvac, worked pretty well.

Here is the the strobe light..
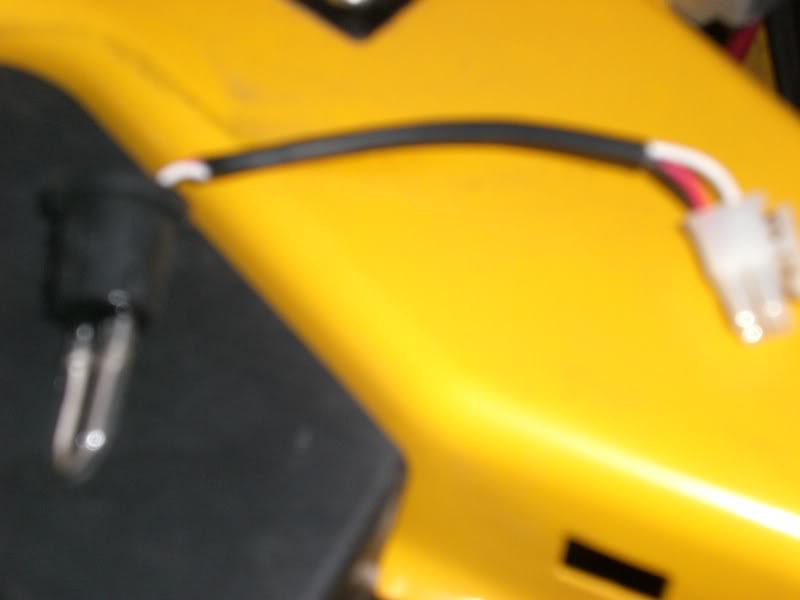
The strobe bulb just pushes in...that's it!
I have to appologize..my brother was helping me with the install and he put the tail lights back in before I could take pics, but the install is the same as the headlight. Remove the taillights, drill 5/8 hole into the back of the reverse light lens...plug in strobe light...reinstall tail light.
I drilled a hole under the back passenger seat and ran the wire from each strobe up through this hole to get into the truck. Each strobe has a simple one wire plug and play hookup to the main power module.

Thats where my sons car seat is...I'm guessin I should clean that more often
The module then gets hooked up to power + ground and thats it....here is a video of the strobes in action...hopefully the video plays..never uploaded a video before.
http://smg.photobucket.com/albums/v6...t=CIMG0186.flv
http://smg.photobucket.com/albums/v6...t=CIMG0185.flv
First off...here are the side bars when you open the door or unlock the doors with the keyless entry.
Next to install was a brand new product...a 4 way strobe kit with wireless remote and 14 pre-programmed patterns. Unlike other strobe kits that are for show and have pretty colors these are clear and SUPER BRIGHT, shouldbe great for contractors,EMT,Volunteer Fire...or for just bieng different
First thing to do is remove the grill...
Next drill a 5/8 hole into the headlight....then vacumn all the shaving out of the headlight...I adapted a small tube to my shopvac, worked pretty well.
Here is the the strobe light..
The strobe bulb just pushes in...that's it!
I have to appologize..my brother was helping me with the install and he put the tail lights back in before I could take pics, but the install is the same as the headlight. Remove the taillights, drill 5/8 hole into the back of the reverse light lens...plug in strobe light...reinstall tail light.
I drilled a hole under the back passenger seat and ran the wire from each strobe up through this hole to get into the truck. Each strobe has a simple one wire plug and play hookup to the main power module.
Thats where my sons car seat is...I'm guessin I should clean that more often
The module then gets hooked up to power + ground and thats it....here is a video of the strobes in action...hopefully the video plays..never uploaded a video before.
http://smg.photobucket.com/albums/v6...t=CIMG0186.flv
http://smg.photobucket.com/albums/v6...t=CIMG0185.flv
#8
10-28-2007, 09:18 PM
Doc...Next will be the rear tailgate strip LEDS...not to worry

#10
10-28-2007, 09:44 PM
Granted, not the stuff I would install on a off-road dedicated rig...but nothing wrong with looking goodFor anything other than serious rock crawling, these products will never get damaged. The strobes are cool...when you get the hummer stuck you can turn them on to attract the attention of nearby JeepsDid the video links work?
For anything other than serious rock crawling, these products will never get damaged. The strobes are cool...when you get the hummer stuck you can turn them on to attract the attention of nearby JeepsDid the video links work?