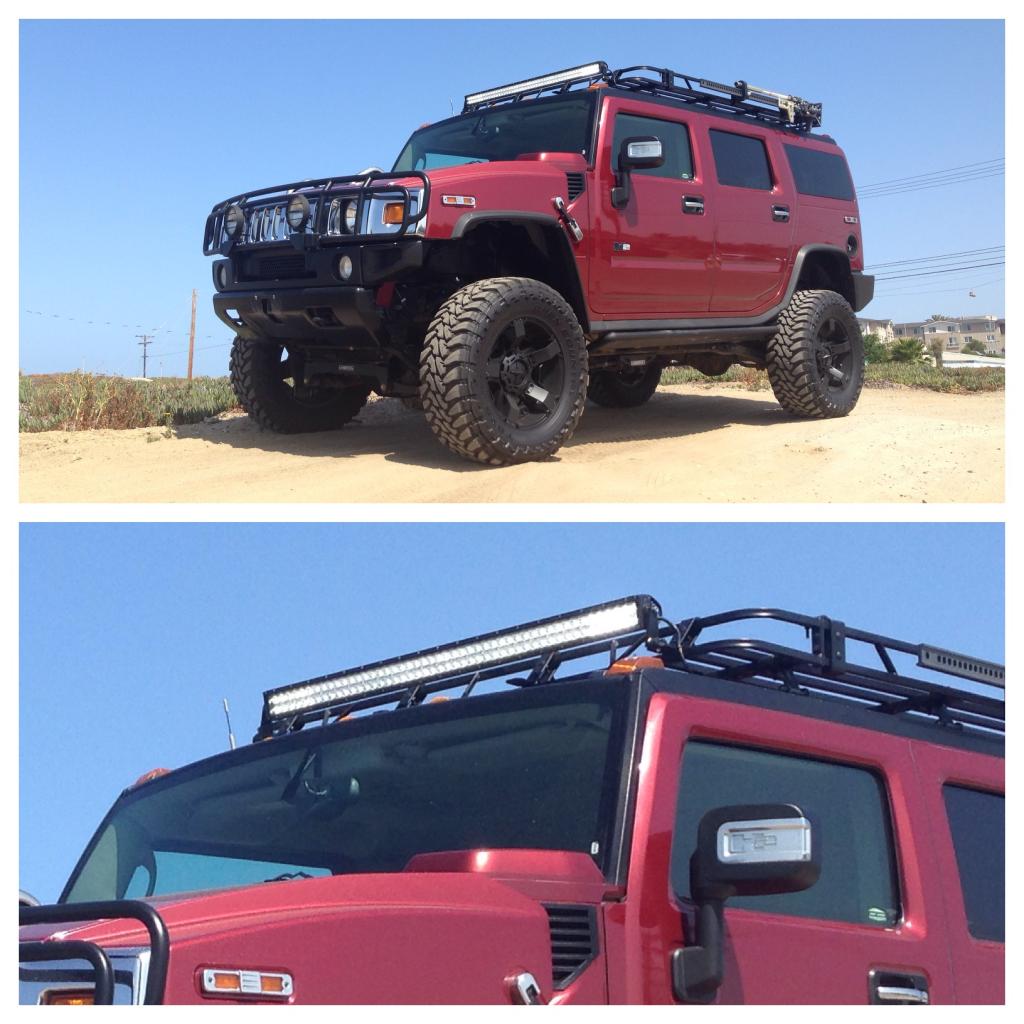
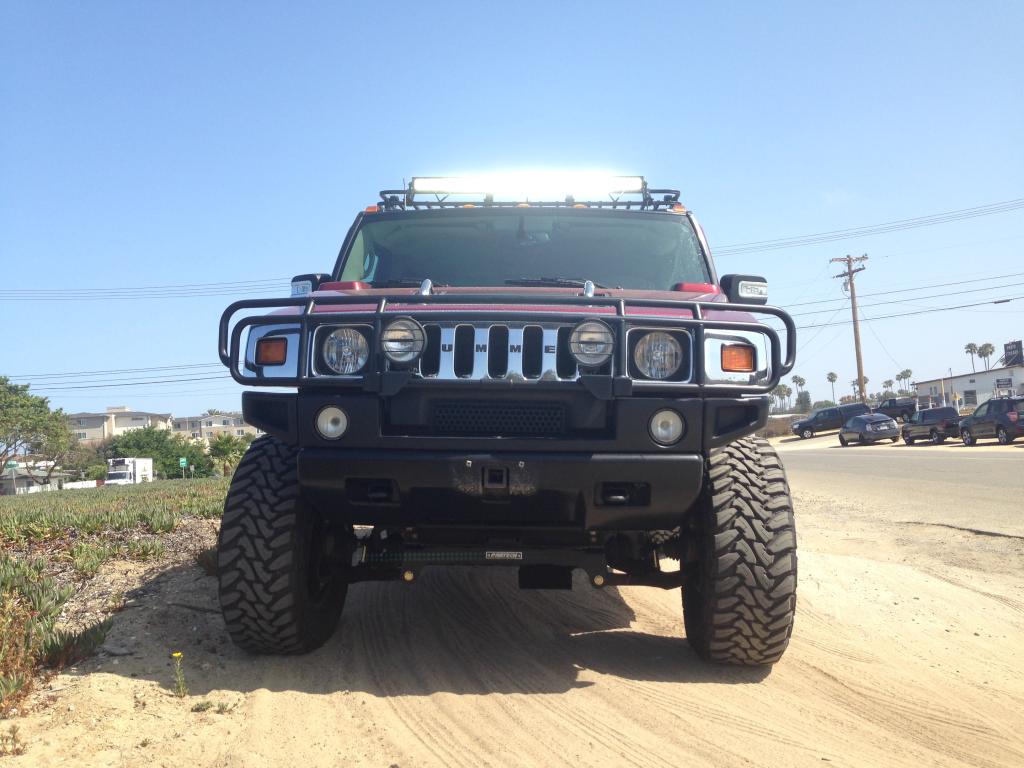
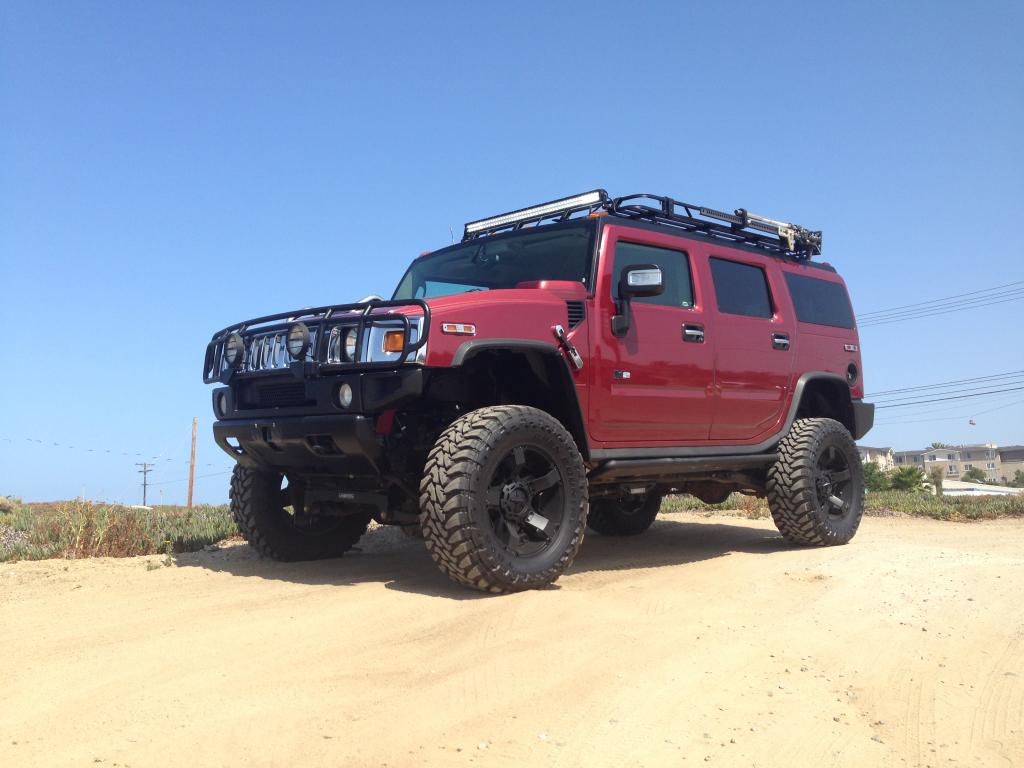
50" LED Light Bar - $600 Brand New
#11
Crap, sorry man I totally forgot. Between this damn school my friend suckered me into and having to resolder the plumbing to my house coming from the water main I didn't have time to take pics.
The side windshield trim has 2 screws. Open the door and you will see them. Take out those 2 screws then the weatherstrip at the bottom is attached to the trim by a tab. You need to pull the weatherstrip forward and release it from the small tab and the trim will come right off. You'll see a nice big channel next to the windshield where you can run wires down.
For the cowel cover (box on each side) those just pop off with push tabs. Use something non-marring to pry up each side and it should release. The first time I took one of mine off I broke one of the tabs so be very careful!
I'll try and get those pics tomorrow!
#12
Crap, sorry man I totally forgot. Between this damn school my friend suckered me into and having to resolder the plumbing to my house coming from the water main I didn't have time to take pics.
The side windshield trim has 2 screws. Open the door and you will see them. Take out those 2 screws then the weatherstrip at the bottom is attached to the trim by a tab. You need to pull the weatherstrip forward and release it from the small tab and the trim will come right off. You'll see a nice big channel next to the windshield where you can run wires down.
For the cowel cover (box on each side) those just pop off with push tabs. Use something non-marring to pry up each side and it should release. The first time I took one of mine off I broke one of the tabs so be very careful!
I'll try and get those pics tomorrow!
The side windshield trim has 2 screws. Open the door and you will see them. Take out those 2 screws then the weatherstrip at the bottom is attached to the trim by a tab. You need to pull the weatherstrip forward and release it from the small tab and the trim will come right off. You'll see a nice big channel next to the windshield where you can run wires down.
For the cowel cover (box on each side) those just pop off with push tabs. Use something non-marring to pry up each side and it should release. The first time I took one of mine off I broke one of the tabs so be very careful!
I'll try and get those pics tomorrow!
Also - can you tell me the specific relays and switches you are using?
Thanks!
#13
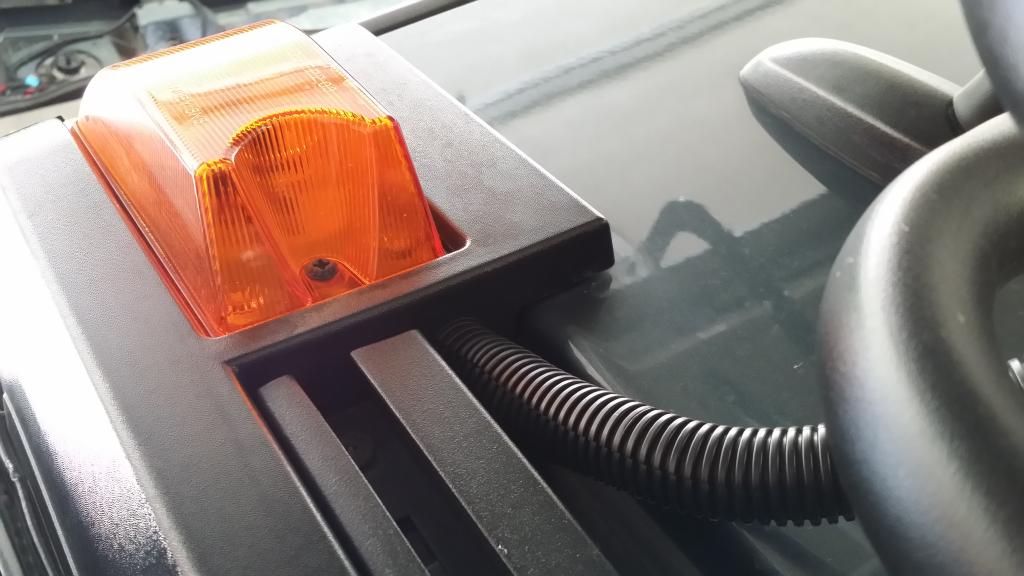
This is the bundle of wires from my roof rack going into the corner marker light trim. The wires run along side the marker light and down the windshield trim:
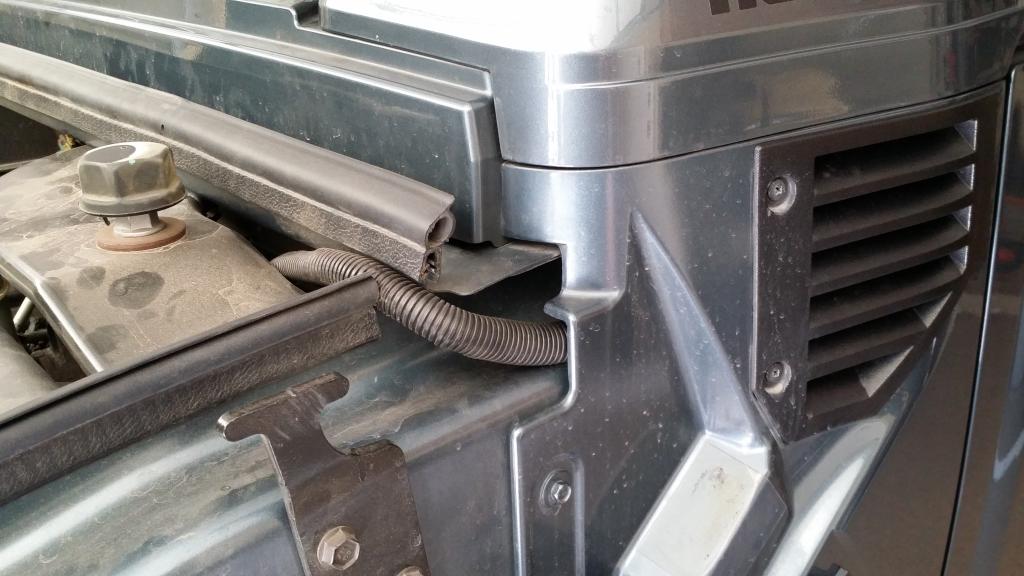
The bundle comes down under the cowl, I pushed the hood weatherstrip back just a bit so I could bring the bundle over and into the engine compartment:
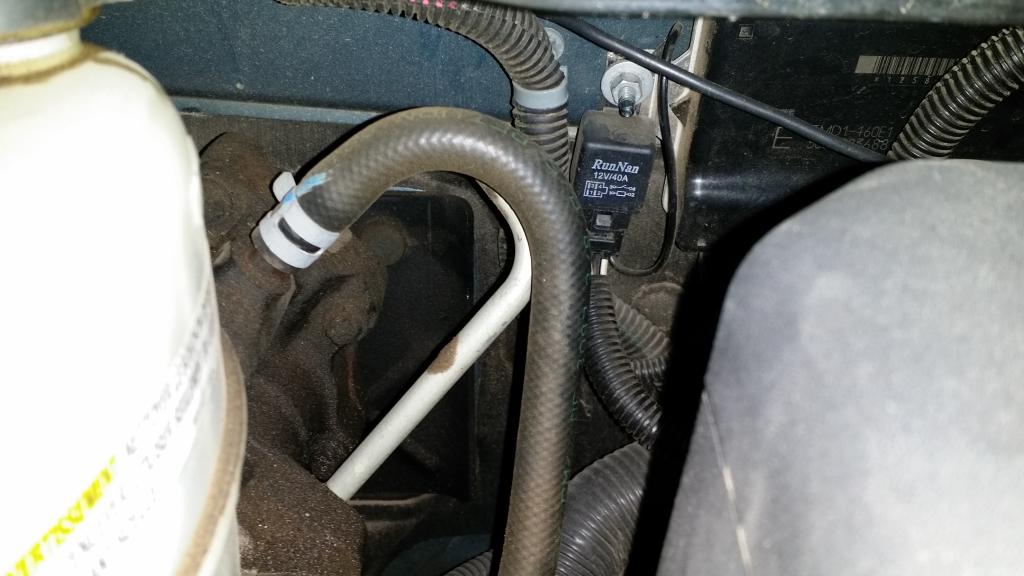
Here's one of the relays, I couldn't get a pic of all of them. I have a total of 5 relays back there:
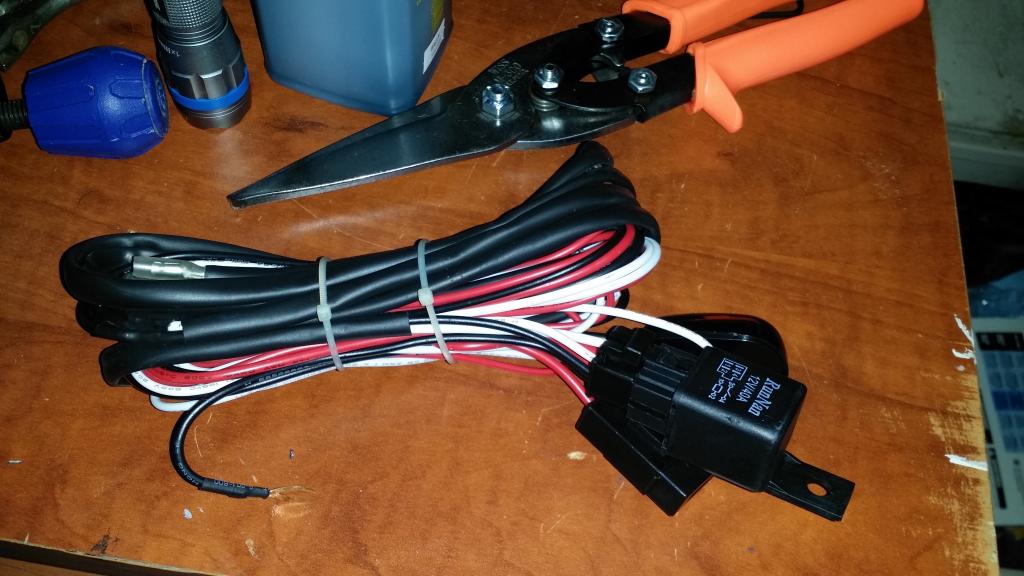
The wiring harnesses are actually from my cheapo ebay lights I installed on my rack. They came pre-wired with a switch and relay:
Pretty sure you can buy those anywhere.
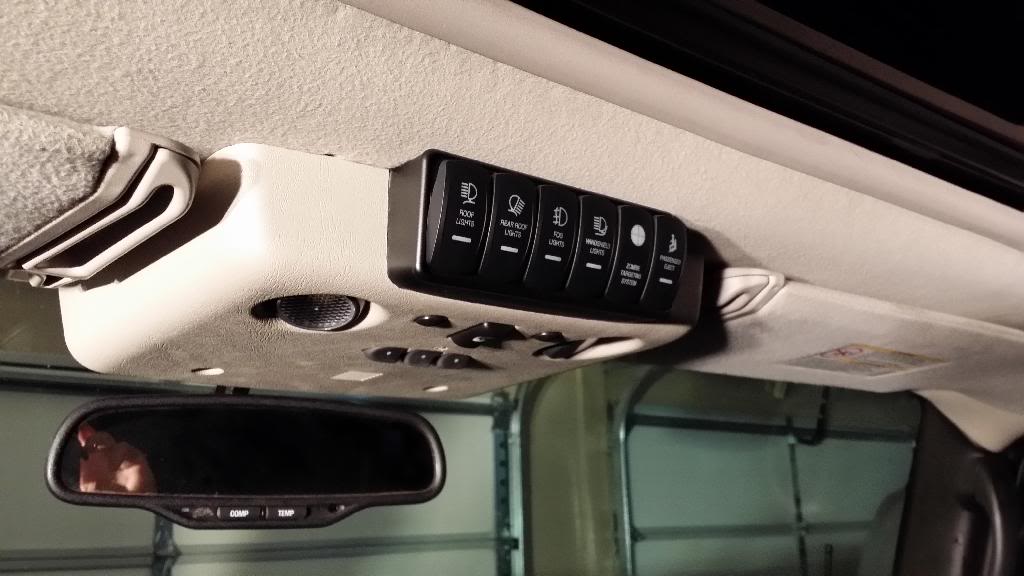
Here is my switch panel I made:
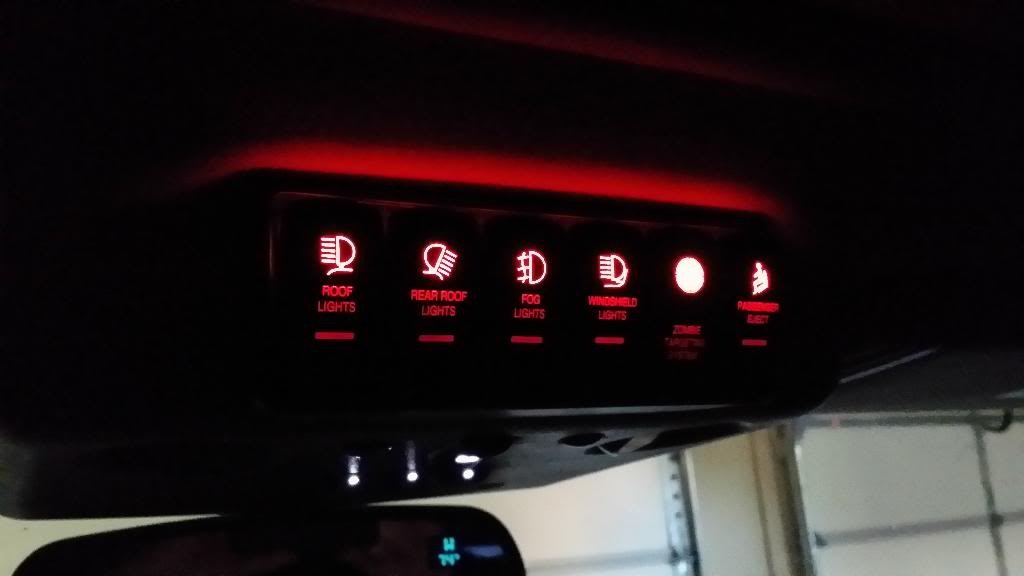
Let me know if you have any other questions!

The bundle comes down under the cowl, I pushed the hood weatherstrip back just a bit so I could bring the bundle over and into the engine compartment:

Here's one of the relays, I couldn't get a pic of all of them. I have a total of 5 relays back there:

The wiring harnesses are actually from my cheapo ebay lights I installed on my rack. They came pre-wired with a switch and relay:

Pretty sure you can buy those anywhere.
Here is my switch panel I made:


Let me know if you have any other questions!
#14
This is the bundle of wires from my roof rack going into the corner marker light trim. The wires run along side the marker light and down the windshield trim:
The bundle comes down under the cowl, I pushed the hood weatherstrip back just a bit so I could bring the bundle over and into the engine compartment:
Here's one of the relays, I couldn't get a pic of all of them. I have a total of 5 relays back there:
The wiring harnesses are actually from my cheapo ebay lights I installed on my rack. They came pre-wired with a switch and relay:
Pretty sure you can buy those anywhere.
Here is my switch panel I made:
Let me know if you have any other questions!
#16
I picked up a 50" LED bar from GG-lighting.net and will be wiring it tonight after the kids go to bed. It's already mounted to my roof rack, looks sexy.
Can't wait to get some juice to it. I'll post up a review once I do. I got a refurbished 50" for $350. New he sells them for $600, still a good price for the amount of lumens.
Can't wait to get some juice to it. I'll post up a review once I do. I got a refurbished 50" for $350. New he sells them for $600, still a good price for the amount of lumens.
#19
I want a 20" for the front grill and another 20" for the rear of the roof rack.
Though the 20" bars from GGlighting are $175 each, pretty affordable.
#20
That's not too bad. I was thinking of doing 4-12" bars for the front instead of 1 bar. I've always been trying to find a pair of small bars that would work on the rear of a stealth gobi but there isn't much height back there.


