
Gpcalero's "The Duke" H3T Alpha Build
#61
 01-01-2022, 11:43 AM

Welded the exhaust to join the new headers, finished harness on frame/engine and installed the Daystar body lift on the cabin. What an annoying process, let me tell you... 
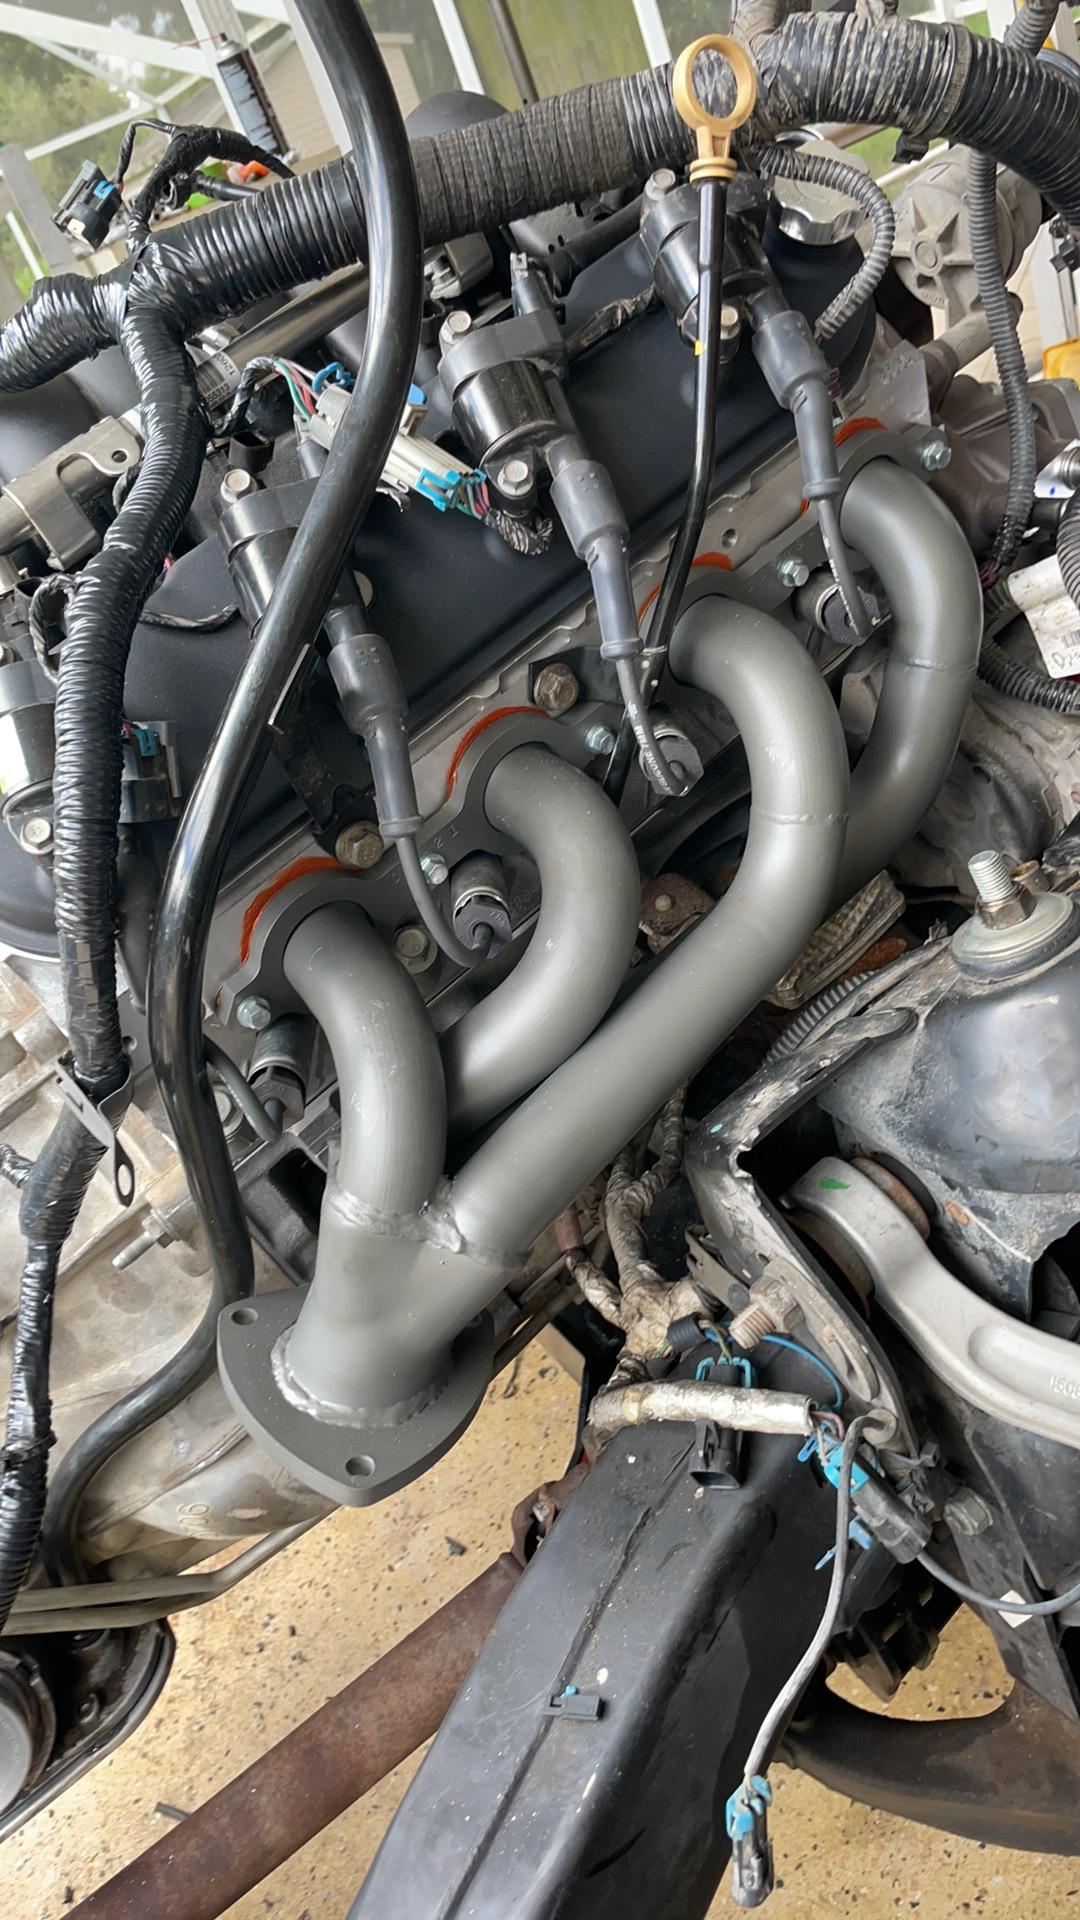
JBA header install/welding to join with existing exhaust went decently.
The passenger side exit of the JBA header is aimed nicely parallel to the frame. The driver side is a little bit more tight but it fits on my vehicle without any modifications to the header or surrounding parts on my truck (besides the receiving stock exhaust). So for the few out there, I was able to run the JBA short headers in the truck without any issues but some fab work. The stock exhaust will only be a little bit off on the passenger side but you should be able to fabricate the little misalignment there. The driver side however, is quite a bit off, and it does aim the output in an area that gets tight/close to the frame but the headers themselves clear just fine.
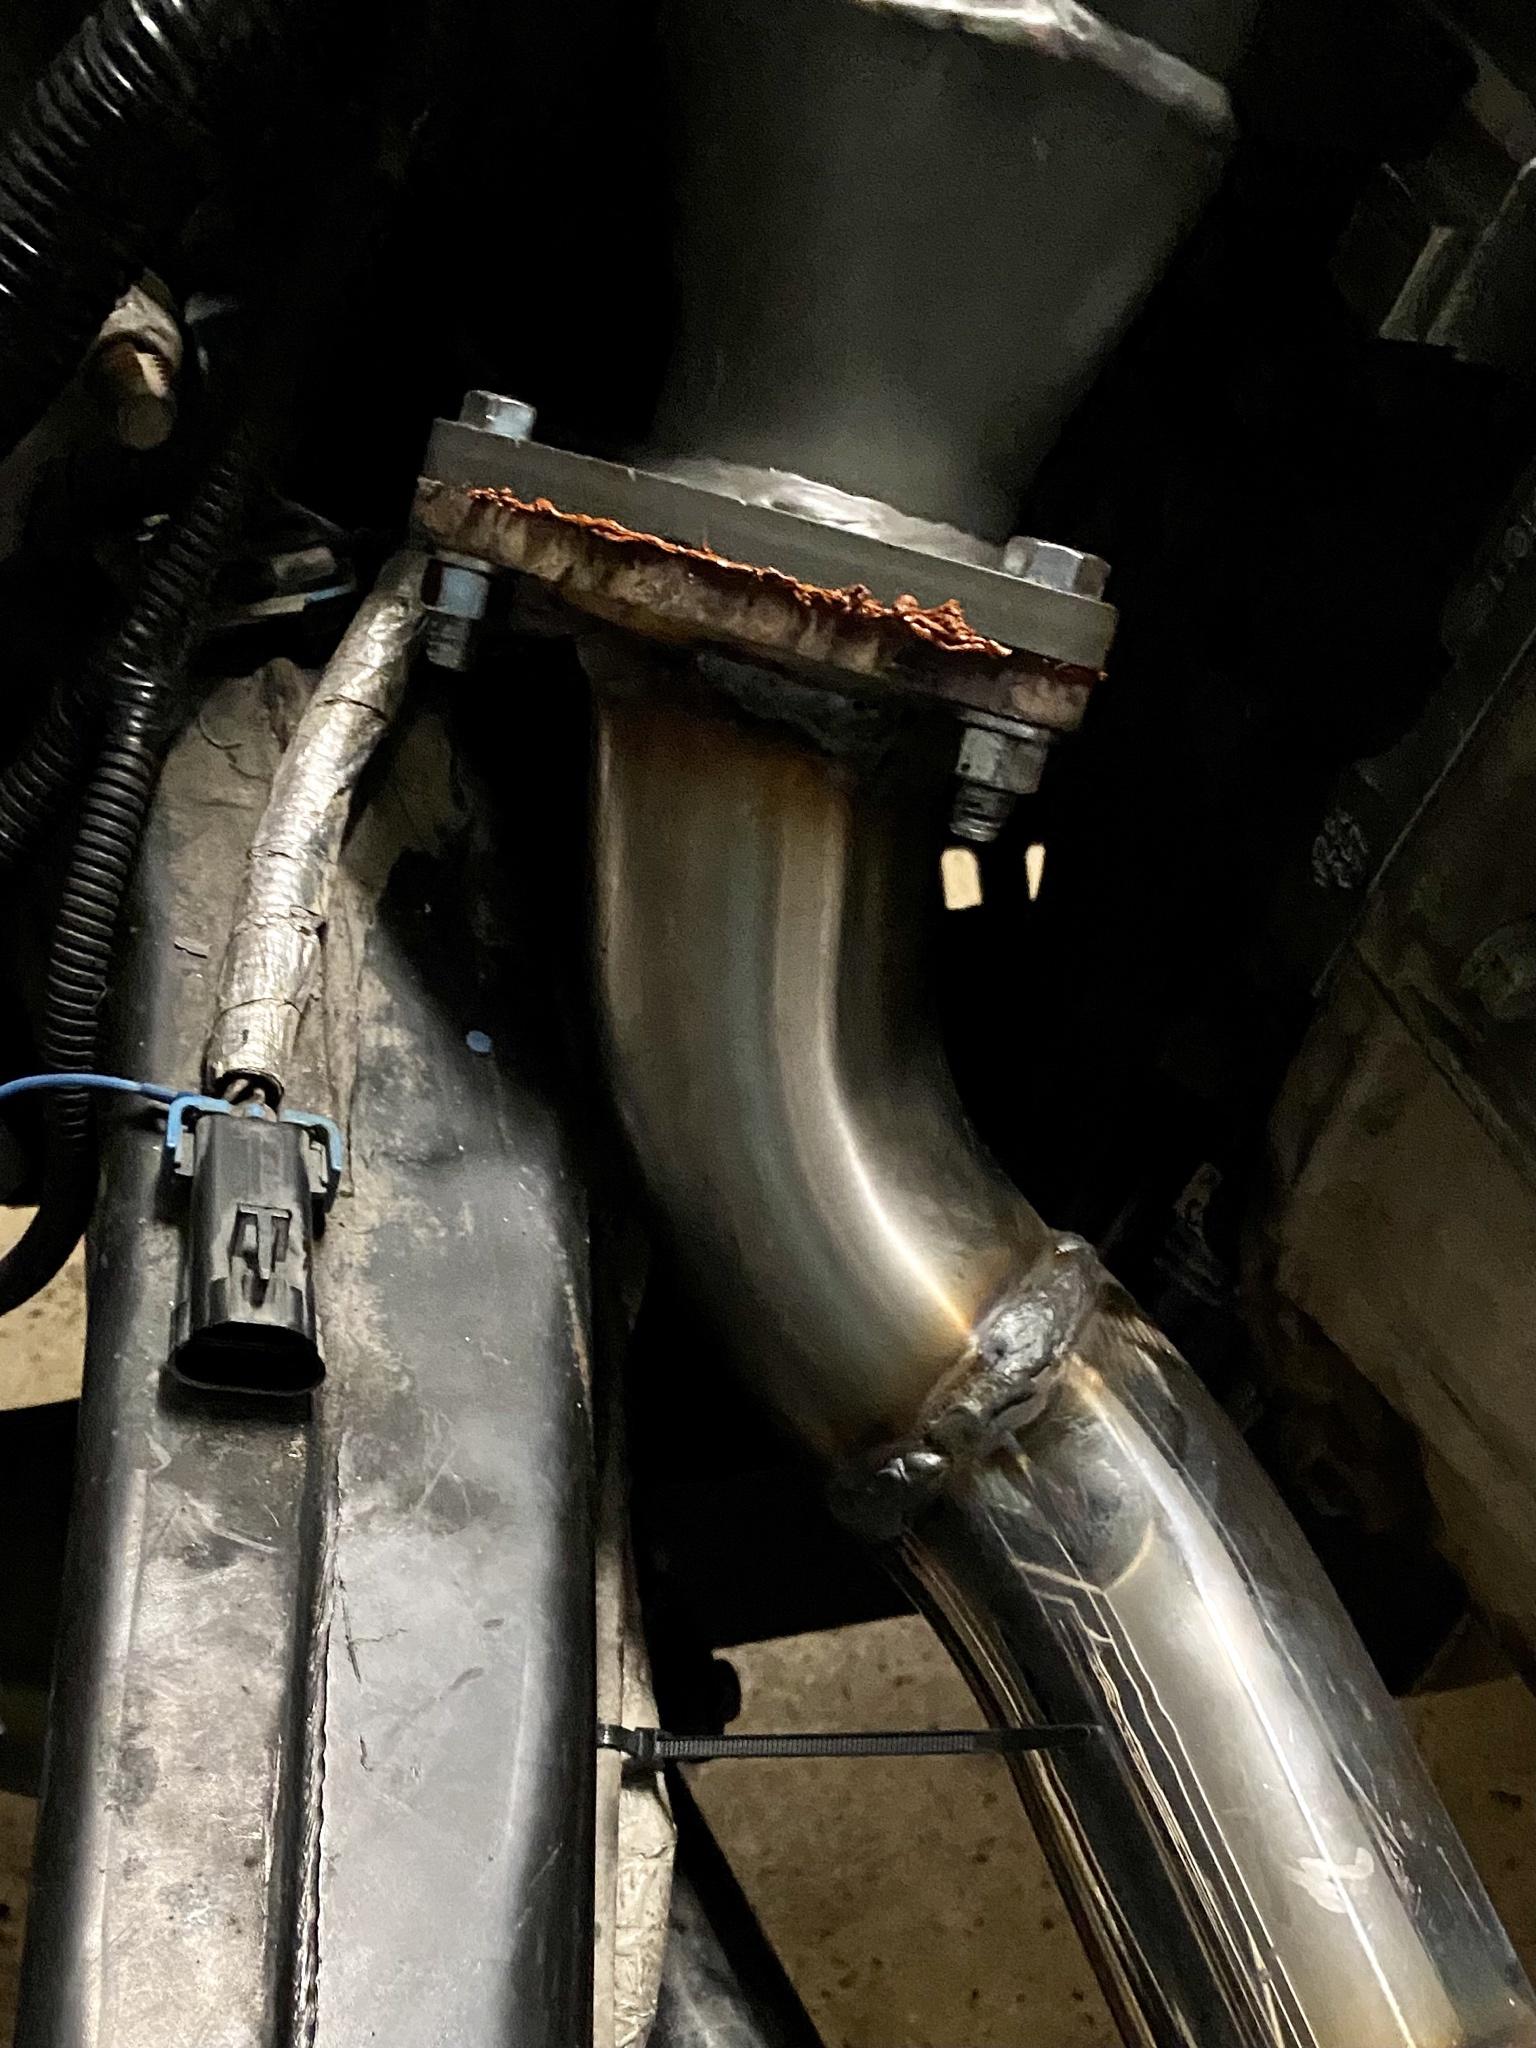
Here is the passenger side showing how nicely it falls into place. And then below, my driver side. Don�t pay attention to my booger welds, this is just a temporary set up to finish my swap before I have an actual exhaust shop weld me in a full system lol. I am by no means a good welder!

Daystar body lift install on just the cabin here. Did the H3T truck bed afterwards. Went fairly easy on just the cab portion until we tried to put the cabin back on. She likes to be perfectly aligned pretty much to get them to be joined up! Makes a LOT of sense to do one side at a time if you were only doing the body lift. Wasn't the case for us because we did so much other crap haha.
Didn't have pictures at that point and started working on other stuff. We started flying through the rest of the long to-do list and were on a roll. Still needed to install body lift on the bed.
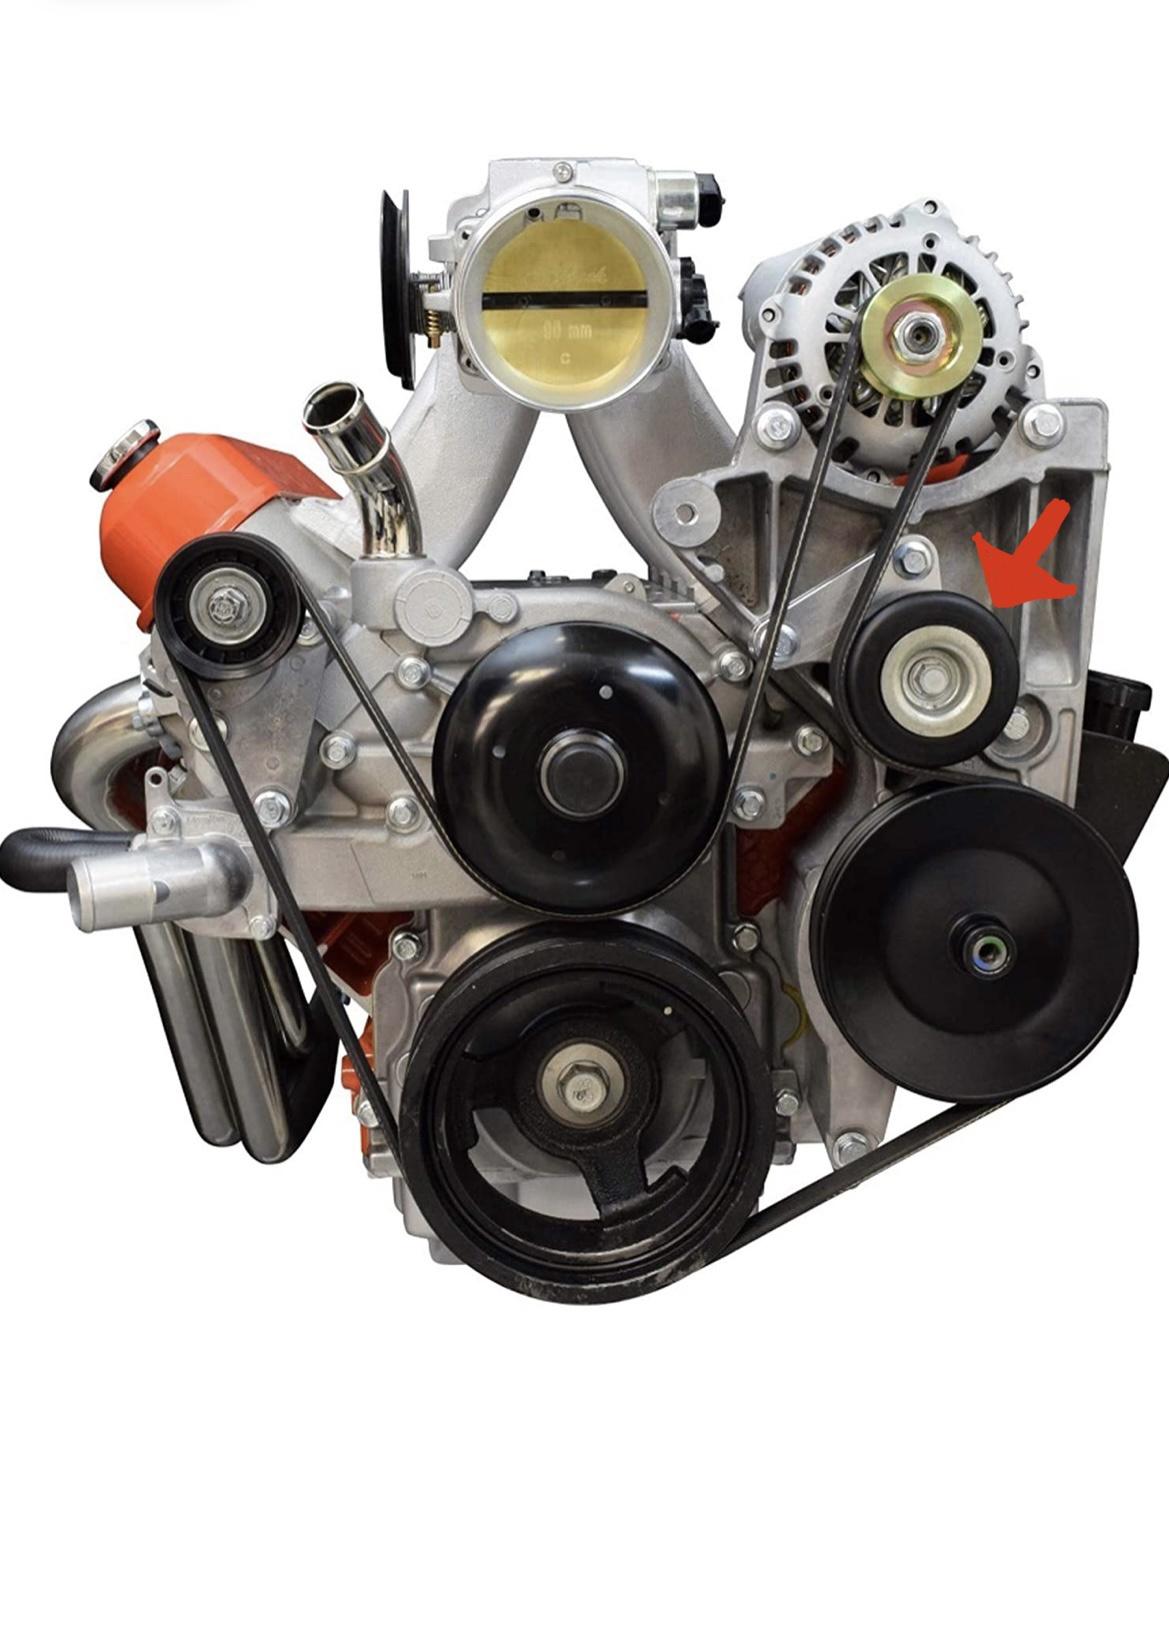
Installed the Motion Raceworks steam port vent, & cut the existing accessory bracket to allow clearance for the throttle body. You end up losing the pulley that sits there. Picture showing belt routing after cutting the pulley off.
Wasn't really happy with the amount of belt wrap we had on the power steering pump. Apparently it works just fine for the few that have done it this way but I wanted to change it. Shoutout to Amrg again for showing me this pulley relocation bracket from ICT Billet that adds a bit more belt wrap to the power steering pump pulley. Ordered this up at the time but it wouldn't be there in time for first fire up, which is fine, we installed it later with the longer belt.
Reinstalled the biga$$ ECP radiator, Supermodulation e-Fans and AC condenser. Then installed the TruCool 40k transmission cooler. I knew this thing was large, but this sucker is HUGE! Managed to get it all tucked in nicely with just a slight tilt down and to the front on the passenger side. Running this cooler separate from the ECP radiator to avoid the possibility of mixing coolant and tranny oil in case the radiator fails. Makes the radiator cooling the engine coolant as it's only priority. I'm expecting to generate a bit more heat than stock with the higher stall converter. Hopefully, everything works nicely together.
Also painted the hood latch support bar. Was showing indications of rust, so I sanded it down a bit and repainted.

With the low profile LS3 manifold, it doesn't even look like there's an engine in there with this angle lol. The stock Alpha/5.3 truck intake manifold sits much higher than the shorter LS3 intake manifold haha.
Was very close to first start-up at this point. Still had lots of little things and wires to wrap up. Wanted have it running by the next night assuming we didn't run into any issues.
JBA header install/welding to join with existing exhaust went decently.
The passenger side exit of the JBA header is aimed nicely parallel to the frame. The driver side is a little bit more tight but it fits on my vehicle without any modifications to the header or surrounding parts on my truck (besides the receiving stock exhaust). So for the few out there, I was able to run the JBA short headers in the truck without any issues but some fab work. The stock exhaust will only be a little bit off on the passenger side but you should be able to fabricate the little misalignment there. The driver side however, is quite a bit off, and it does aim the output in an area that gets tight/close to the frame but the headers themselves clear just fine.
Here is the passenger side showing how nicely it falls into place. And then below, my driver side. Don�t pay attention to my booger welds, this is just a temporary set up to finish my swap before I have an actual exhaust shop weld me in a full system lol. I am by no means a good welder!
Daystar body lift install on just the cabin here. Did the H3T truck bed afterwards. Went fairly easy on just the cab portion until we tried to put the cabin back on. She likes to be perfectly aligned pretty much to get them to be joined up! Makes a LOT of sense to do one side at a time if you were only doing the body lift. Wasn't the case for us because we did so much other crap haha.
Didn't have pictures at that point and started working on other stuff. We started flying through the rest of the long to-do list and were on a roll. Still needed to install body lift on the bed.
Installed the Motion Raceworks steam port vent, & cut the existing accessory bracket to allow clearance for the throttle body. You end up losing the pulley that sits there. Picture showing belt routing after cutting the pulley off.
Wasn't really happy with the amount of belt wrap we had on the power steering pump. Apparently it works just fine for the few that have done it this way but I wanted to change it. Shoutout to Amrg again for showing me this pulley relocation bracket from ICT Billet that adds a bit more belt wrap to the power steering pump pulley. Ordered this up at the time but it wouldn't be there in time for first fire up, which is fine, we installed it later with the longer belt.
Reinstalled the biga$$ ECP radiator, Supermodulation e-Fans and AC condenser. Then installed the TruCool 40k transmission cooler. I knew this thing was large, but this sucker is HUGE! Managed to get it all tucked in nicely with just a slight tilt down and to the front on the passenger side. Running this cooler separate from the ECP radiator to avoid the possibility of mixing coolant and tranny oil in case the radiator fails. Makes the radiator cooling the engine coolant as it's only priority. I'm expecting to generate a bit more heat than stock with the higher stall converter. Hopefully, everything works nicely together.
Also painted the hood latch support bar. Was showing indications of rust, so I sanded it down a bit and repainted.
With the low profile LS3 manifold, it doesn't even look like there's an engine in there with this angle lol.
The stock Alpha/5.3 truck intake manifold sits much higher than the shorter LS3 intake manifold haha.Was very close to first start-up at this point. Still had lots of little things and wires to wrap up. Wanted have it running by the next night assuming we didn't run into any issues.
#62
01-03-2022, 10:01 PM
Adding more from before last post.
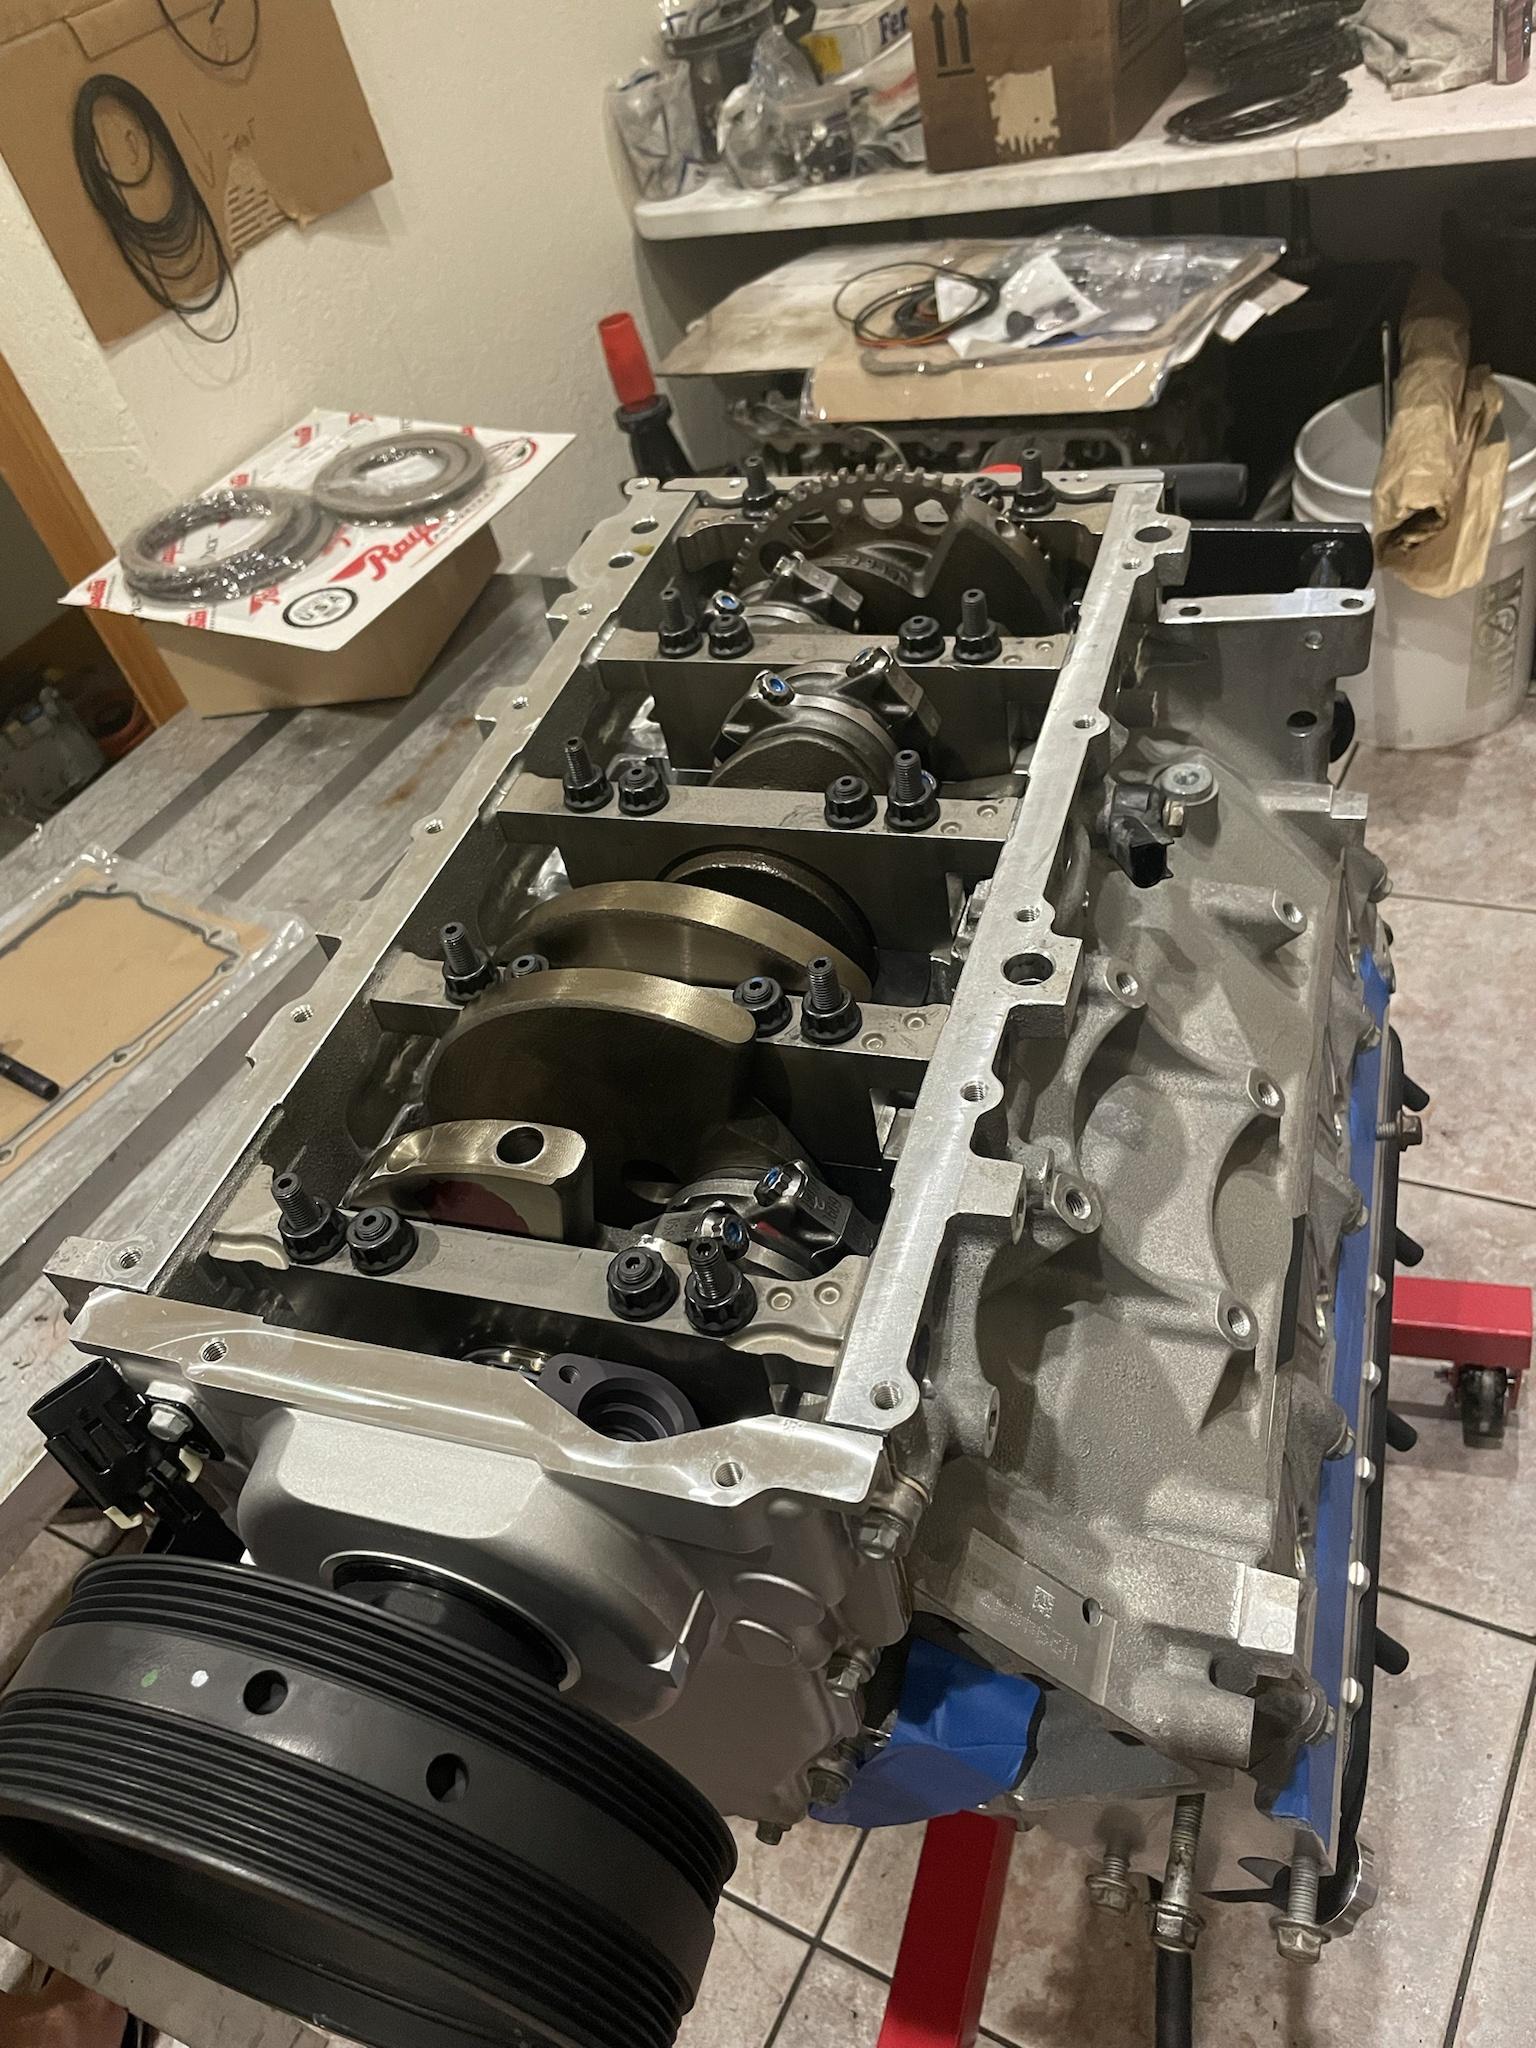
Prepped the bottom of the LS3. Installed windage tray and oil pick-up tube.
NOTE: If you ever swap another LS motor into your Alpha, re-use your oil pan and oil-pick up tube with a new pick up tube o-ring.
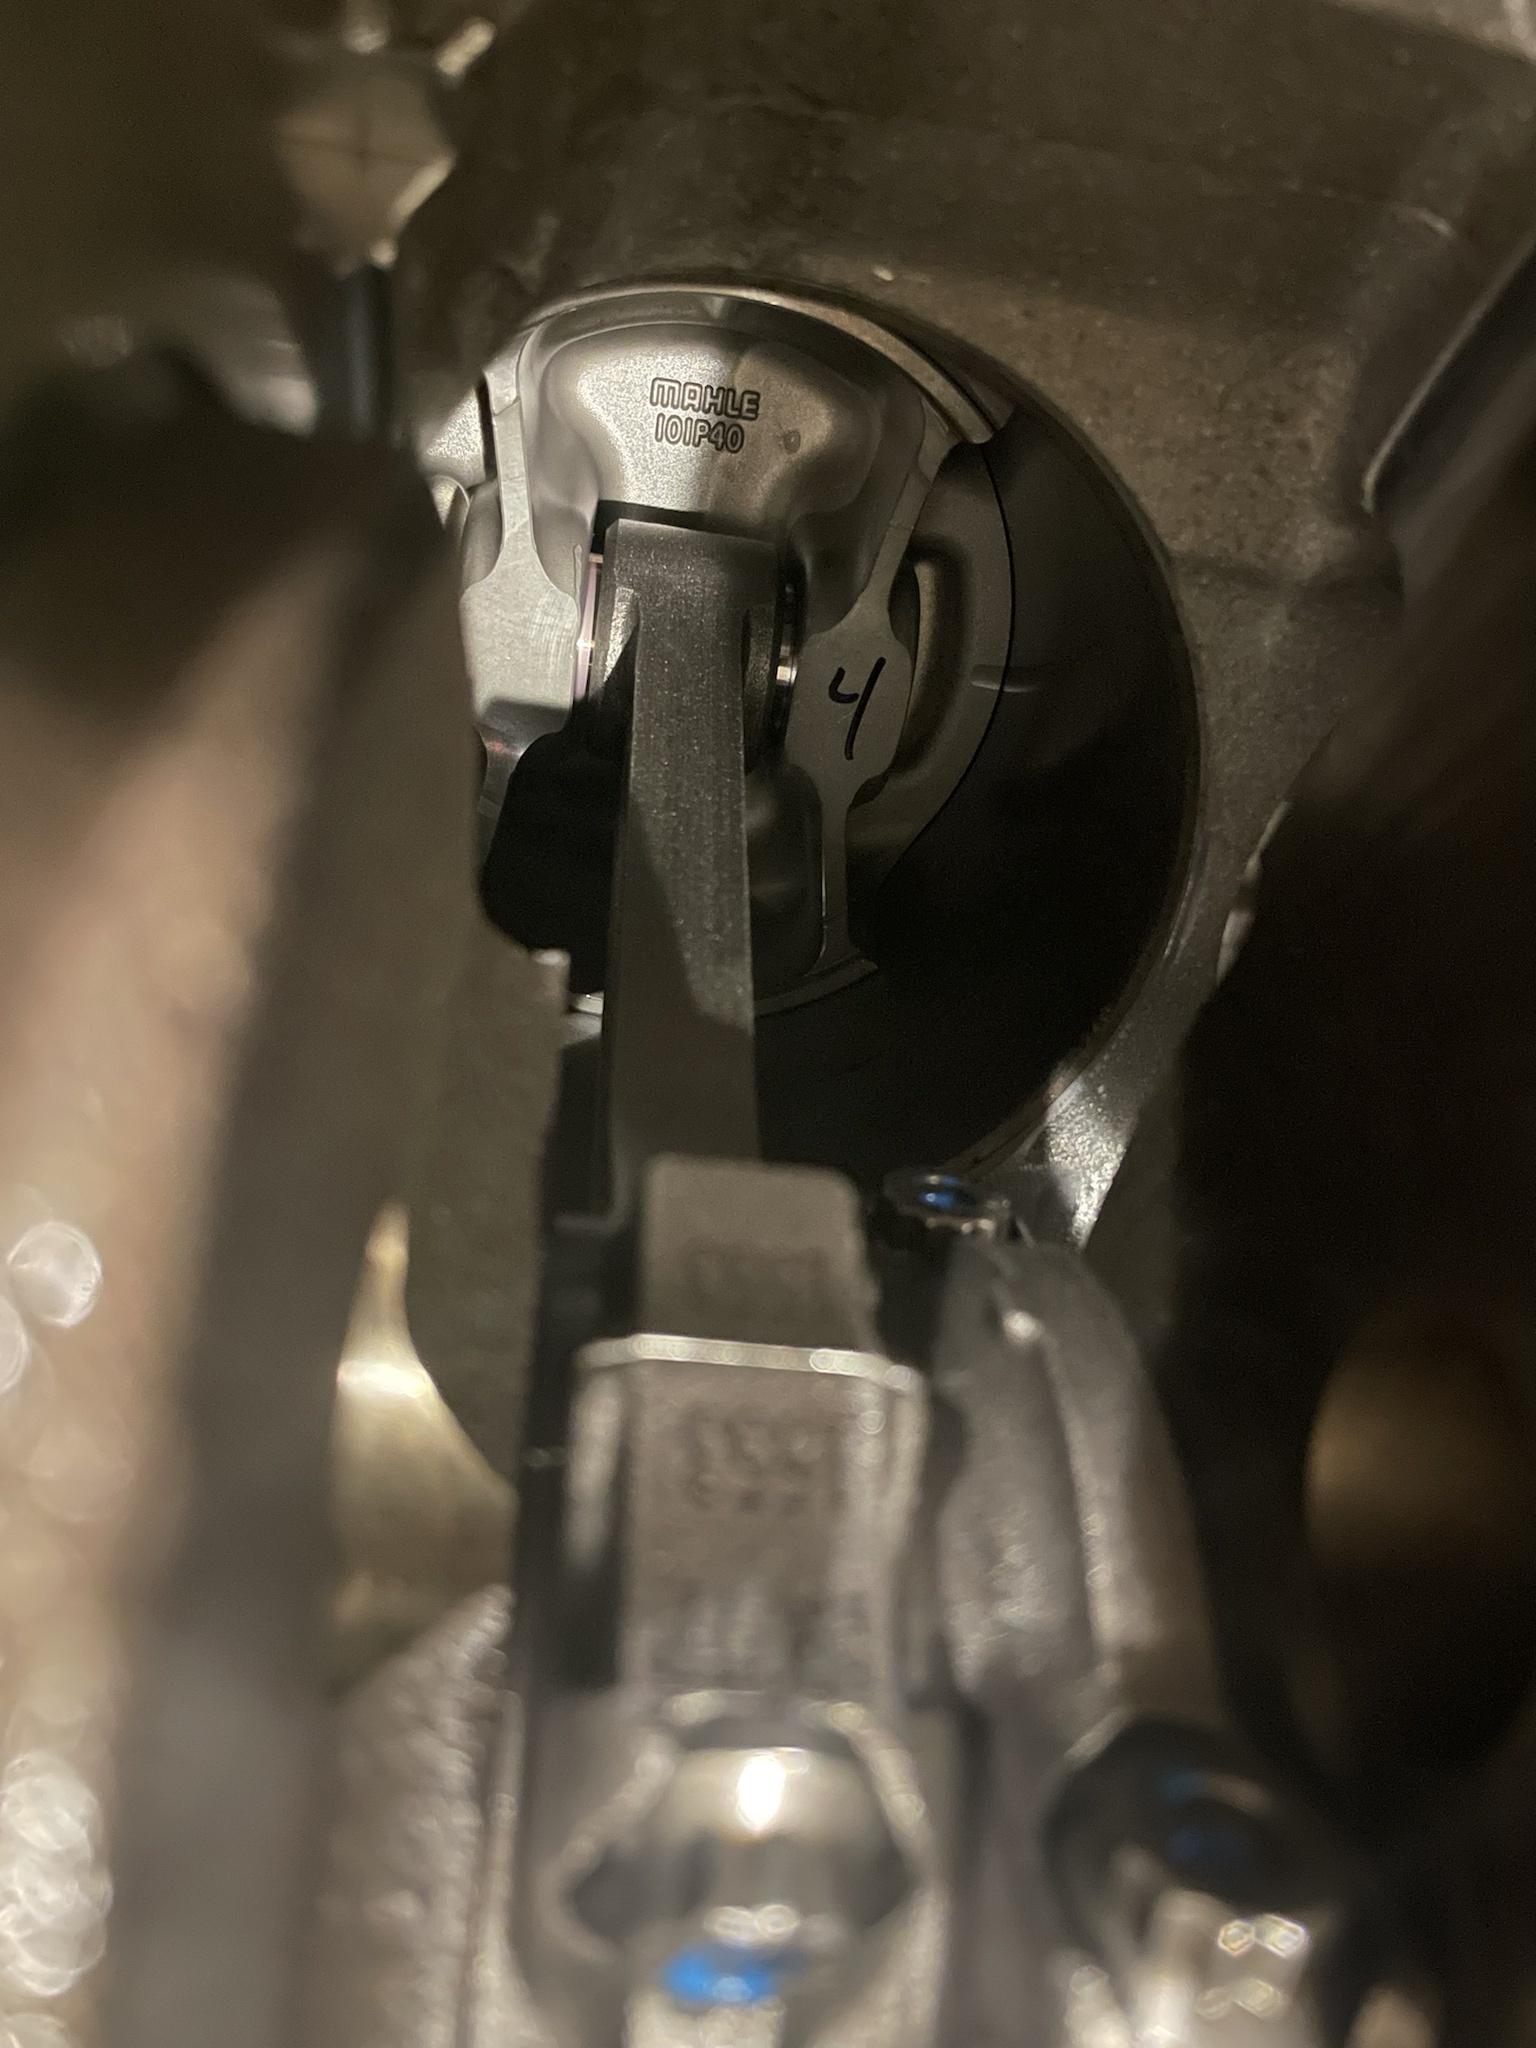
Close up of cylinder #4's forged internals.
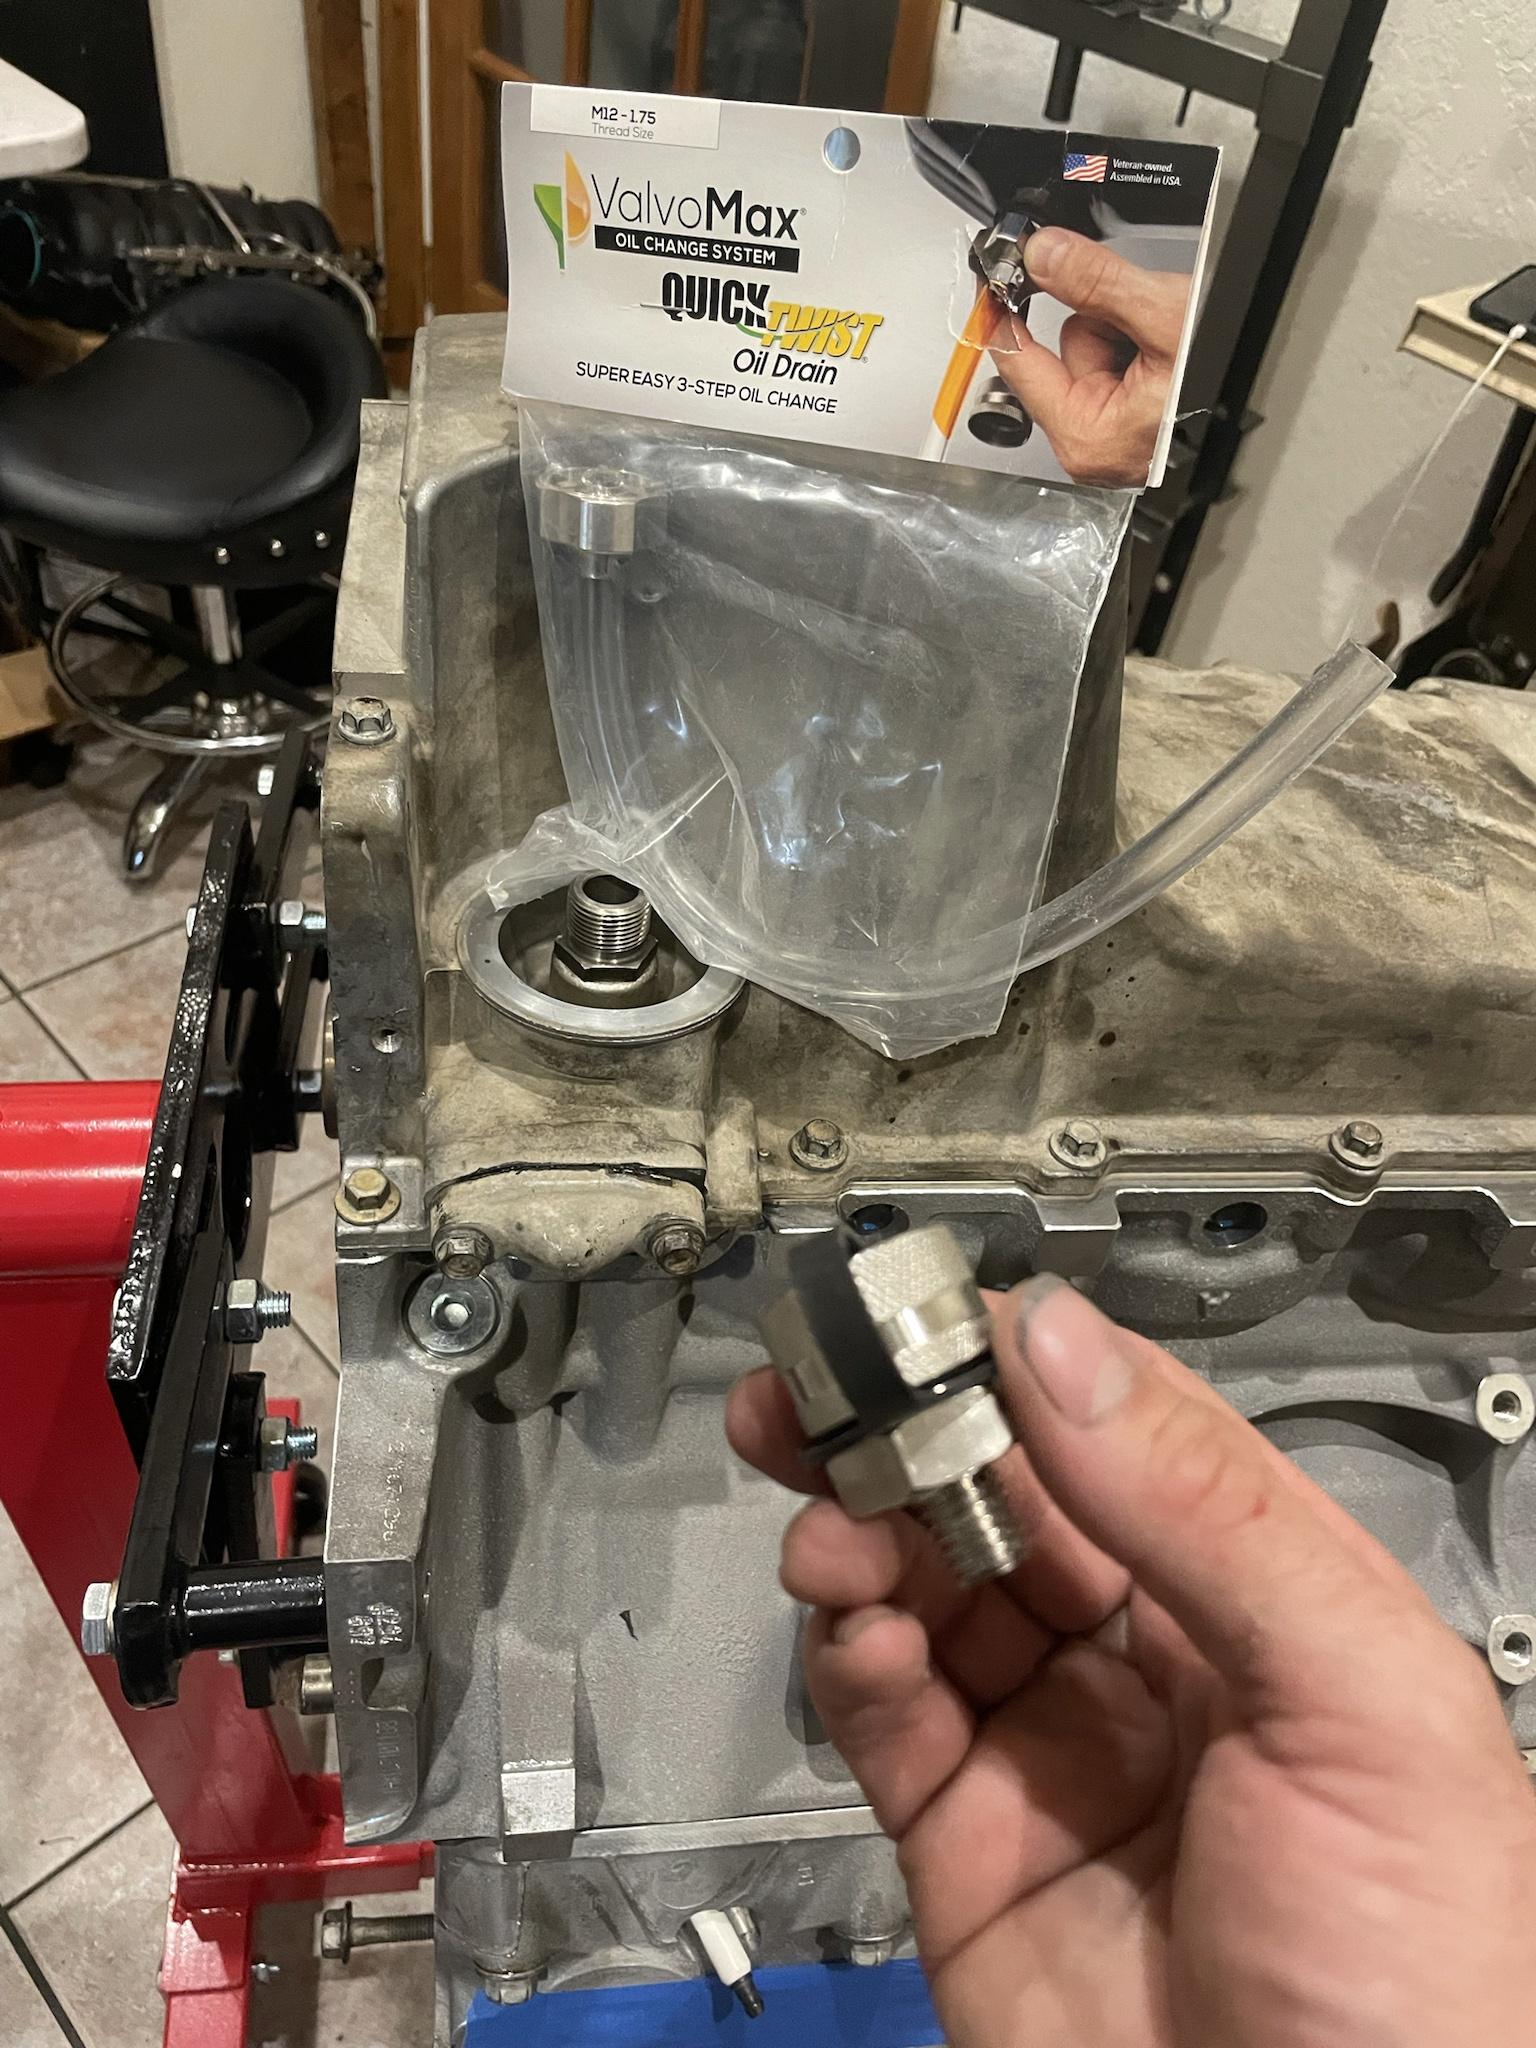
Thanks again to the Hummer chat boys for this one. This ValvoMax made future oil changes much quicker and easier with the Rancho.
NOTE: If you have a Rancho on your H3/H3T, this will especially make your oil changes easier since you won't have to remove your skid plate or drain any oil into your Rancho skid plate.
Mounted the engine/tranny/transfercase back on the frame with a cleaned up front of the bed! Whew!
NOTE: See here, no cats in exhaust. Thanks to FL with no emissions testing haha.

Most of the big work is done at this point. The small stuff really took much of the rest of the time as we put it back together. And there were a TON of small things to do lol.
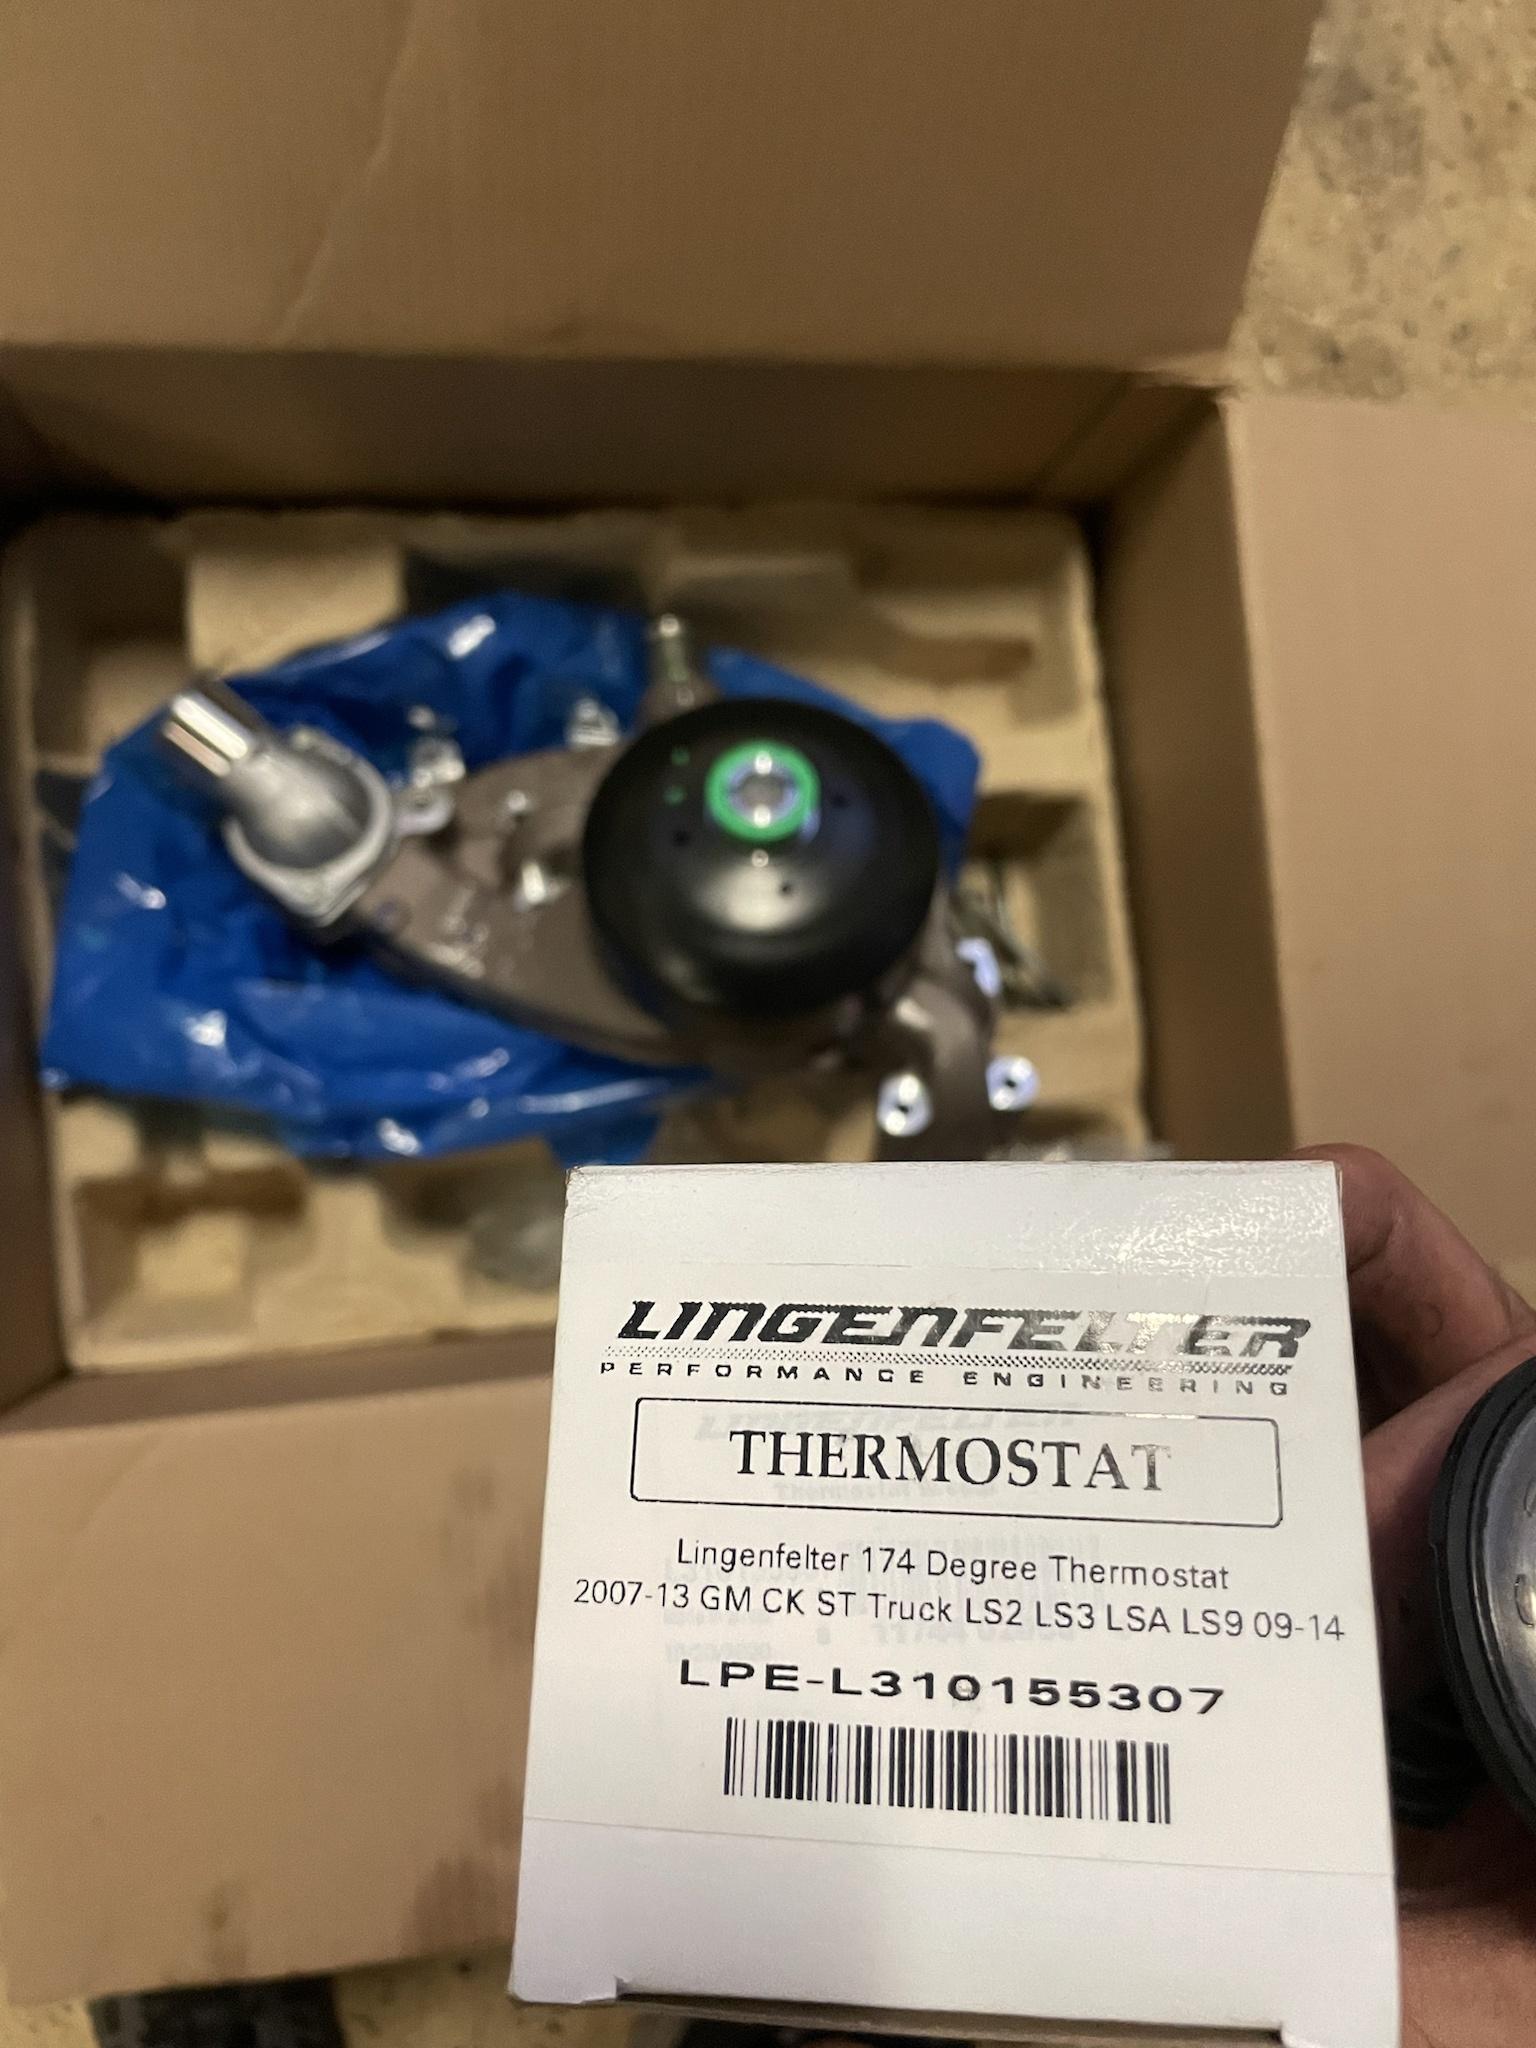
I've read in a few different threads that some of the few other that have done the larger motor swaps experience higher coolant temps, so I have a few mods to help with that.
One of them being the thermostat. Stock Alpha thermostat is a 186 degree F unit, and this new Lingenfelter piece is a little lower than that at 174 degrees. They make much lower stats (170, 160, etc), but I didn't want to go too aggressive, this isn't a race car. Should help a bit.
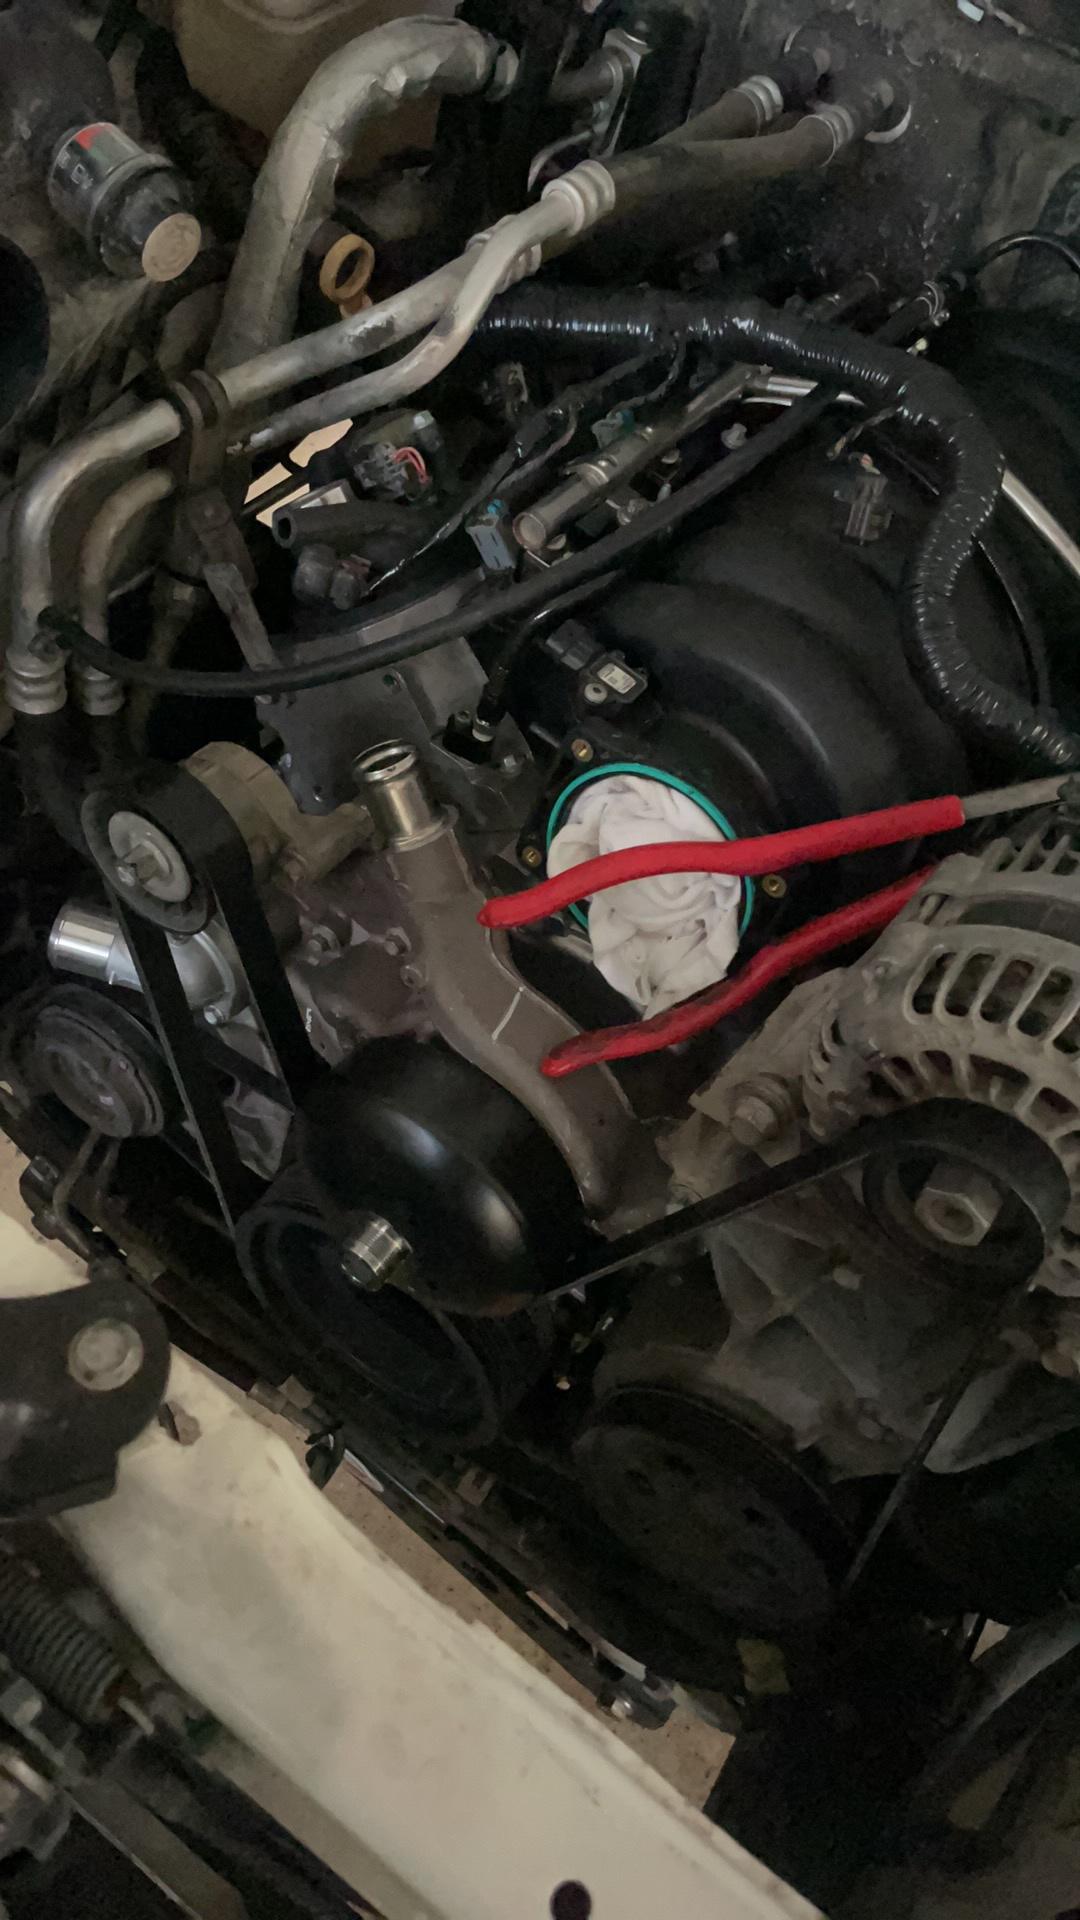
Swapped the Lingenfelter thermostat in the new water pump at this point, mounted accessories. Ran into the known issue of running the LS3 intake manifold with the Alpha accessories. As you can see, the throttle body has clearance issues with the pulley in front of it. Will have to cut on the line shown. Thanks to Armg again for reminding me of this and the part number to the new belt size needed to run without the pulley (it was almost perfect, I had to grab a size larger though).

As far as the ceramic coated JBA shorty headers went from the last post.... They are pretty nice in general, but I am really not a fan of the raised port design on them (the flanges aren't flat). Added copper RTV on new OEM gaskets to ensure no exhaust leaks. Threw their junk gaskets that came in the headers in the trash.
Moving back on...
Prepped the bottom of the LS3. Installed windage tray and oil pick-up tube.
NOTE: If you ever swap another LS motor into your Alpha, re-use your oil pan and oil-pick up tube with a new pick up tube o-ring.
Close up of cylinder #4's forged internals.
Thanks again to the Hummer chat boys for this one. This ValvoMax made future oil changes much quicker and easier with the Rancho.
NOTE: If you have a Rancho on your H3/H3T, this will especially make your oil changes easier since you won't have to remove your skid plate or drain any oil into your Rancho skid plate.
Mounted the engine/tranny/transfercase back on the frame with a cleaned up front of the bed! Whew!
NOTE: See here, no cats in exhaust. Thanks to FL with no emissions testing haha.
Most of the big work is done at this point. The small stuff really took much of the rest of the time as we put it back together. And there were a TON of small things to do lol.
I've read in a few different threads that some of the few other that have done the larger motor swaps experience higher coolant temps, so I have a few mods to help with that.
One of them being the thermostat. Stock Alpha thermostat is a 186 degree F unit, and this new Lingenfelter piece is a little lower than that at 174 degrees. They make much lower stats (170, 160, etc), but I didn't want to go too aggressive, this isn't a race car. Should help a bit.
Swapped the Lingenfelter thermostat in the new water pump at this point, mounted accessories. Ran into the known issue of running the LS3 intake manifold with the Alpha accessories. As you can see, the throttle body has clearance issues with the pulley in front of it. Will have to cut on the line shown. Thanks to Armg again for reminding me of this and the part number to the new belt size needed to run without the pulley (it was almost perfect, I had to grab a size larger though).
As far as the ceramic coated JBA shorty headers went from the last post.... They are pretty nice in general, but I am really not a fan of the raised port design on them (the flanges aren't flat). Added copper RTV on new OEM gaskets to ensure no exhaust leaks. Threw their junk gaskets that came in the headers in the trash.
Moving back on...
#63
01-03-2022, 10:09 PM

Well... I f**king jinx'd myself at this point.
Drained the transfer-case and replaced with fresh fluid. Surprised that these BorgWarner cases only take 1.7 quarts. Stuff looked like it was long overdue for a fluid change! Feel like it should be changed more often that you think. Anyways, after filling the T-case, I filled the transmission with 10 quarts of Dex XI at this point only (overhaul/dry fill is 11 quarts) and moved on to filling the engine with the break-in oil.
After this, I noticed ATF dripping from the bottom of the truck. Doesn't take a genius to know that's not good. Under further inspection, it wasn't leaking from the pan or dripping down the side of torque converter, it's coming from behind the torque converter which means only one thing... the transmission is leaking from the front of the housing/oil pump. So the transmission has to come out again, but this time, from under the truck since we put the cab back on.

Being upset was an understatement. I was so mad lol.
We went over everything. Double and triple checked our whole transmission procedures and found that we missed a quick but important step. Our oil pumps don't have an internal seal/o-ring, they are wedge-style pumps which means you press them in and bolt them down. However, the front/exterior of the pump does take a seal, and it gets pressed in between the ridges of the oil pump/case and the bell housing shown below. I think in our excitement having finished the trans, we bolted on the bell housing and dropped in on the frame with the engine. Luckily, we didn't have to pull the pan or take apart the the actual transmission, just drop it and remove the bell housing.
Pic just showing the location of the missed seal.
NOTE: Was kind of a bummer because it was easier to remove when the cab was off. Removing trans from the bottom with the cab on is typical, but was more work. Especially when you want to do everything right, the first time!
Grateful to have Amazon Prime next day delivery. New seal came in and we installed it the next day, and compressed it in with the bell housing. Such a bummer to have to backtrack, but that's the game we play. And for those that rebuild their own transmissions, be mindful that the seal kit you buy, may not have this newer style seal in it. Ours didn't.
Reinstalled transmission. Nice and final (hopefully) view of the Circle D Specialties billet converter.
Another setback. Pulled a couple of wires mistakenly and broke off a diode on the e-fans while troubleshooting them and disabling the fans. Attempted to repair the next day when parts get in, but wrapped up the rest of the engine bay for first start! Just need to do some wire management and she'll be all set.
Never a dull moment
#64
01-05-2022, 05:25 PM
It was time!
Diode came in and repaired the efans. Tested the AC system and had found a leak at that point, picked up some new seals and that did the trick. Charged the AC.
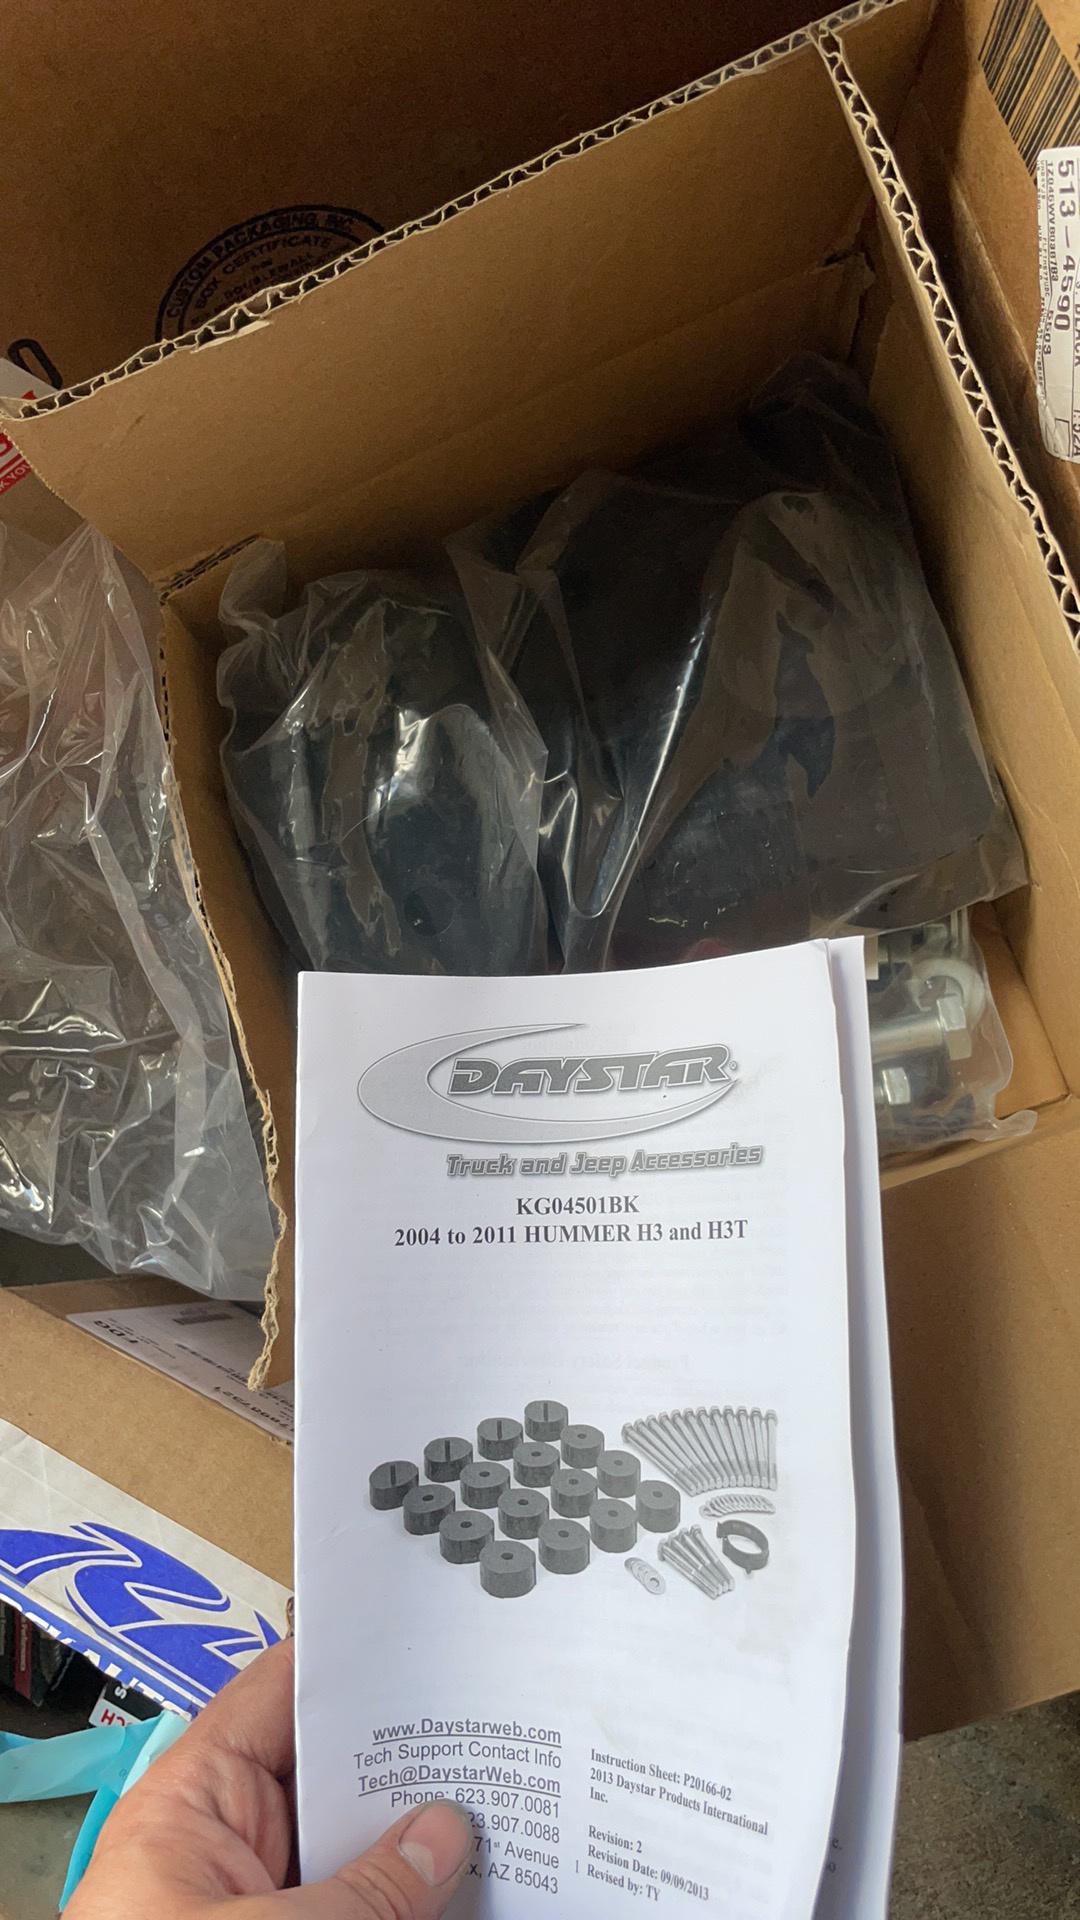
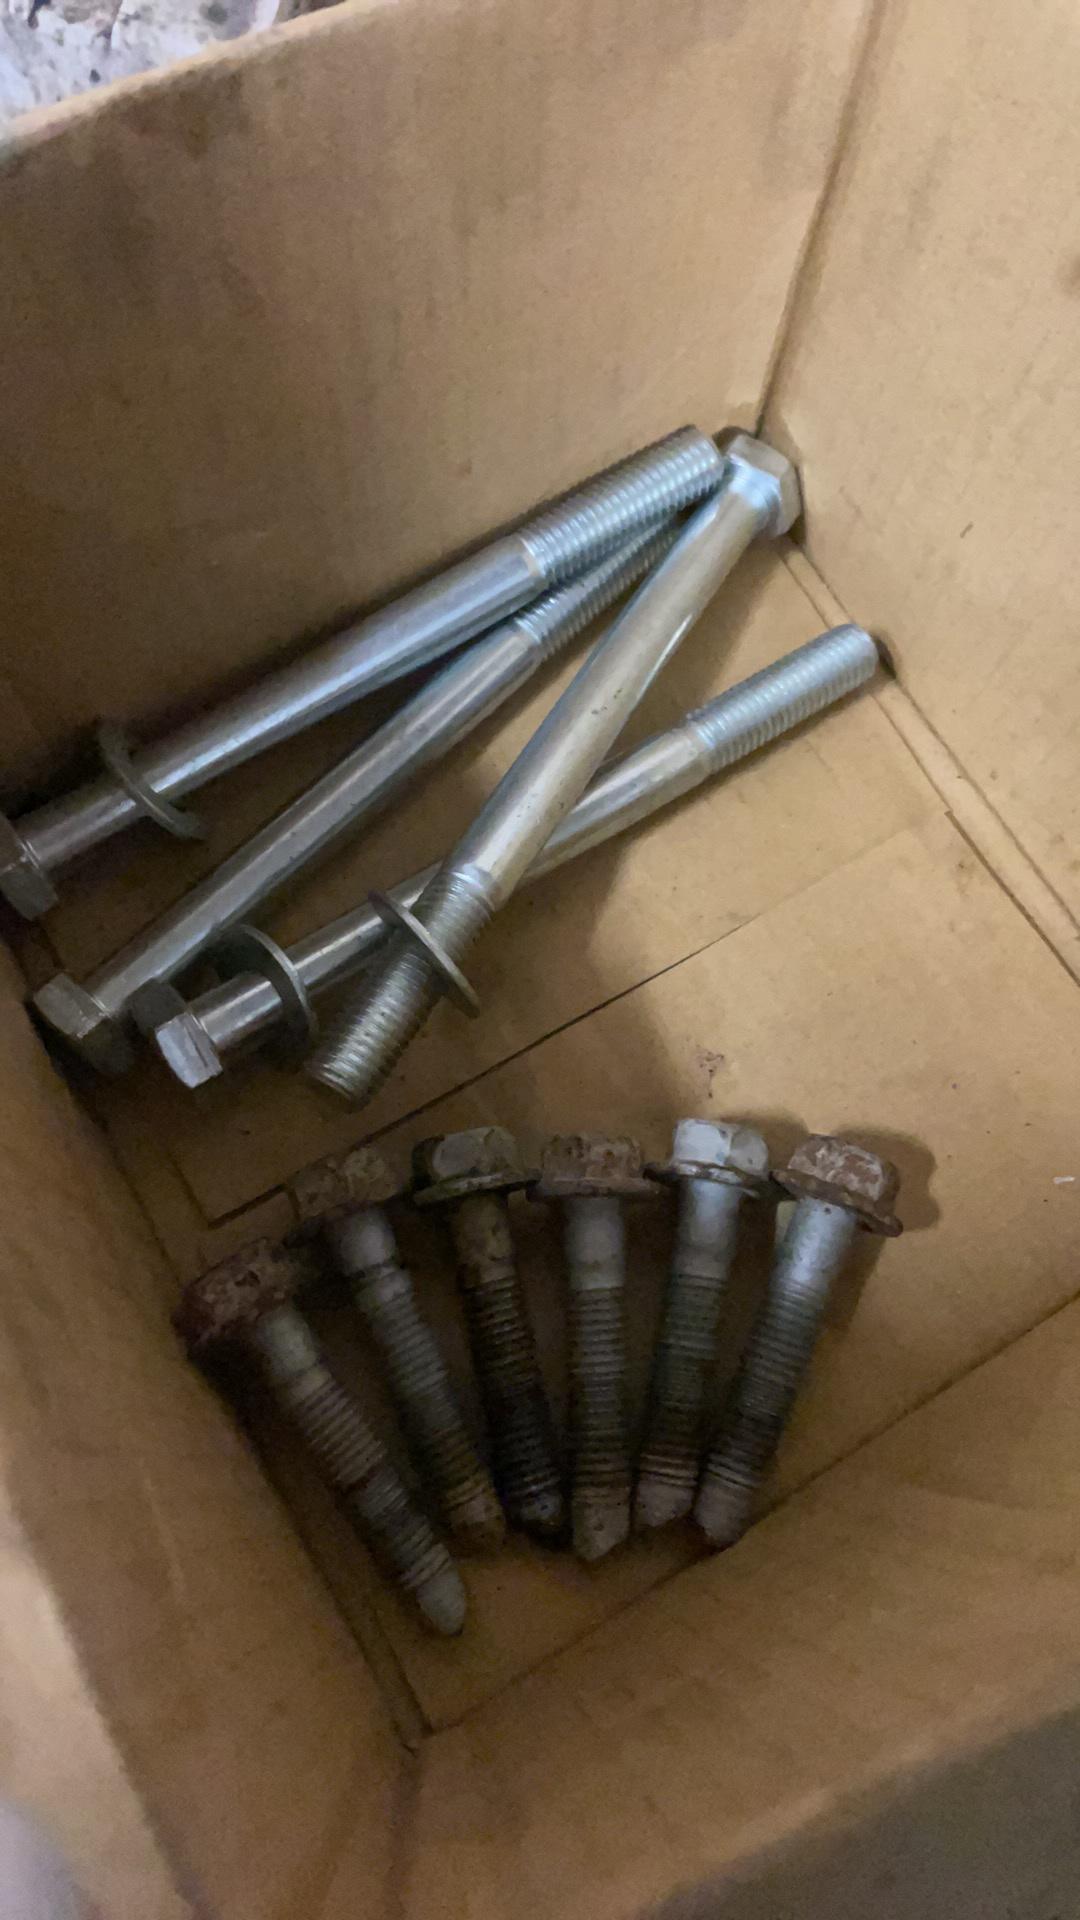
Started the body lift on the bed, and found Daystar's instructions rather disappointing. As I skimmed over the instructions, they mention to replace the 4 factory clear isolators and install the 4 bed body lift spacers. Except... the H3T has 6 bed/body mounts, not 4. They include enough lift spacers/pucks but they short you two bolts and washers.
So just an FYI to T owners. You'll need to source your own bed bolts and washers. You'll need two of each. Their instructions call for M14x90 bolts, but they are actually M12x60 bolts. Not a huge deal but you would think that they would have their crap together on a kit that has been out for over 10 years. I tried to be nice and I called Daystar and talked to tech support to point out the issue.... They haven't revised the instructions since 2013, which makes sense... last H3 made was a 2010. Plus, they don't know crap about these kits, the guy wanted to read the instructions over with me on the phone. As he read over the instructions with me, he stated, "Well, the kit only calls for 4 bed bolts, so that's what it must be", even though I physically had the 6 stock bed bolts in my hand. They didn't care to revise the few typos, incorrect bed bolt sizes, and number of bolts I mentioned because they, "Don't sell enough of these". Kind of lame if you ask me.
Shown below are the 4 included bed bolts by Daystar, and below them, the 6 bolts that I removed to separate the bed and the frame.
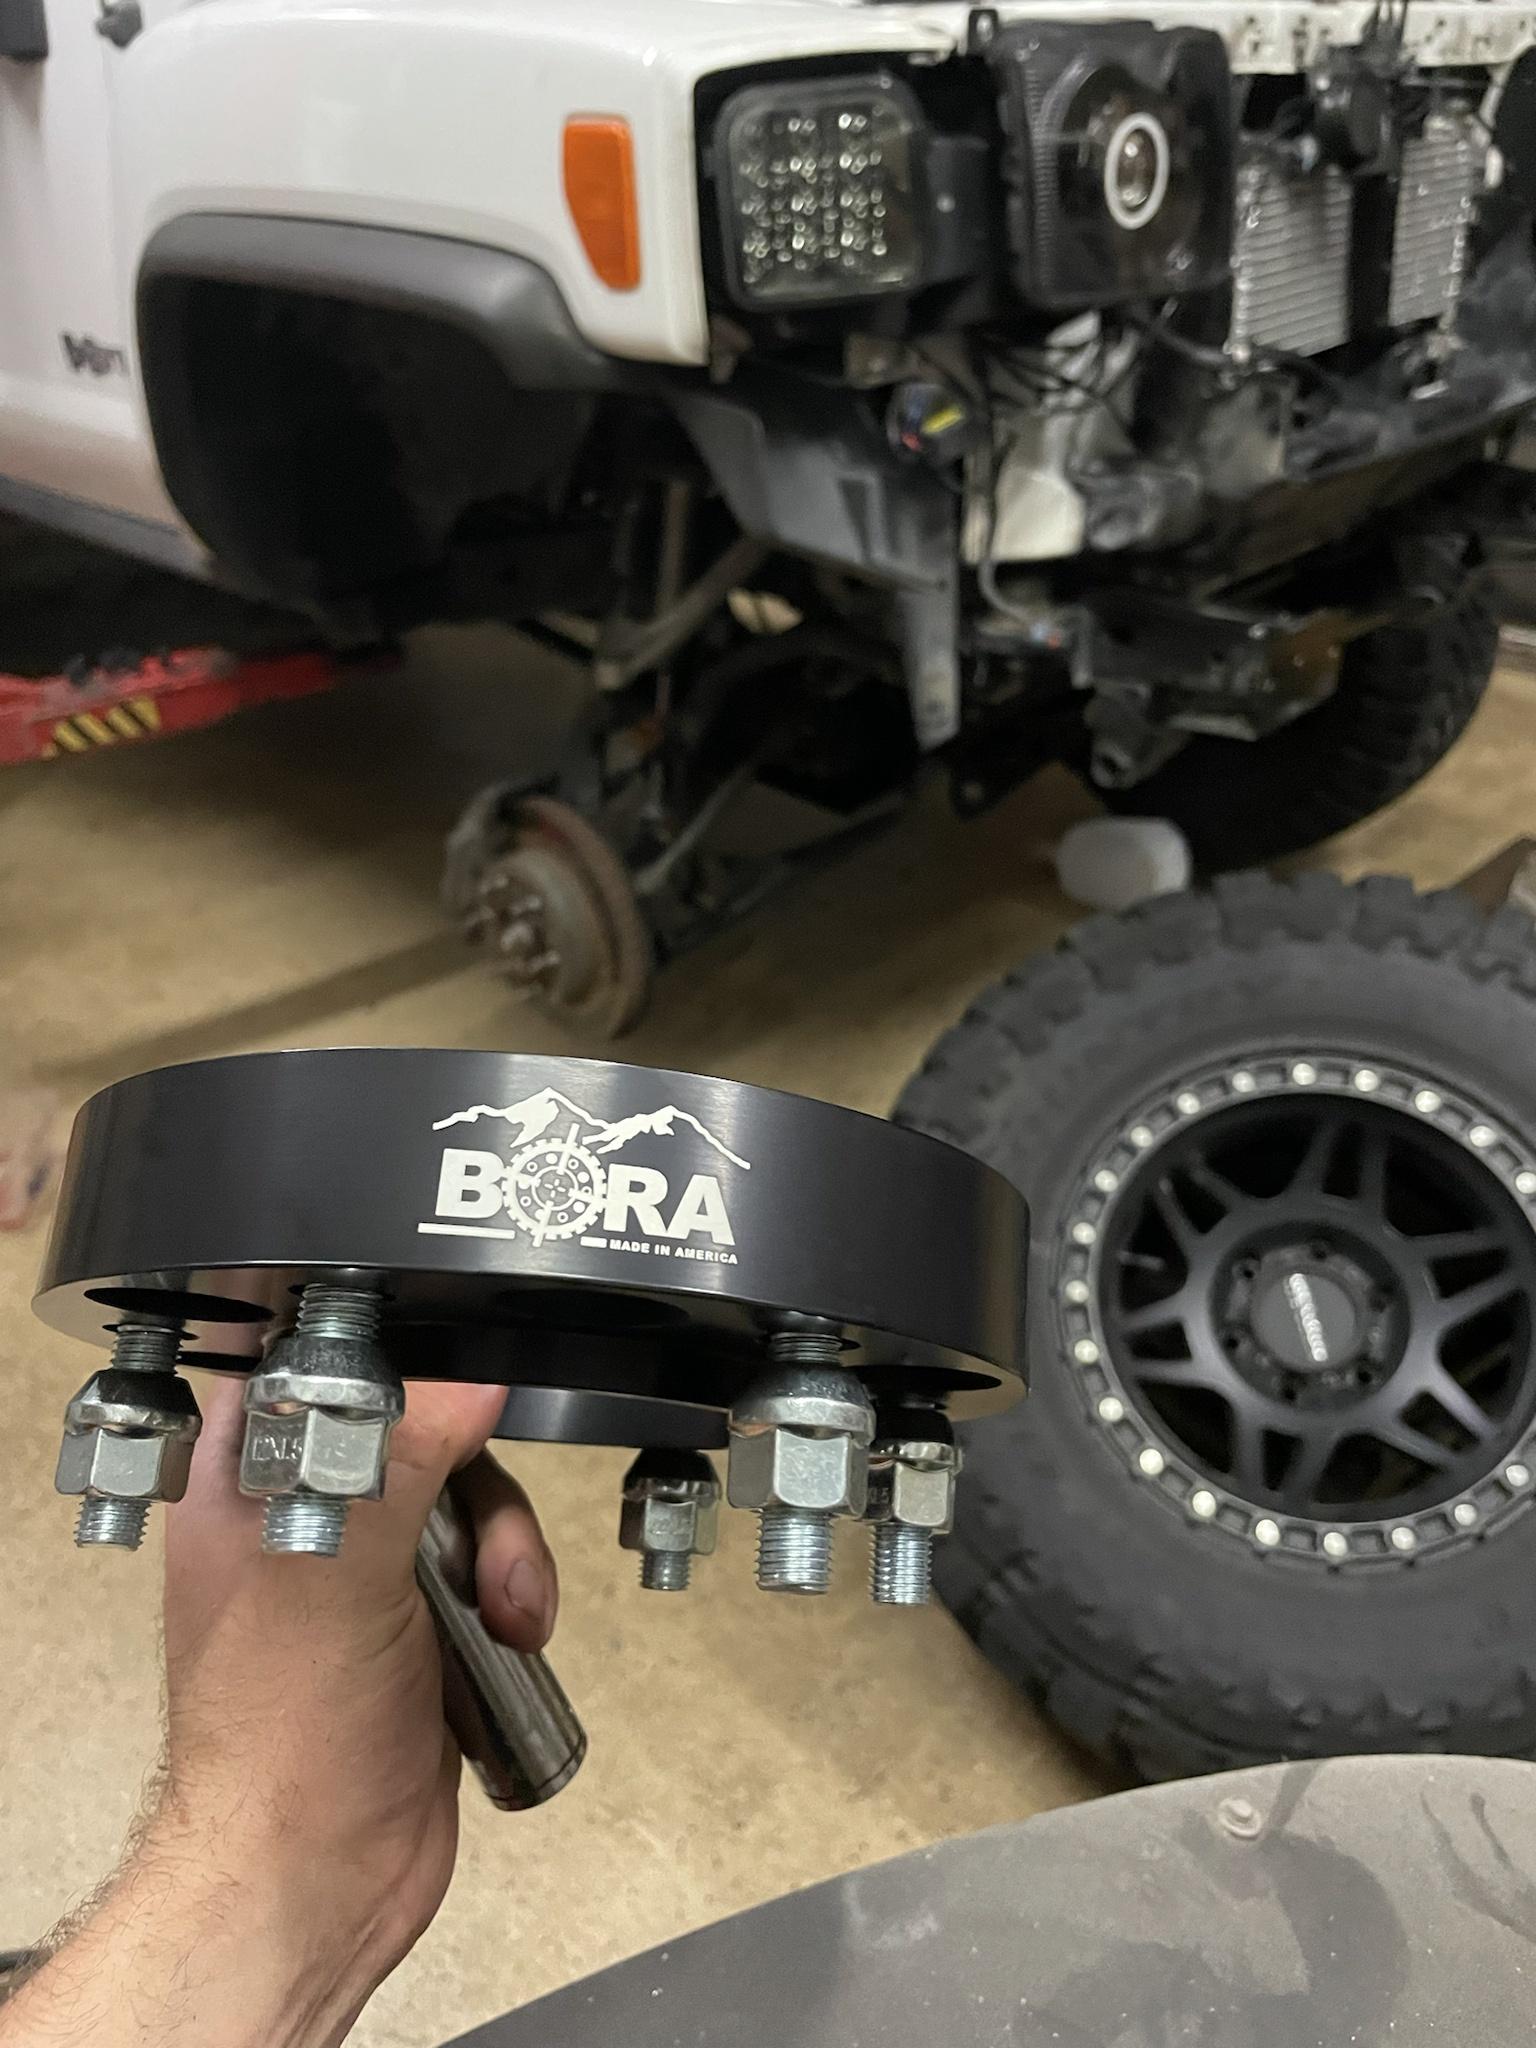
Anyways, finished up the bed and installed the BORA 1.25" wheel spacers. They are a Hub centric/wheel centric design from billet aluminum. Pretty nice pieces. And I like the fact that you could press out the stud and press in ARP studs if I wanted to.
Wrapped up the front end at this point and started her up!
Can't tell you how happy I was to hear that glorious 6.2L with the Texas Speed cam lol. All that work, effort, & hurdles we've gone though was worth it!
Next major item on the list from this point was to get it tuned.
Diode came in and repaired the efans. Tested the AC system and had found a leak at that point, picked up some new seals and that did the trick. Charged the AC.
Started the body lift on the bed, and found Daystar's instructions rather disappointing. As I skimmed over the instructions, they mention to replace the 4 factory clear isolators and install the 4 bed body lift spacers. Except... the H3T has 6 bed/body mounts, not 4. They include enough lift spacers/pucks but they short you two bolts and washers.
So just an FYI to T owners. You'll need to source your own bed bolts and washers. You'll need two of each. Their instructions call for M14x90 bolts, but they are actually M12x60 bolts. Not a huge deal but you would think that they would have their crap together on a kit that has been out for over 10 years. I tried to be nice and I called Daystar and talked to tech support to point out the issue.... They haven't revised the instructions since 2013, which makes sense... last H3 made was a 2010. Plus, they don't know crap about these kits, the guy wanted to read the instructions over with me on the phone. As he read over the instructions with me, he stated, "Well, the kit only calls for 4 bed bolts, so that's what it must be", even though I physically had the 6 stock bed bolts in my hand. They didn't care to revise the few typos, incorrect bed bolt sizes, and number of bolts I mentioned because they, "Don't sell enough of these". Kind of lame if you ask me.
Shown below are the 4 included bed bolts by Daystar, and below them, the 6 bolts that I removed to separate the bed and the frame.
Anyways, finished up the bed and installed the BORA 1.25" wheel spacers. They are a Hub centric/wheel centric design from billet aluminum. Pretty nice pieces. And I like the fact that you could press out the stud and press in ARP studs if I wanted to.
Wrapped up the front end at this point and started her up!
Can't tell you how happy I was to hear that glorious 6.2L with the Texas Speed cam lol. All that work, effort, & hurdles we've gone though was worth it!
Next major item on the list from this point was to get it tuned.
Last edited by gpcalero; 01-05-2022 at 05:38 PM. Reason: Added content
#65
01-08-2022, 10:58 AM
Made the first trip after the major overhaul!
Definitely needed to be tuned at this point, the ECM still thought it had the 5.3 in it lol, not the cleanest driving. The tranny shifted into 1-3 very nicely, even without having anything changed as of yet. Was only a 12 min trip to a buddies shop & went slow to not mess anything up.
Warm idle after trip. Was only a 12 min trip but the trans cooler is working big time, trans temp only got up to 140, which was surprising to me with the bigger stall. Very happy with the new tranny cooler. We will see how she does after tuning, during normal driving.
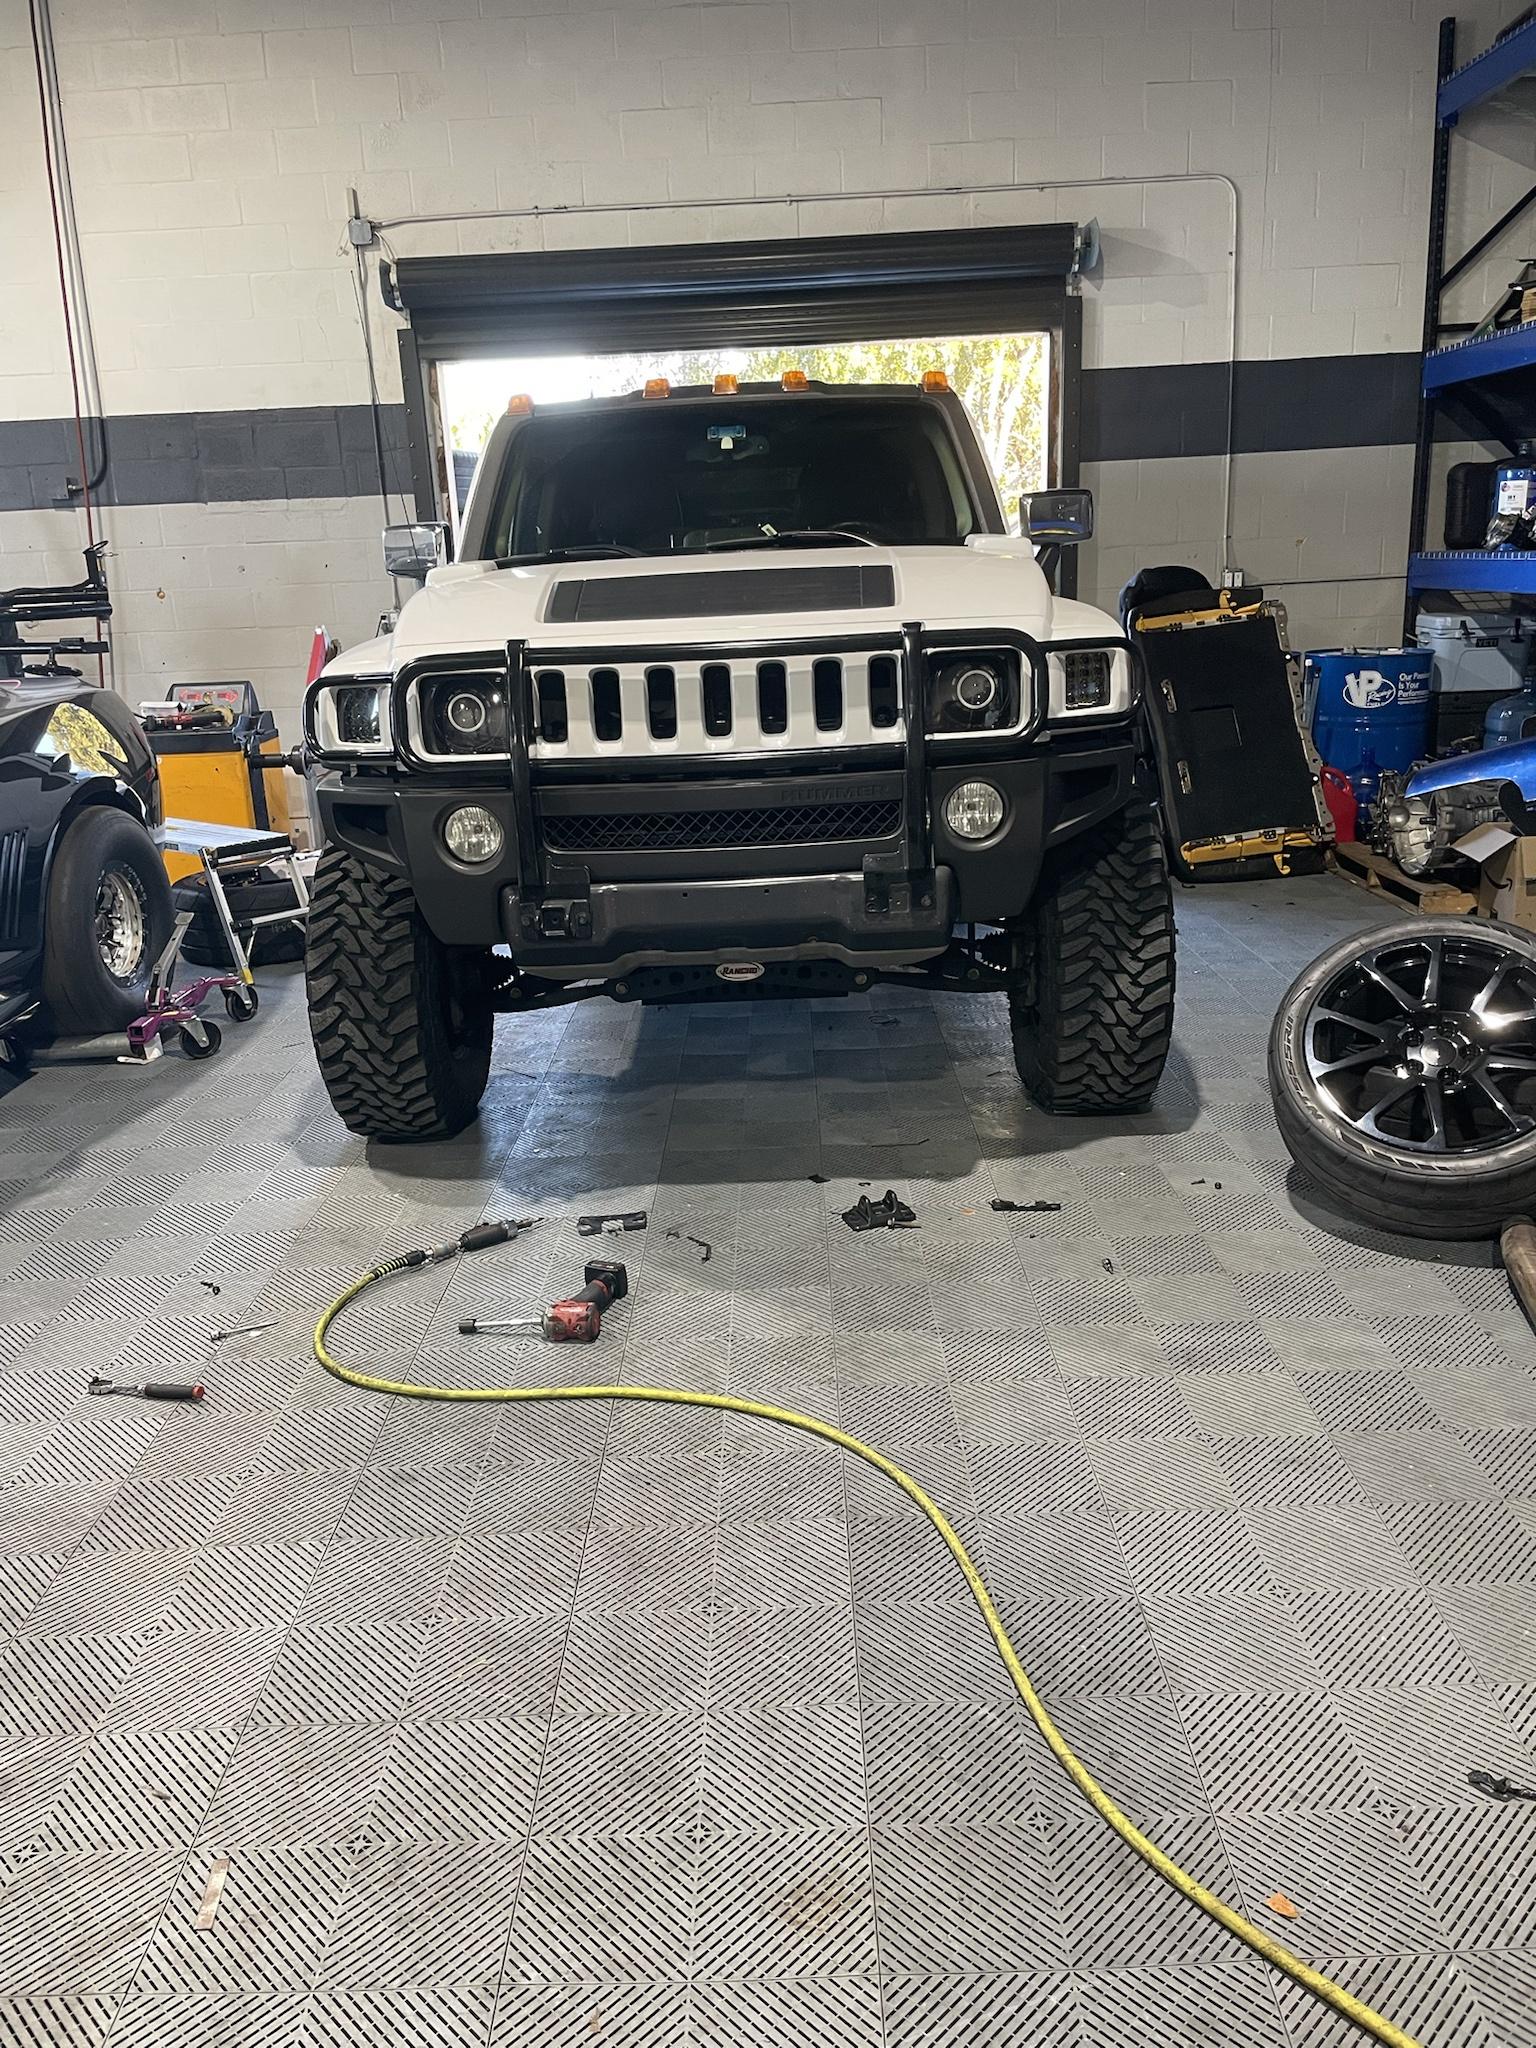
Loading up the T. Here it was getting loaded up at the shop to be hauled to my tuner's shop about 35 min away to get calibrated on the street for drivability and then on the dyno for WOT and power pulls during the week after.
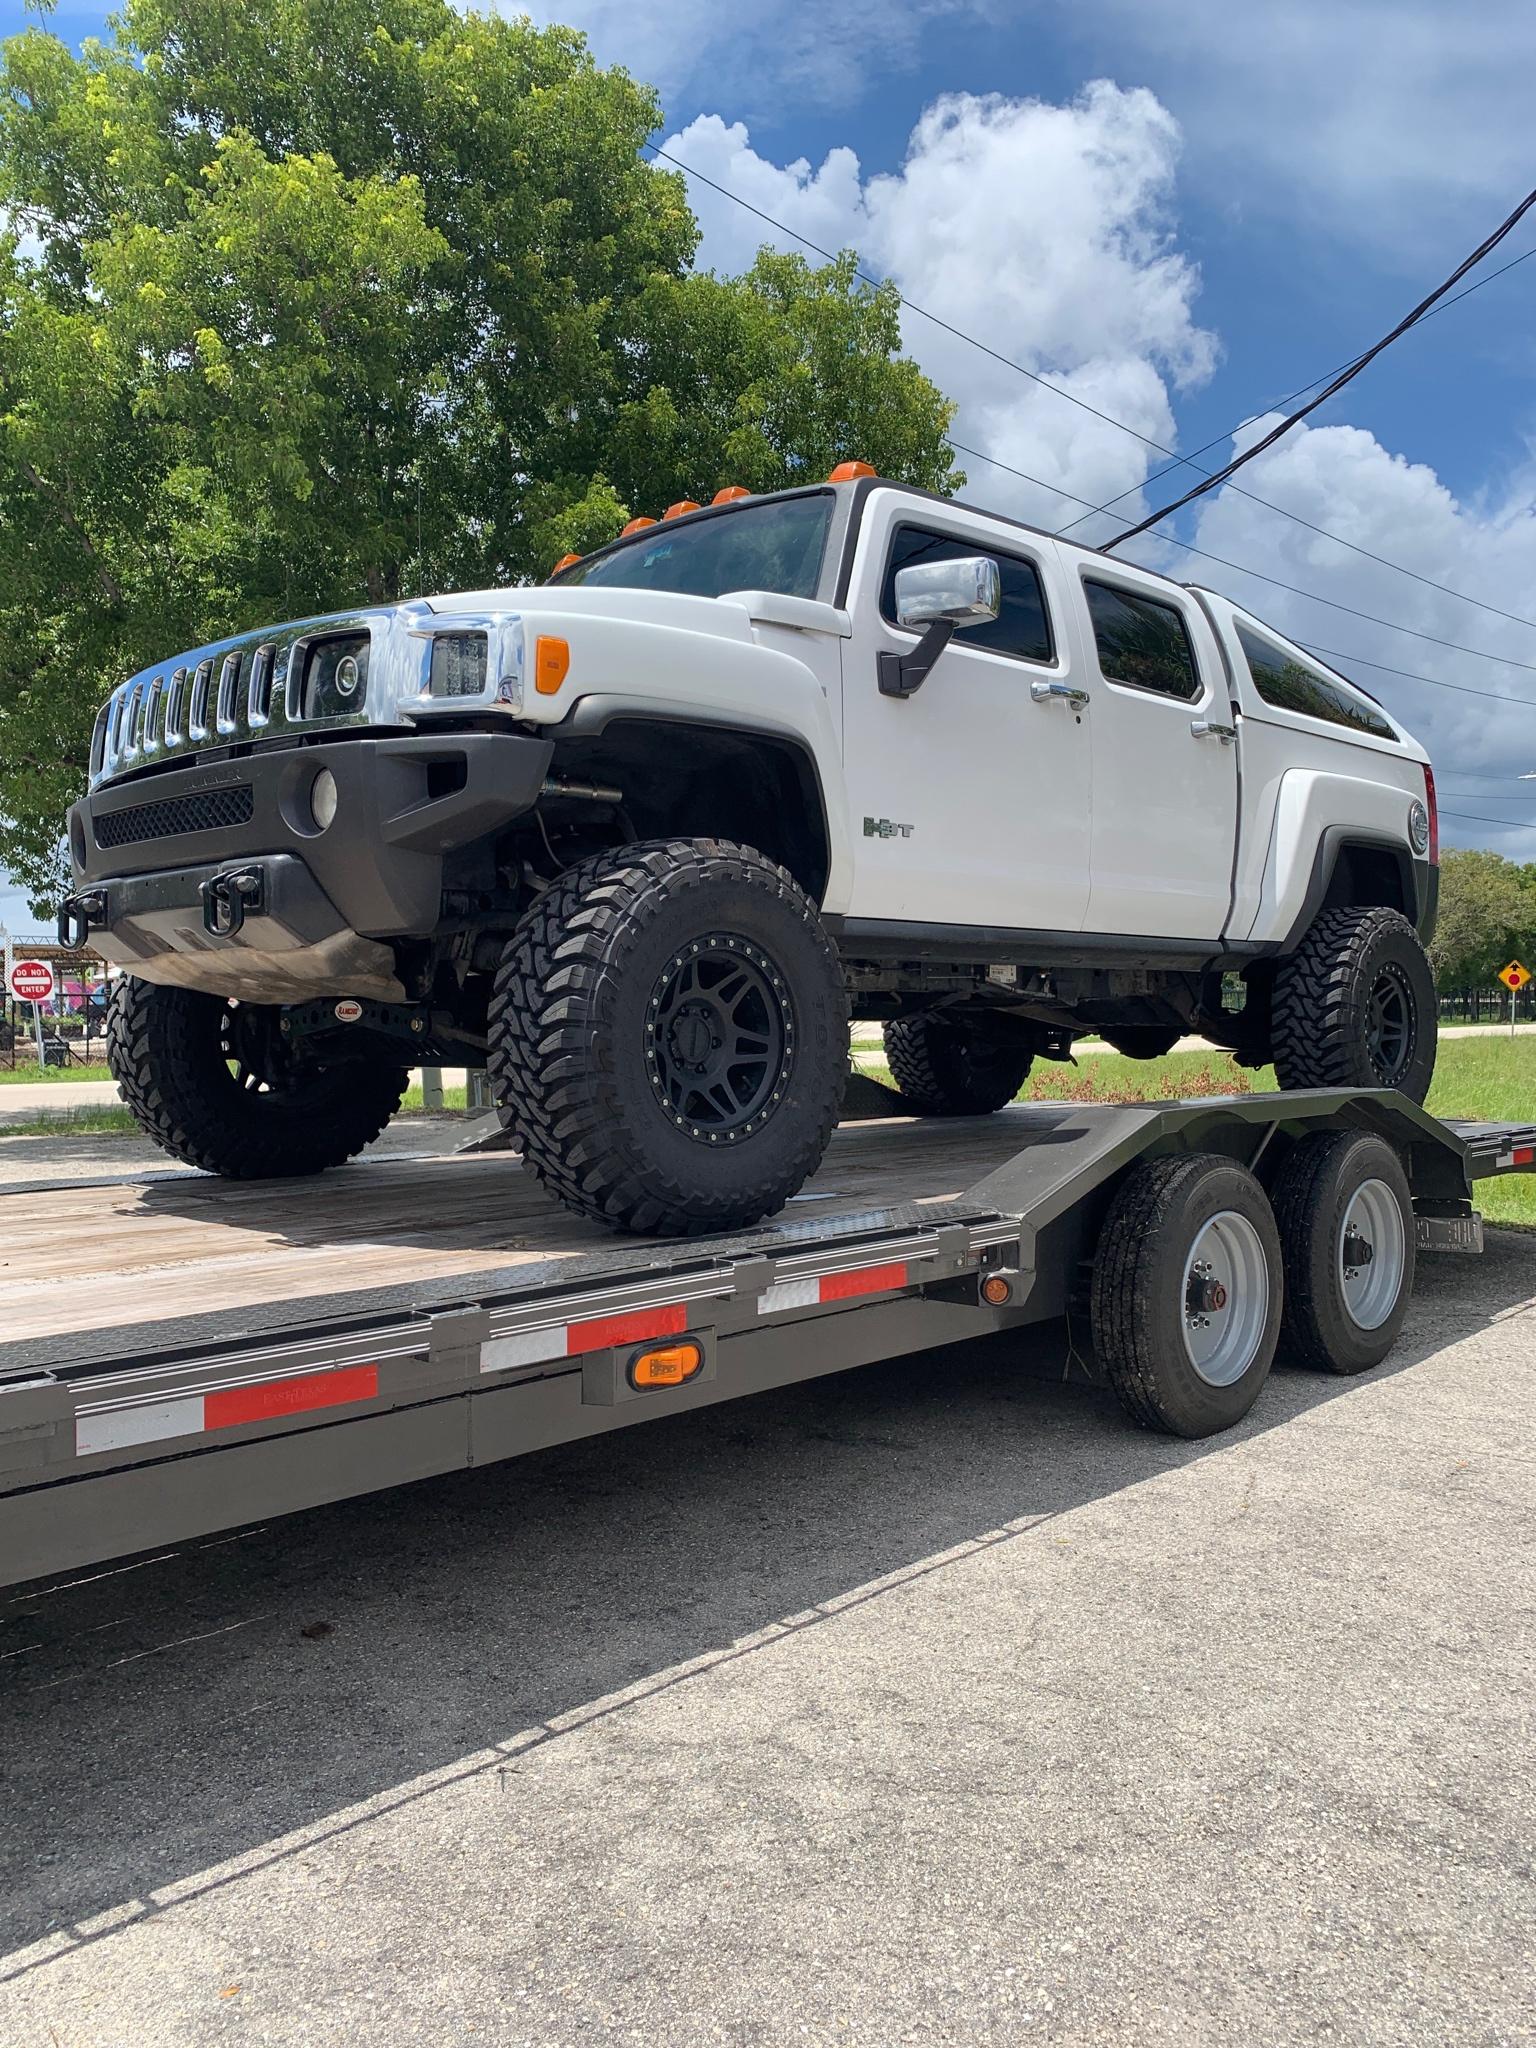
After that, I had my evenings back.
Definitely needed to be tuned at this point, the ECM still thought it had the 5.3 in it lol, not the cleanest driving. The tranny shifted into 1-3 very nicely, even without having anything changed as of yet. Was only a 12 min trip to a buddies shop & went slow to not mess anything up.
Warm idle after trip. Was only a 12 min trip but the trans cooler is working big time, trans temp only got up to 140, which was surprising to me with the bigger stall. Very happy with the new tranny cooler. We will see how she does after tuning, during normal driving.
Loading up the T. Here it was getting loaded up at the shop to be hauled to my tuner's shop about 35 min away to get calibrated on the street for drivability and then on the dyno for WOT and power pulls during the week after.
After that, I had my evenings back.
#66
01-10-2022, 09:06 PM
More updates on the built LS3 swap:
Turns out, a smaller issue we ran into was that the oil was running a little hotter than the old Alpha 5.3L engine was. Nothing too crazy but we definitely wanted to adjust it before it became a bigger issue. Our Alpha engines have no oil cooling done to them as I could see and for the old engine, it was fine and only really ran 200-220 degrees F. The new 6.2L, was ran pretty much the same way -- no oil cooling and it ran 220-240 degrees F. Not bad but I don't like oil temps close to or over 250 degrees F.
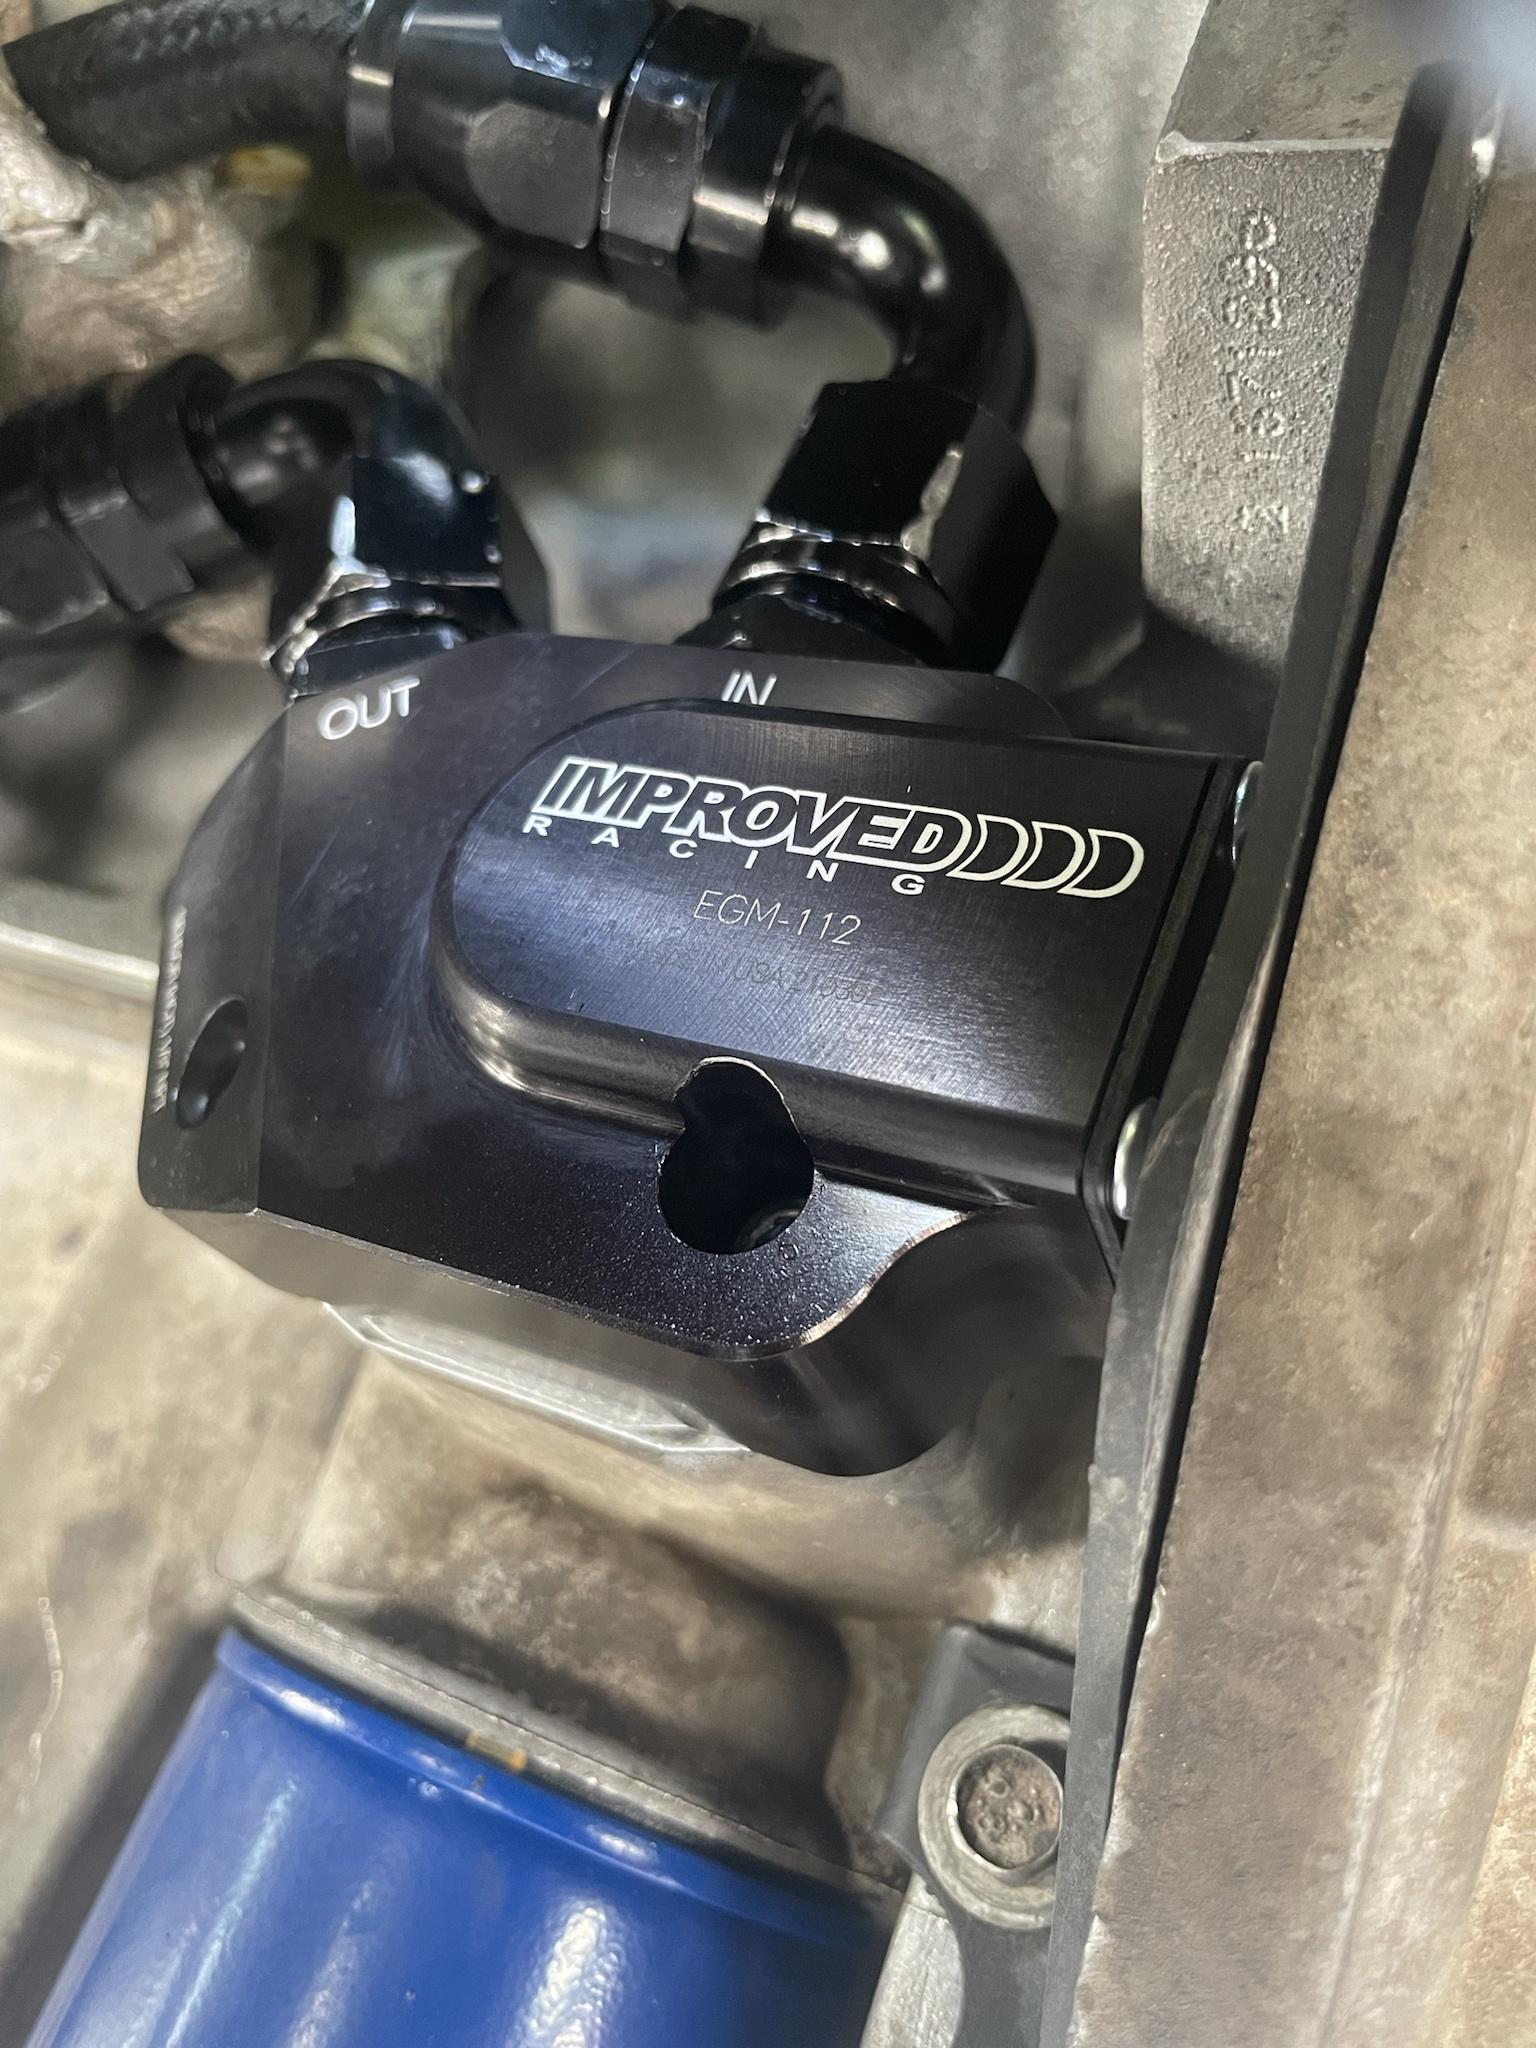
So to cure this, we tuned the truck as it sat for drivability and idle. Nothing on the dyno yet for full range or mid-throttle and up. Then I ordered a few items. One, was this Improved Racing billet adaptor. This connects to a spot on our LS engines right above the oil filter, where there is just a rectangular cap. This allows me to run engine oil from the block directly, to a oil cooler AND has it's own thermostat of 212 degrees F in the billet adaptor. Pretty cool.
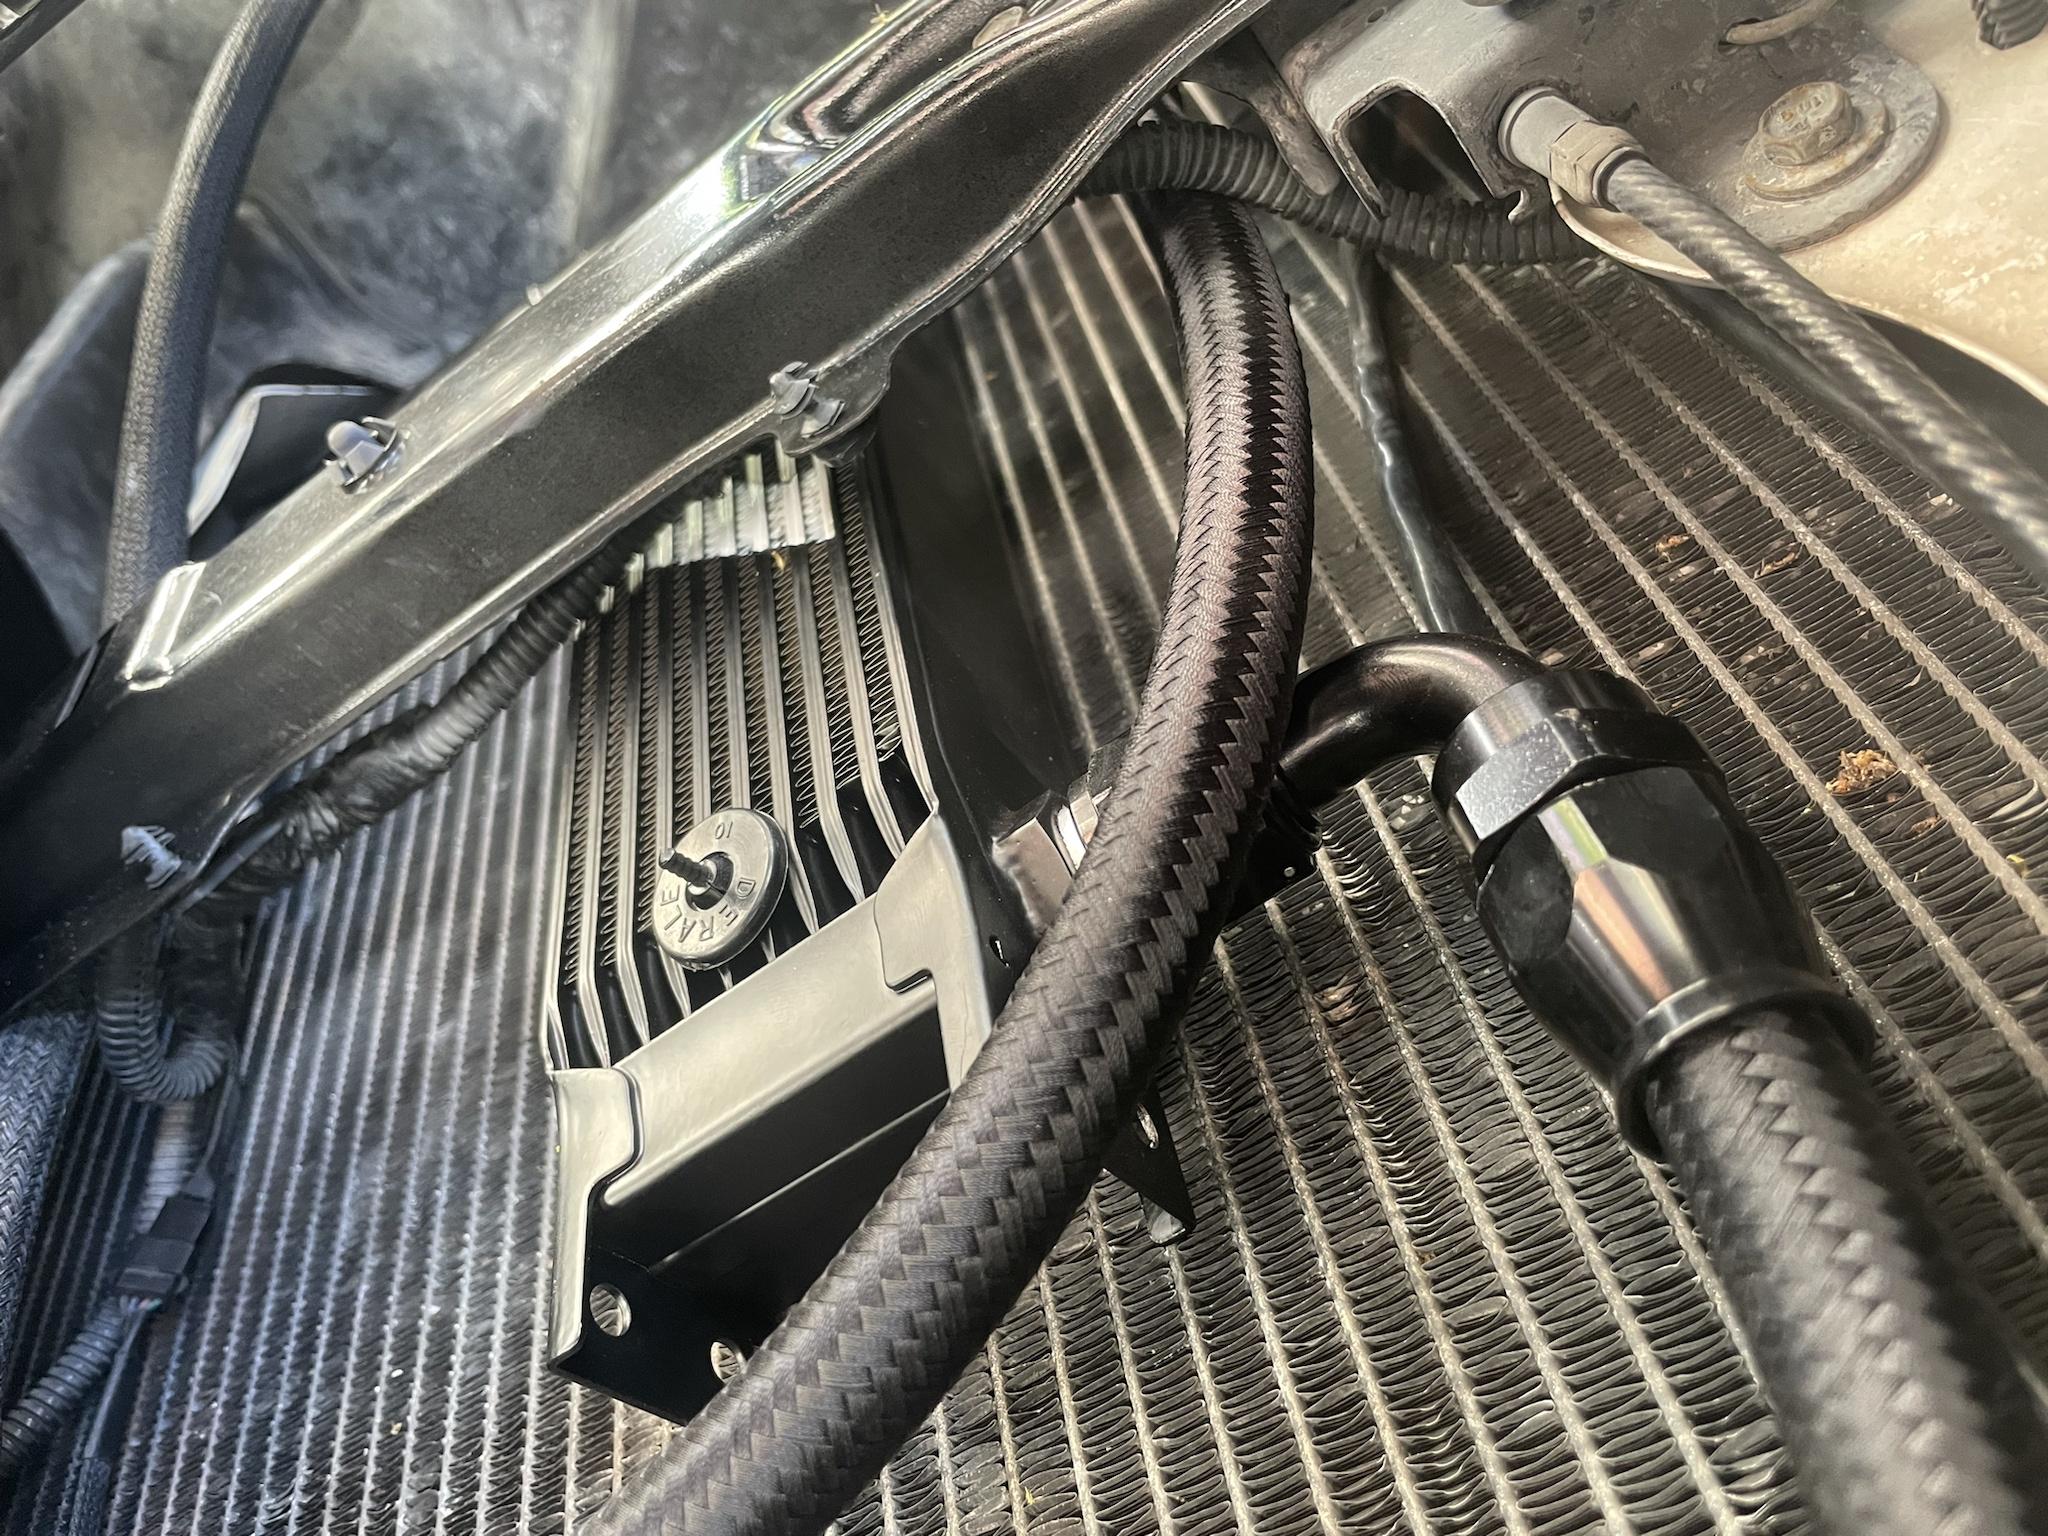
Second item was a 10-row black oil cooler from Mishimoto. I removed the biga$$ 40k transmission cooler from the front of the truck, and replaced it with the new oil cooler with some nice AN PTFE lines. Engine oil on the truck, completed. Now it'll stay around 212 F no problem.
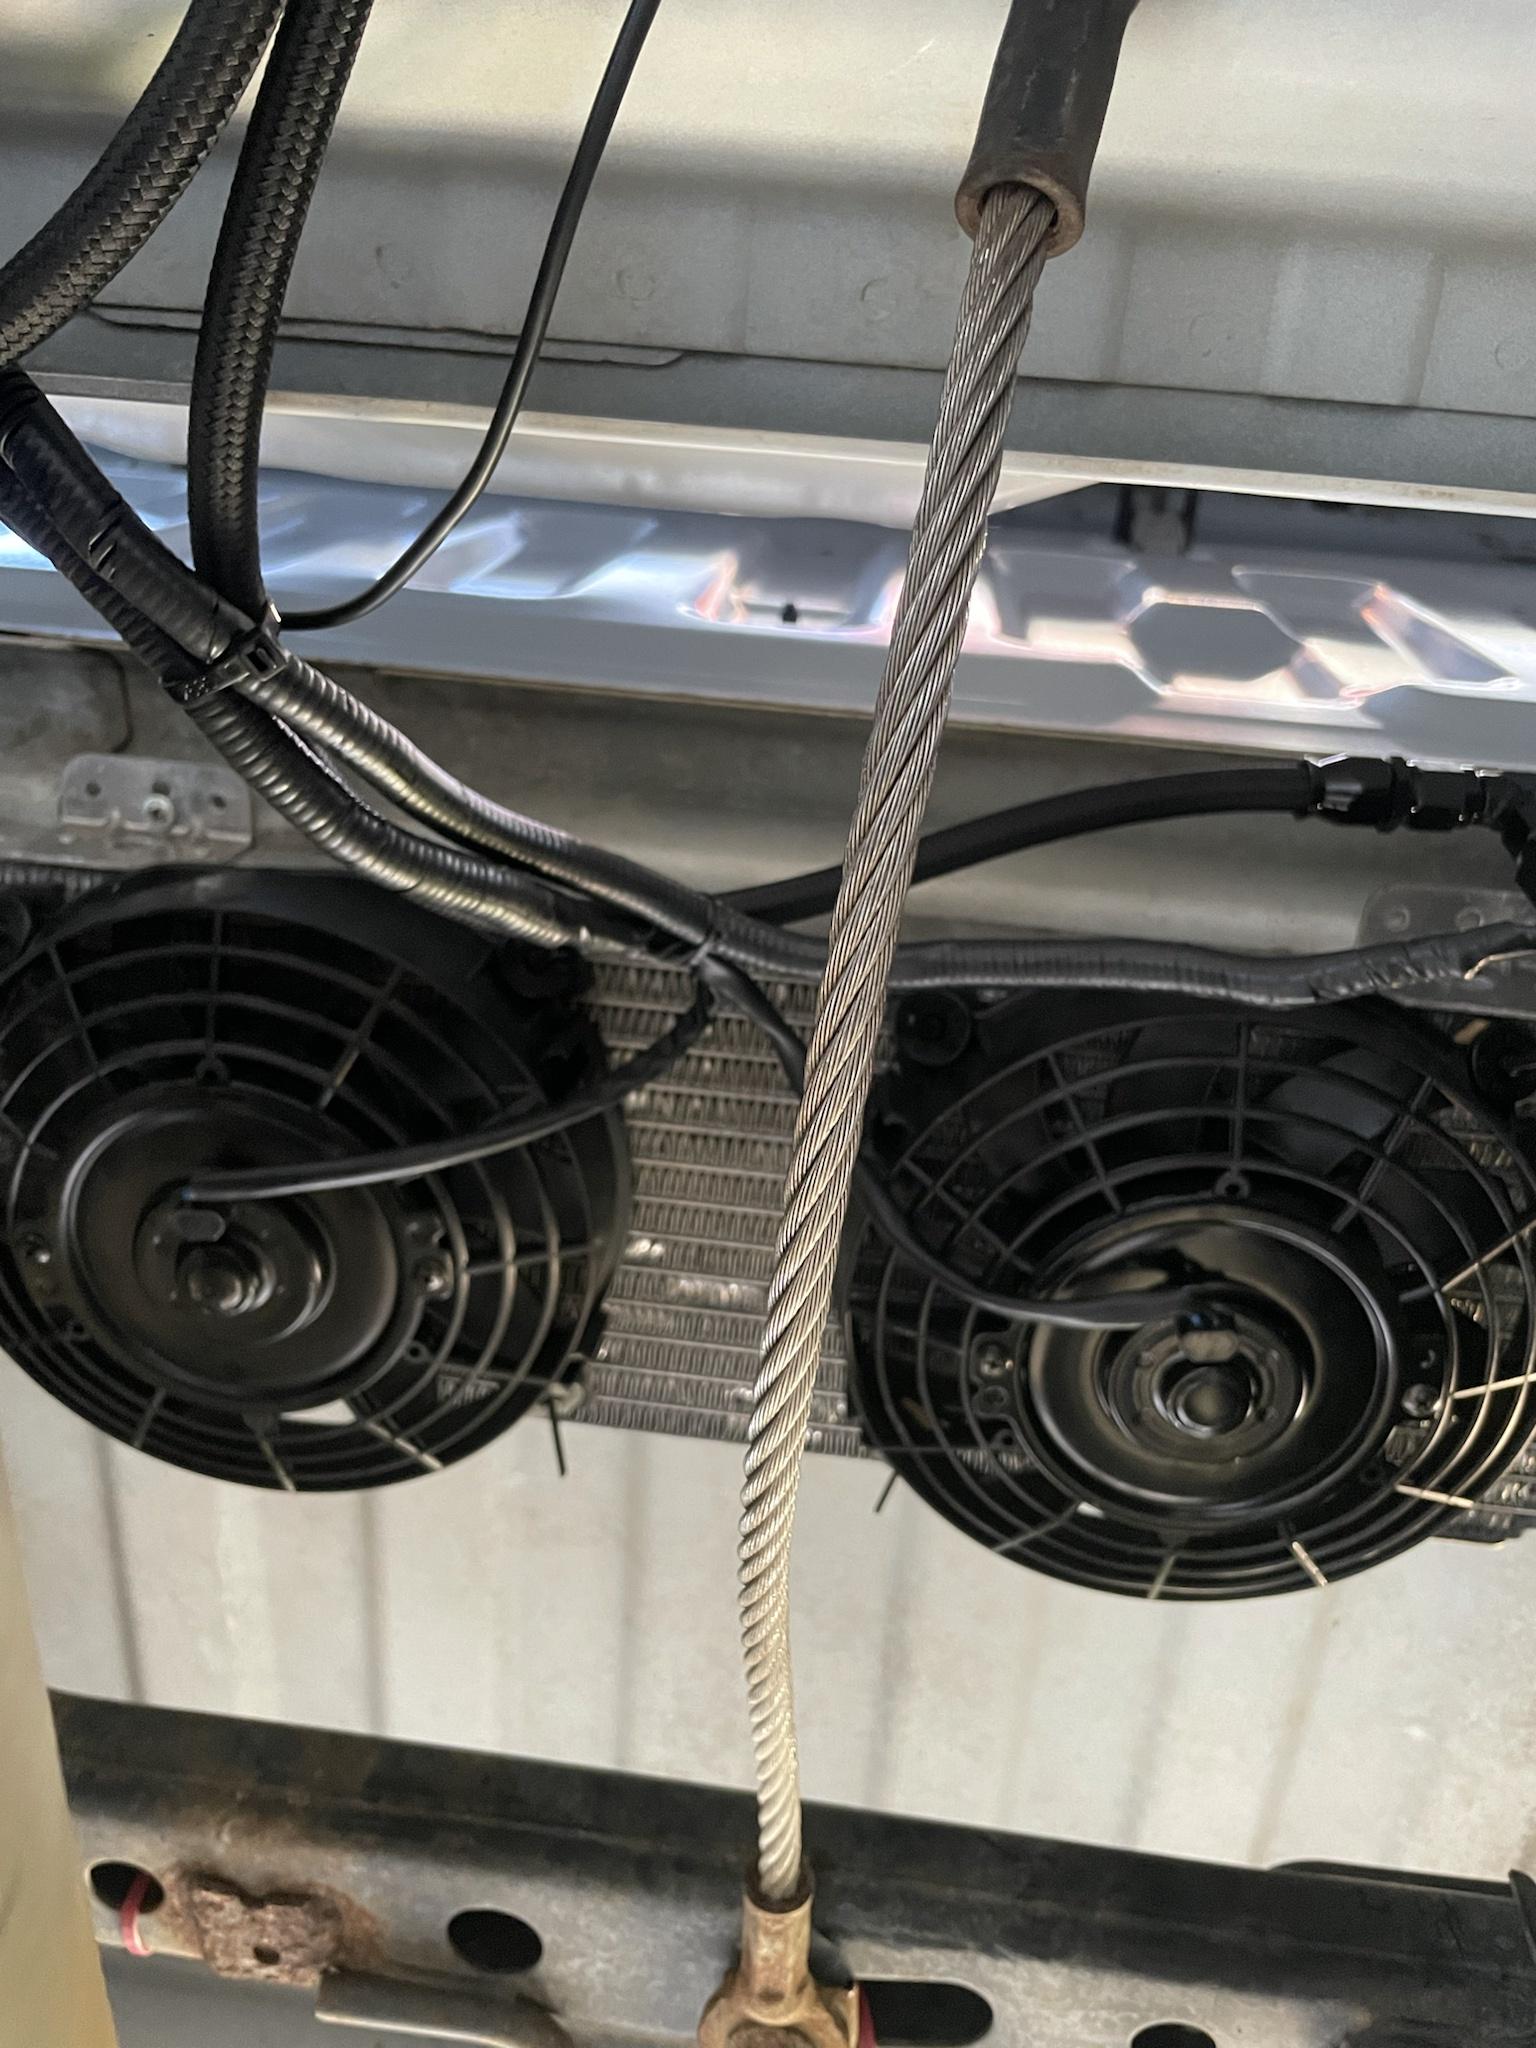
Next item on the list was a fan controller and fans for the 40k Tru-Cool transmission cooler. Even with the larger stall, the cooler up front was keeping the transmission temps a little lower than I thought it would. Kept the trans 130-140 degrees F which is nice but still wanted it a little warmer and since it's so big, was better to remove and push to the back of the truck so I could run the engine oil cooler up front.
The 40k Tru-Cool was ran just behind the cab, under the bed. I used a Derale dual fan controller with an adjustable in-line thermostat to control them. When trans temps get too hot, BOOM -- fans turn on and cool things down more than the cooler just sitting there. So far, we have the controller set to 175 degrees F. Turns on once it hits 175, and runs fans, temps get down to 160 degrees and turns off. So it sees 160-185 degrees so far from what I am seeing.
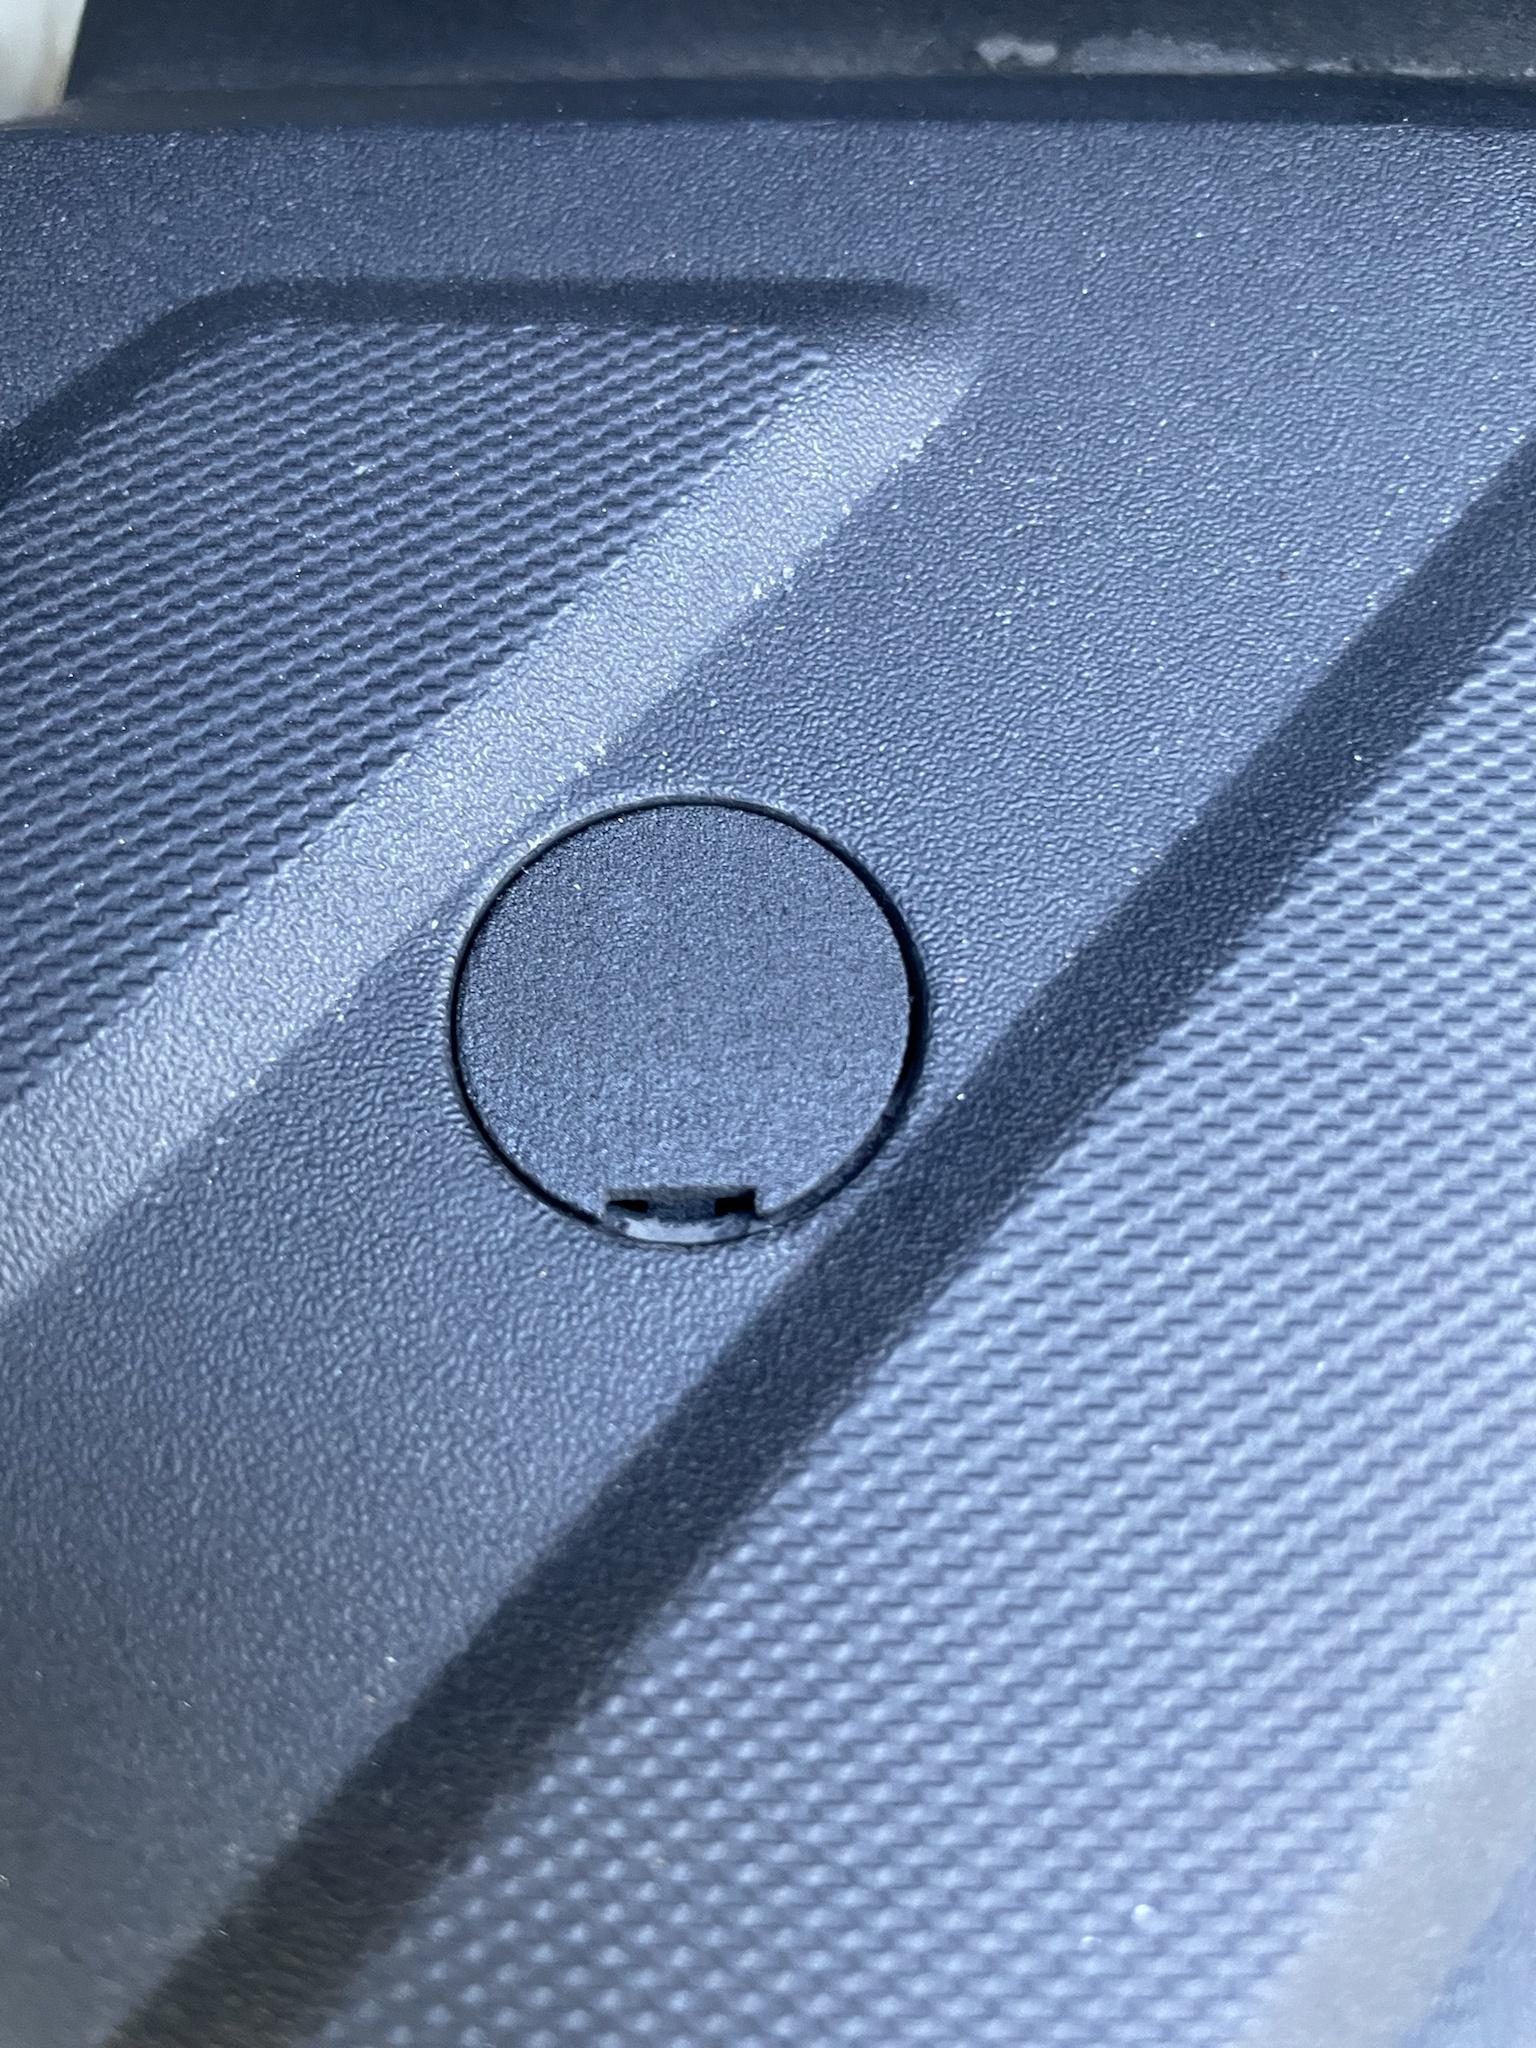
Also got two of these caps from German over at LasedDesigns. When I bought this T, I was missing the plastic bumper step caps from the screws.
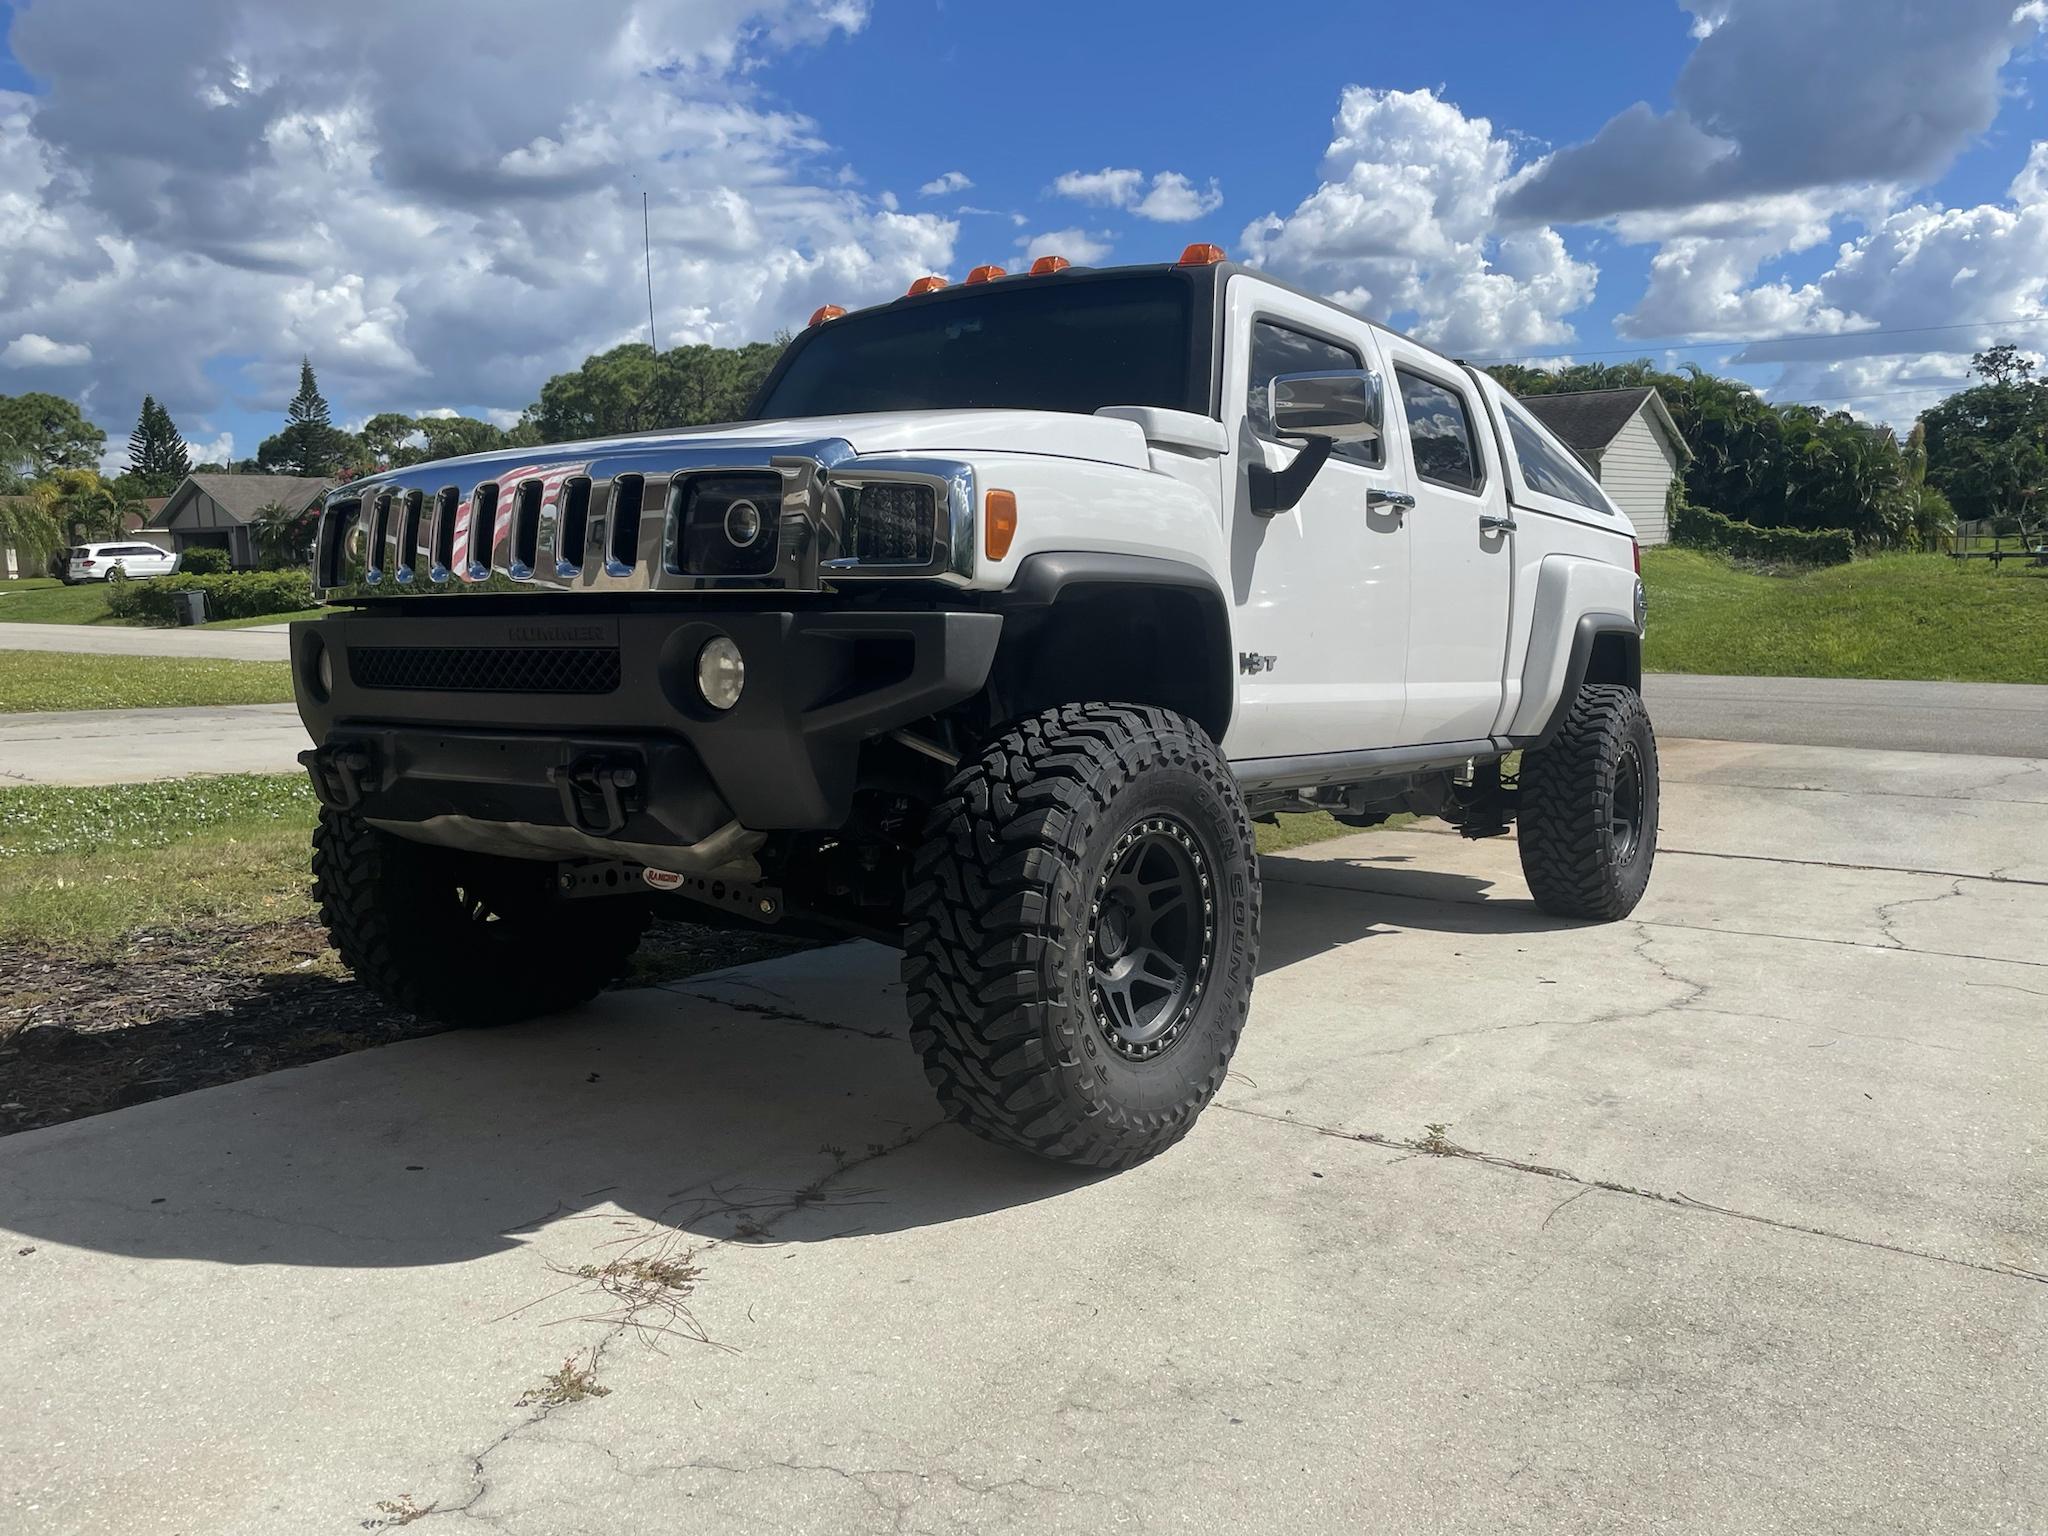
And finally, how she sits now. Was able to put 500 miles on her and break the engine in. Removed the break-in oil and changed to it's for-life synthetic blend oil. Now that everything is done, we can move on to the final tuning.
Turns out, a smaller issue we ran into was that the oil was running a little hotter than the old Alpha 5.3L engine was. Nothing too crazy but we definitely wanted to adjust it before it became a bigger issue. Our Alpha engines have no oil cooling done to them as I could see and for the old engine, it was fine and only really ran 200-220 degrees F. The new 6.2L, was ran pretty much the same way -- no oil cooling and it ran 220-240 degrees F. Not bad but I don't like oil temps close to or over 250 degrees F.
So to cure this, we tuned the truck as it sat for drivability and idle. Nothing on the dyno yet for full range or mid-throttle and up. Then I ordered a few items. One, was this Improved Racing billet adaptor. This connects to a spot on our LS engines right above the oil filter, where there is just a rectangular cap. This allows me to run engine oil from the block directly, to a oil cooler AND has it's own thermostat of 212 degrees F in the billet adaptor. Pretty cool.
Second item was a 10-row black oil cooler from Mishimoto. I removed the biga$$ 40k transmission cooler from the front of the truck, and replaced it with the new oil cooler with some nice AN PTFE lines. Engine oil on the truck, completed. Now it'll stay around 212 F no problem.
Next item on the list was a fan controller and fans for the 40k Tru-Cool transmission cooler. Even with the larger stall, the cooler up front was keeping the transmission temps a little lower than I thought it would. Kept the trans 130-140 degrees F which is nice but still wanted it a little warmer and since it's so big, was better to remove and push to the back of the truck so I could run the engine oil cooler up front.
The 40k Tru-Cool was ran just behind the cab, under the bed. I used a Derale dual fan controller with an adjustable in-line thermostat to control them. When trans temps get too hot, BOOM -- fans turn on and cool things down more than the cooler just sitting there. So far, we have the controller set to 175 degrees F. Turns on once it hits 175, and runs fans, temps get down to 160 degrees and turns off. So it sees 160-185 degrees so far from what I am seeing.
Also got two of these caps from German over at LasedDesigns. When I bought this T, I was missing the plastic bumper step caps from the screws.
And finally, how she sits now. Was able to put 500 miles on her and break the engine in. Removed the break-in oil and changed to it's for-life synthetic blend oil. Now that everything is done, we can move on to the final tuning.
#68
01-17-2022, 04:12 PM
Making some changes to the transmission fan controller setting. Initially we set it with the vehicle turned on as opposed to driving. But as I drove it, the temps were just slightly off of what I wanted it to be.
Additionally, seeing how the back of the truck cab was just plain metal then plastic trim/seats, I decided to add some Dynamat for more sound protection.
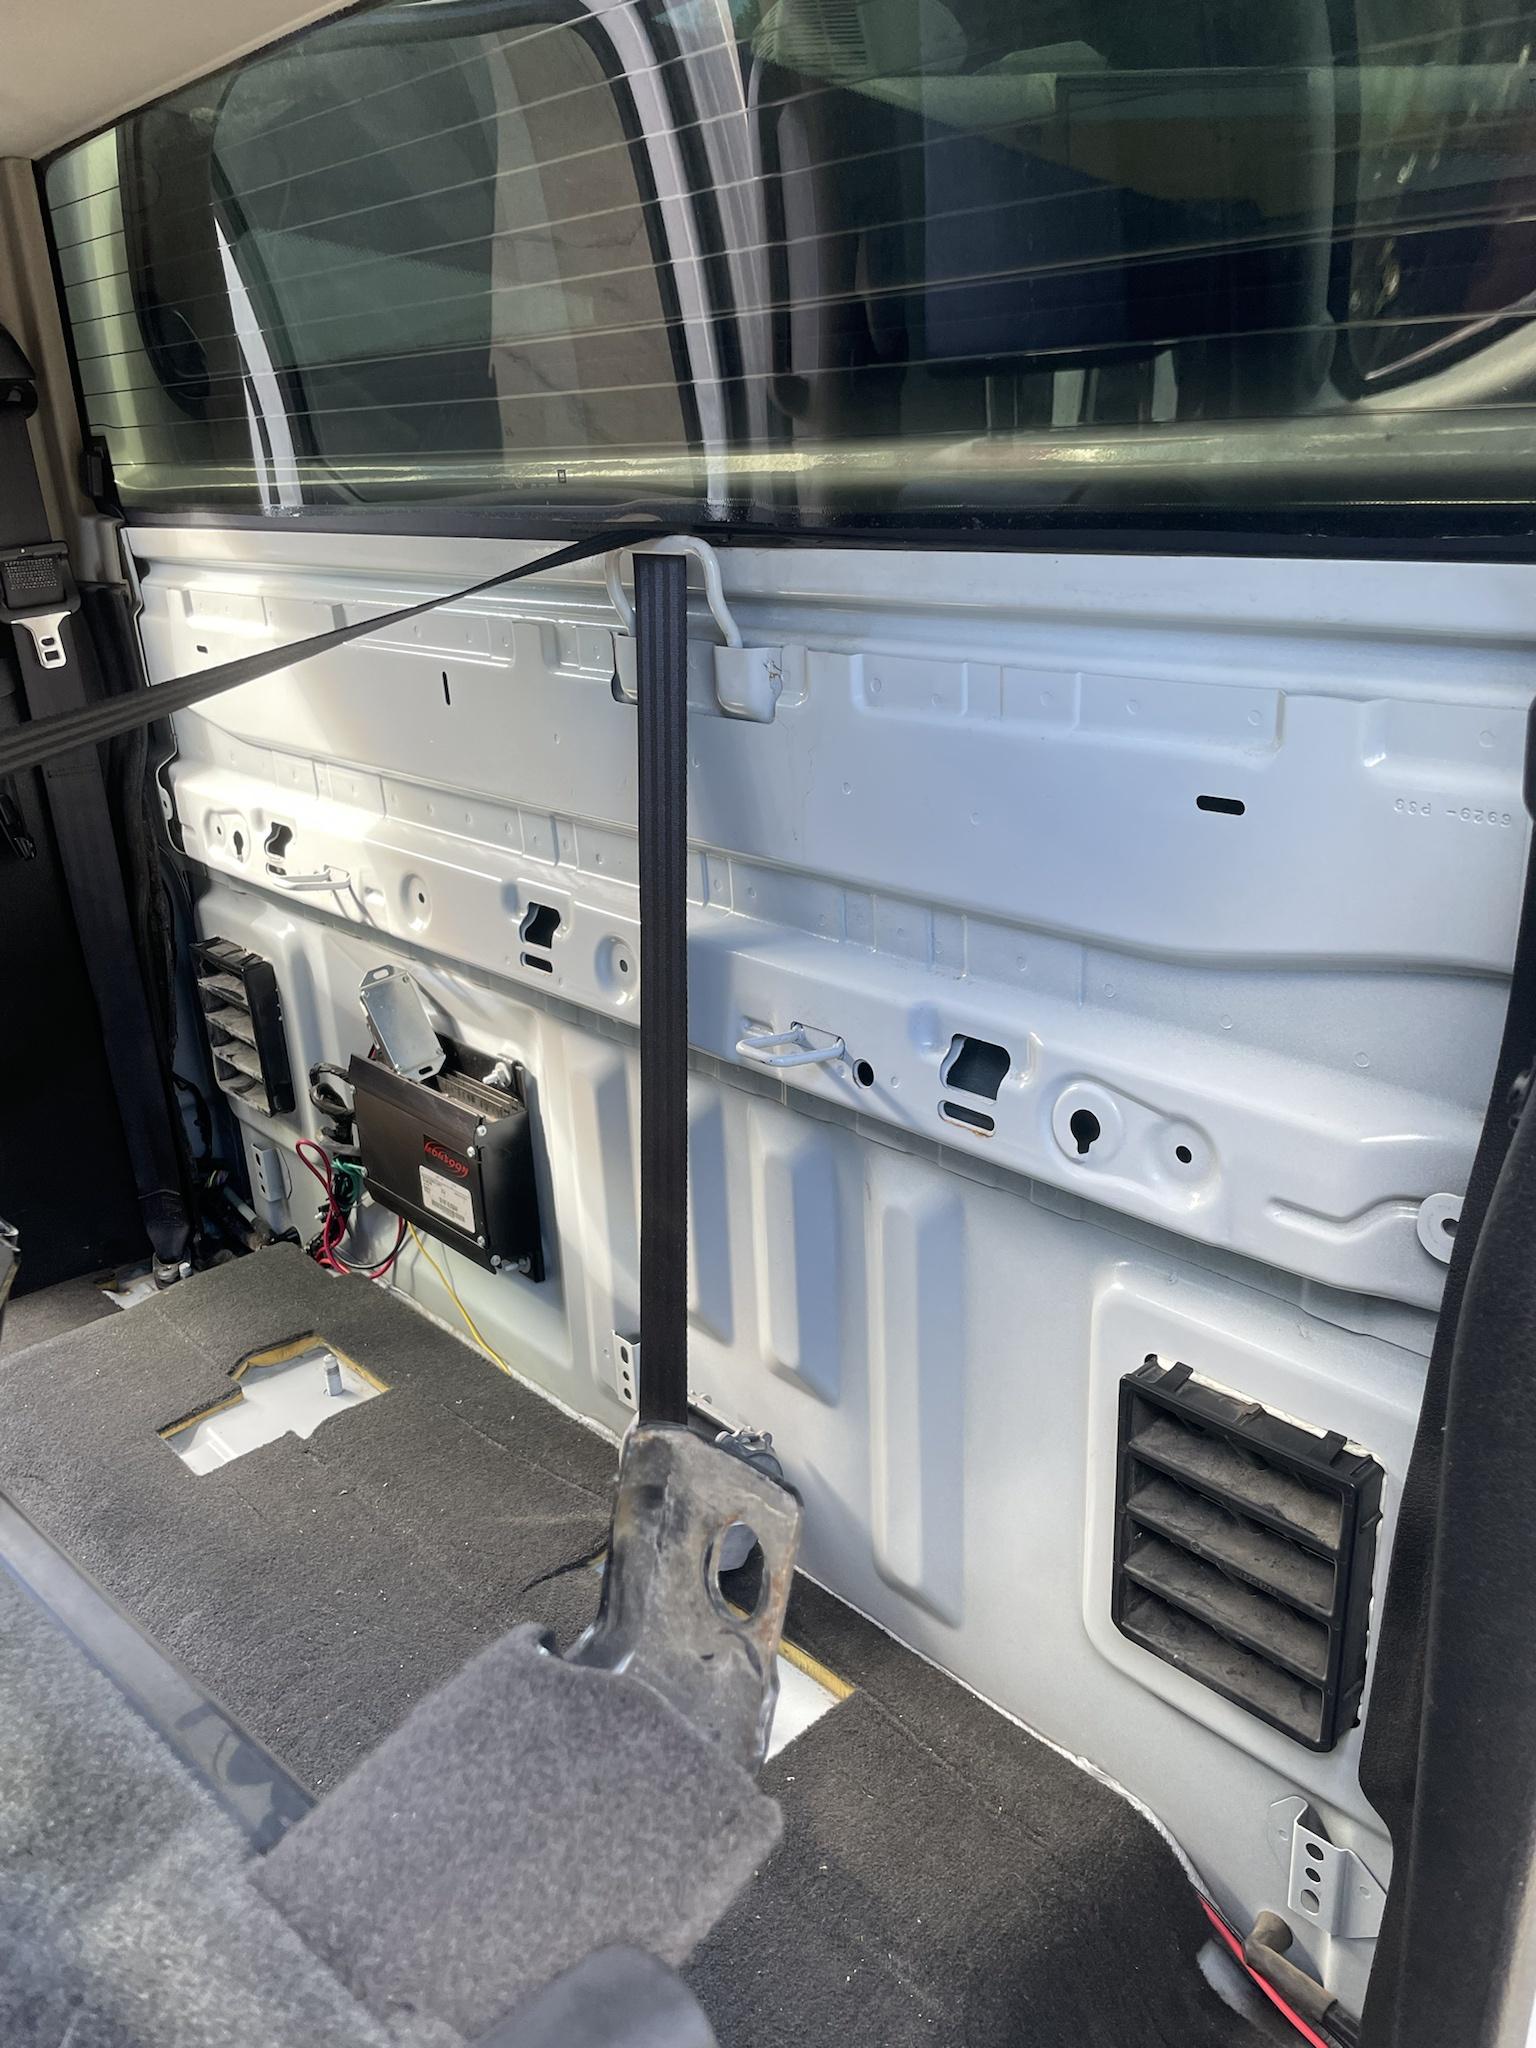
Rear seats removed and some alcohol wipe-down for Dynamat adhesion promotion. Paint back there looks like it's still new, still perfect! Also adjusted my controller for the trans fans, which I located back here.
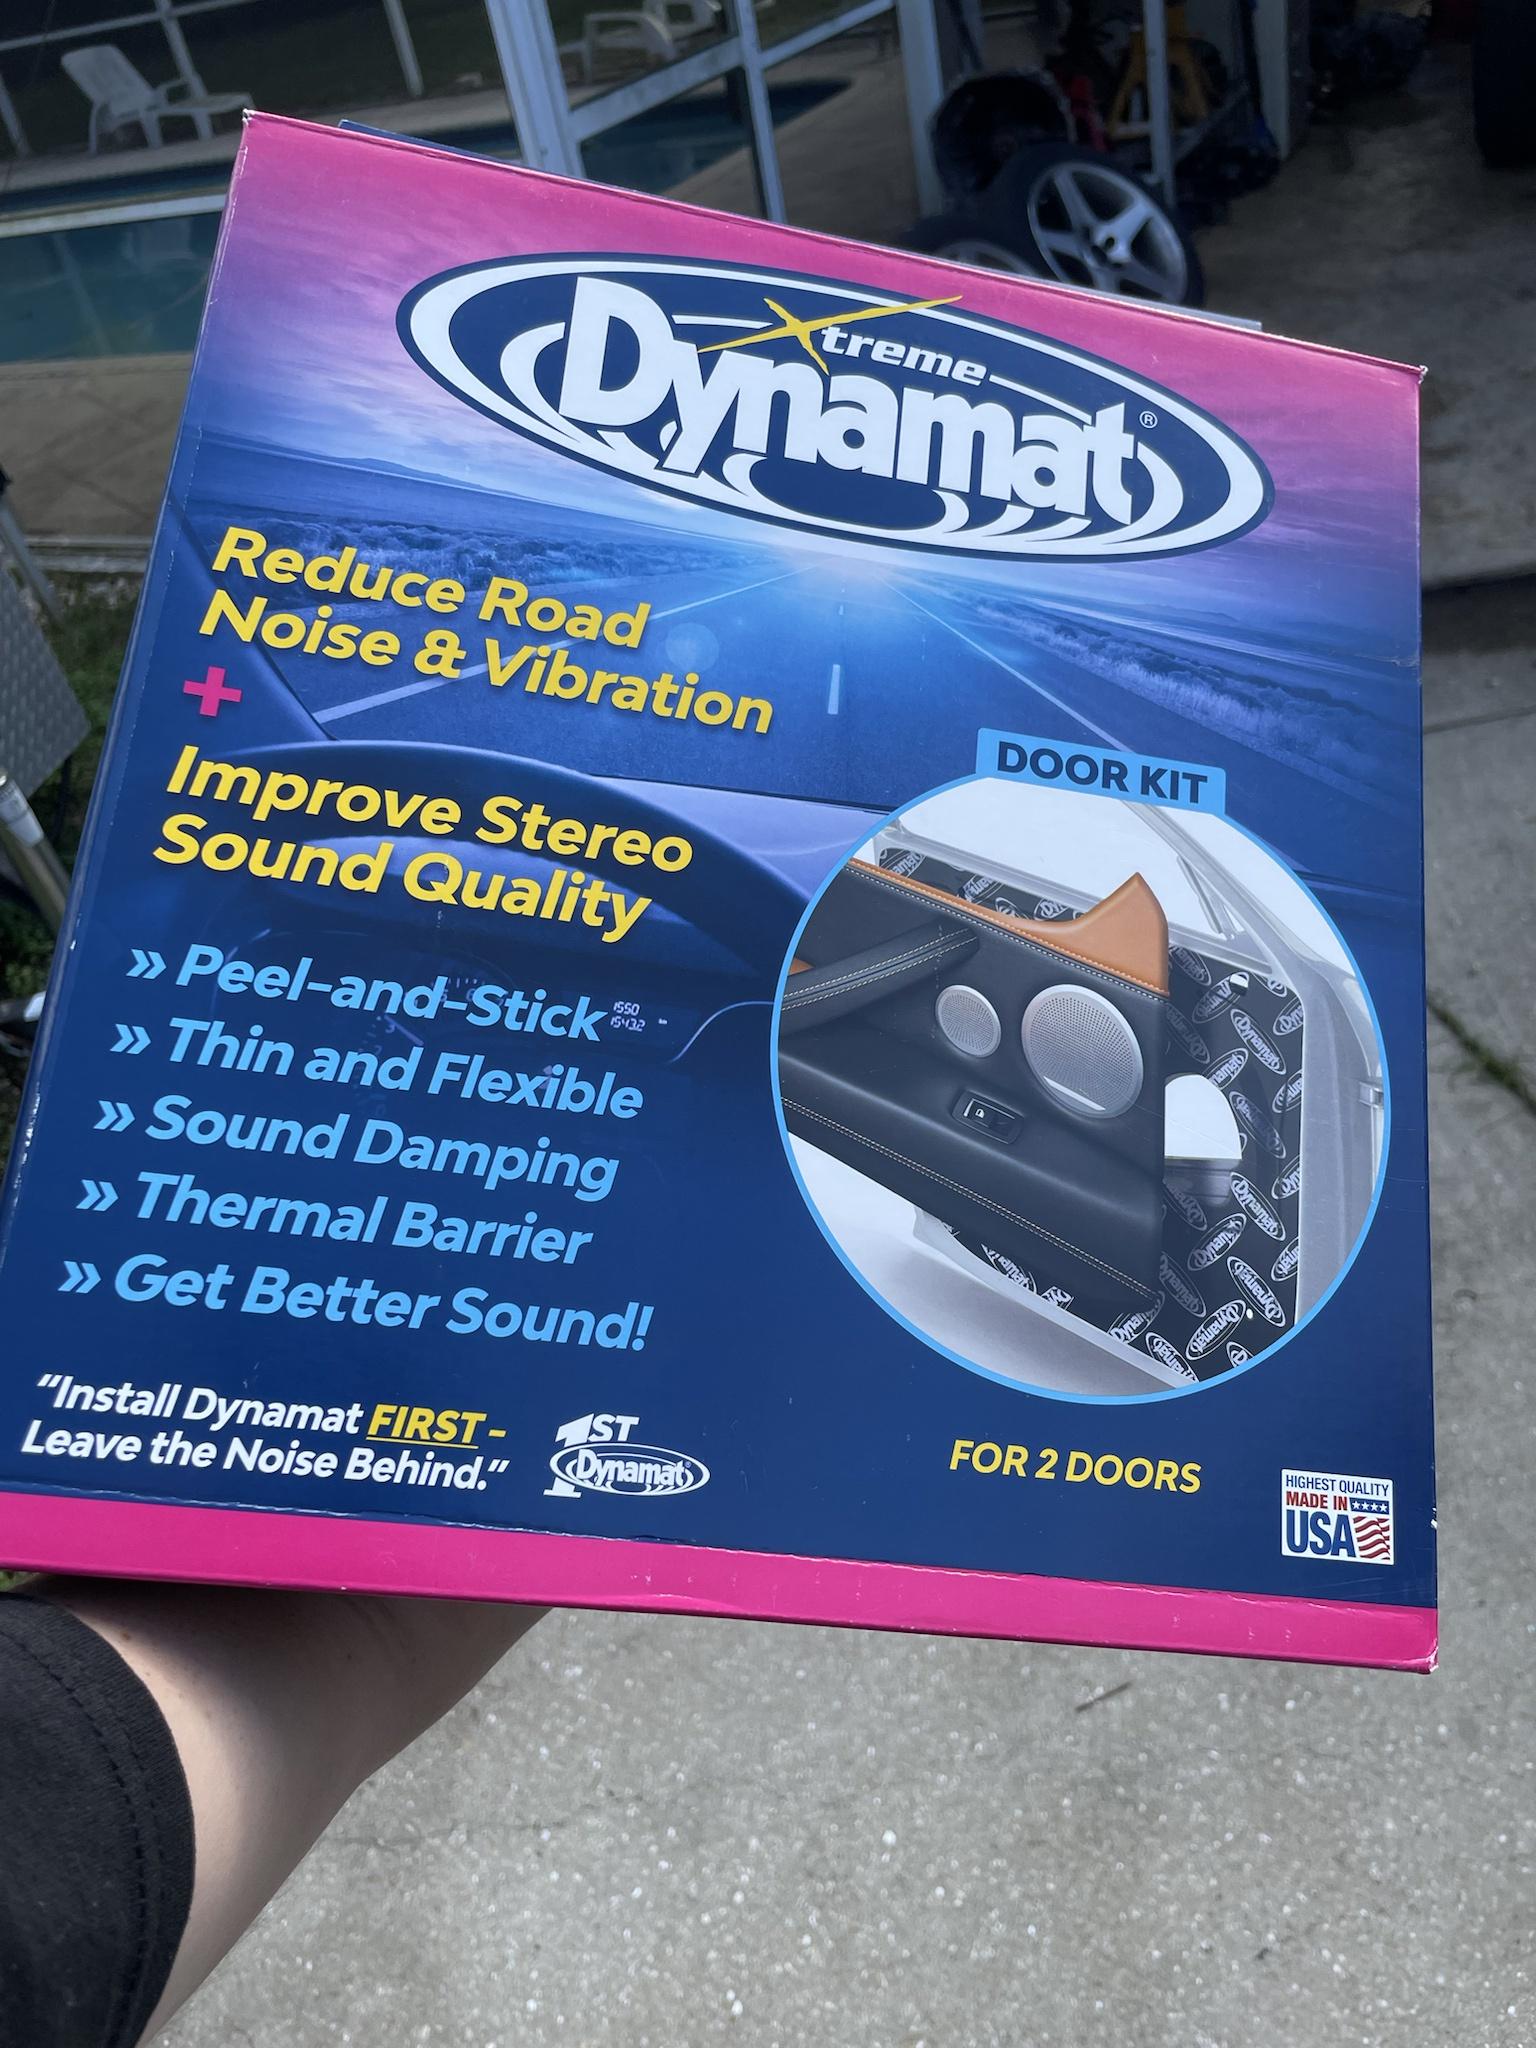
This is the Dynamat kit I used, above.
And below... the bottom portion (harder section) completed.
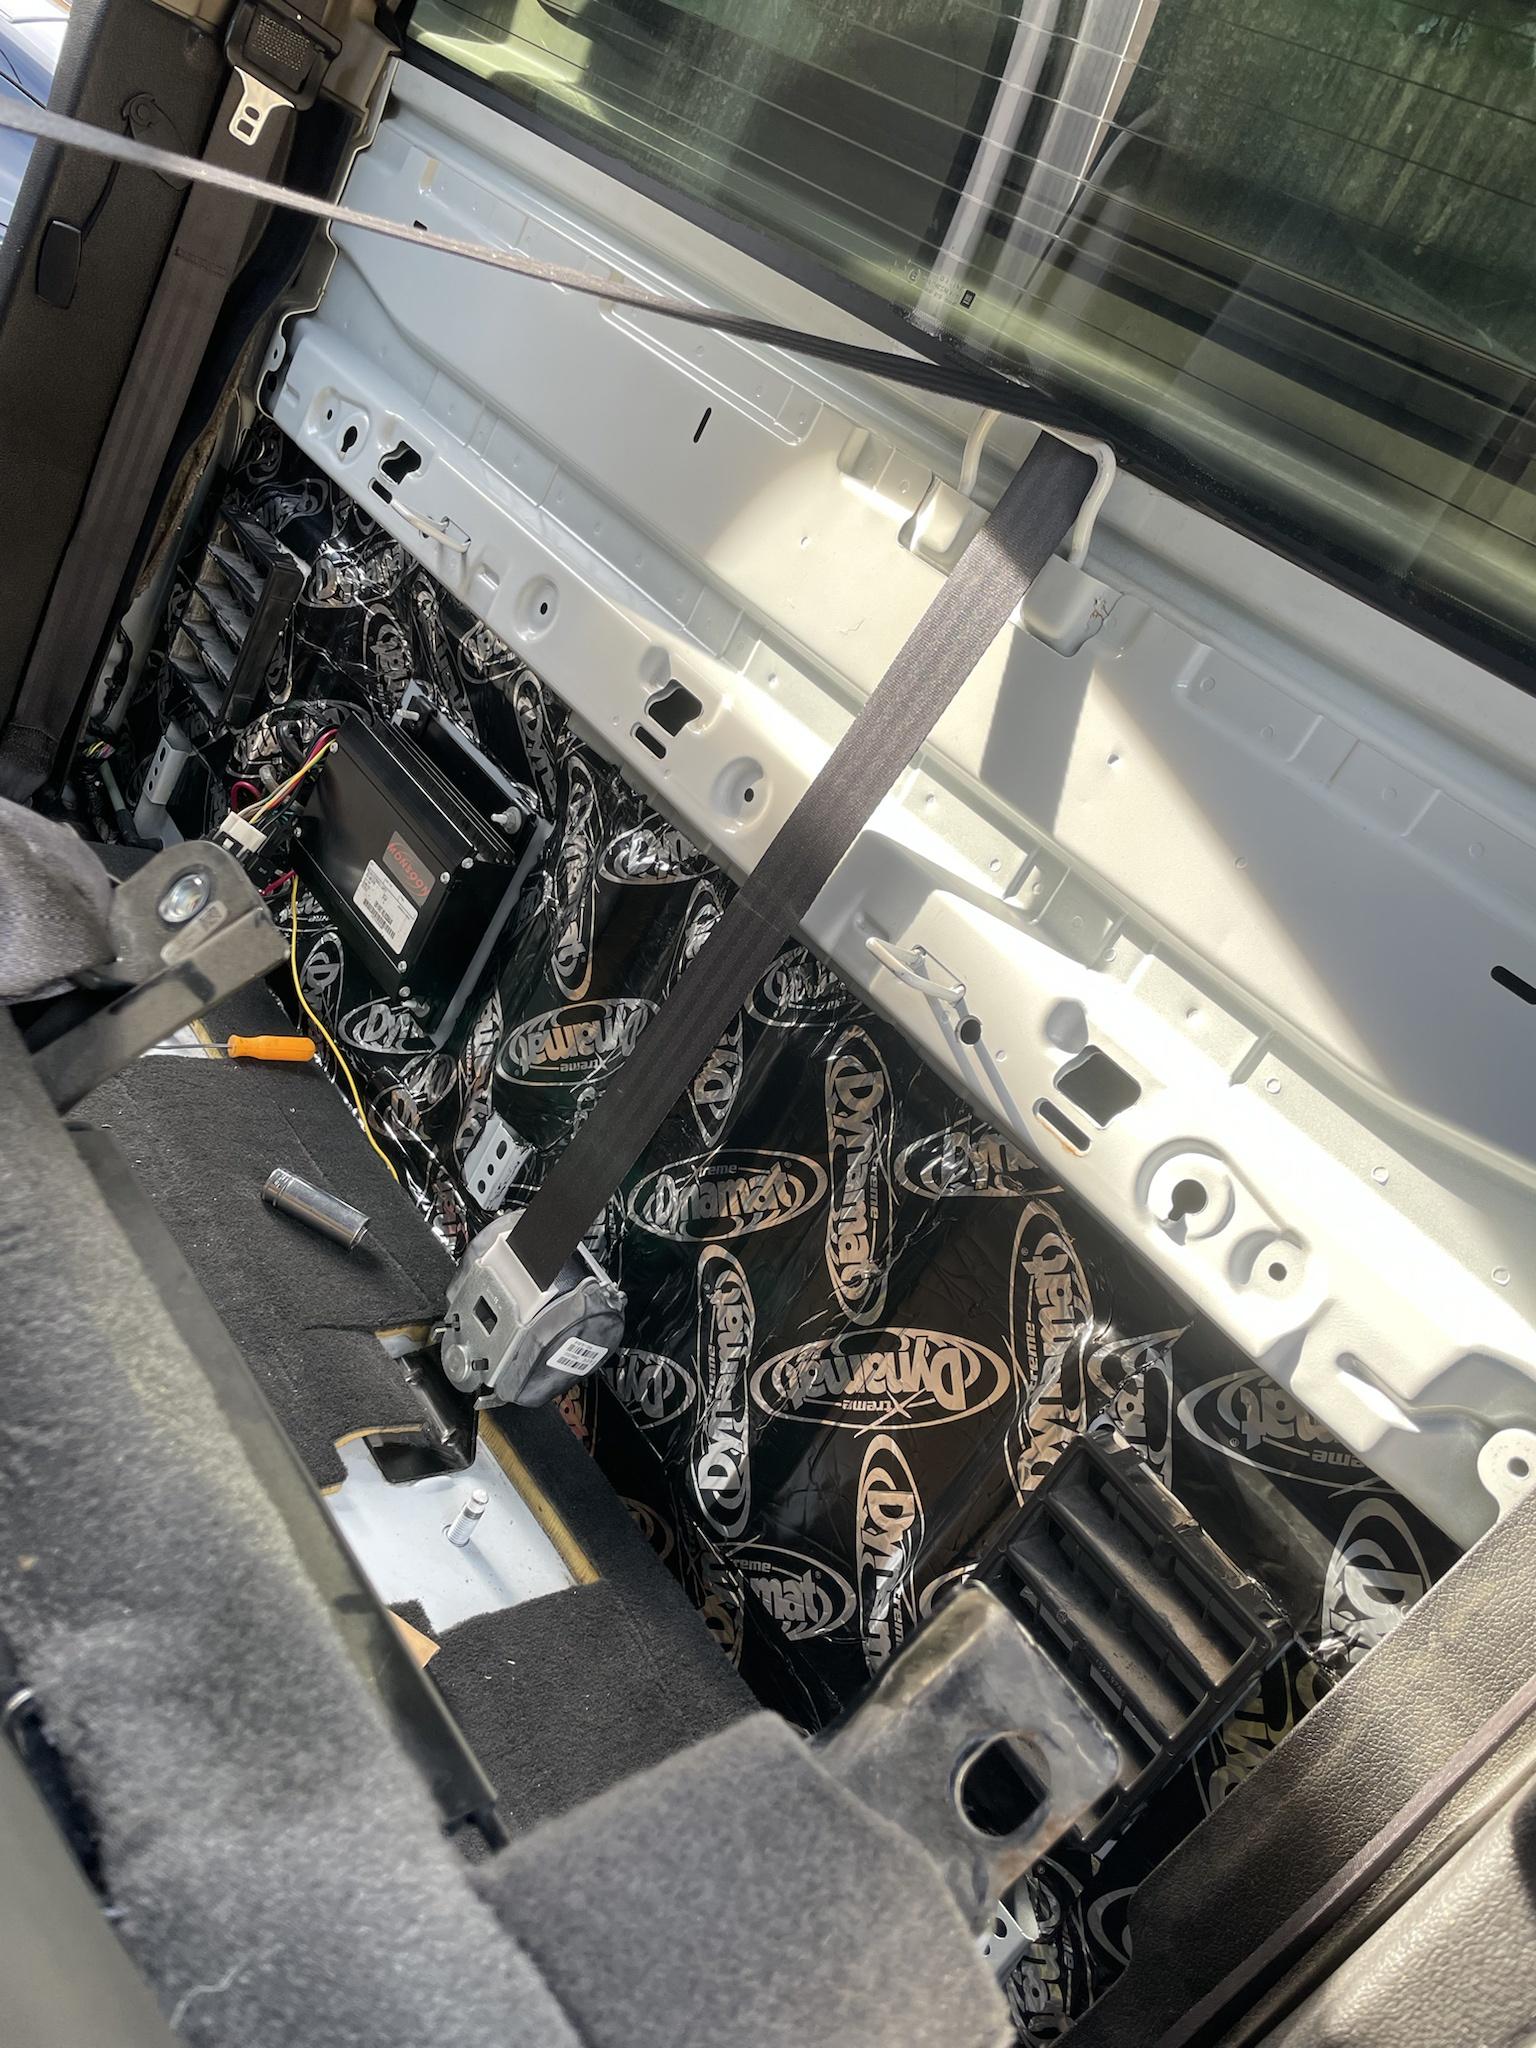
Not too difficult to do, just takes some time to measure everything out and cut the stuff up lol.
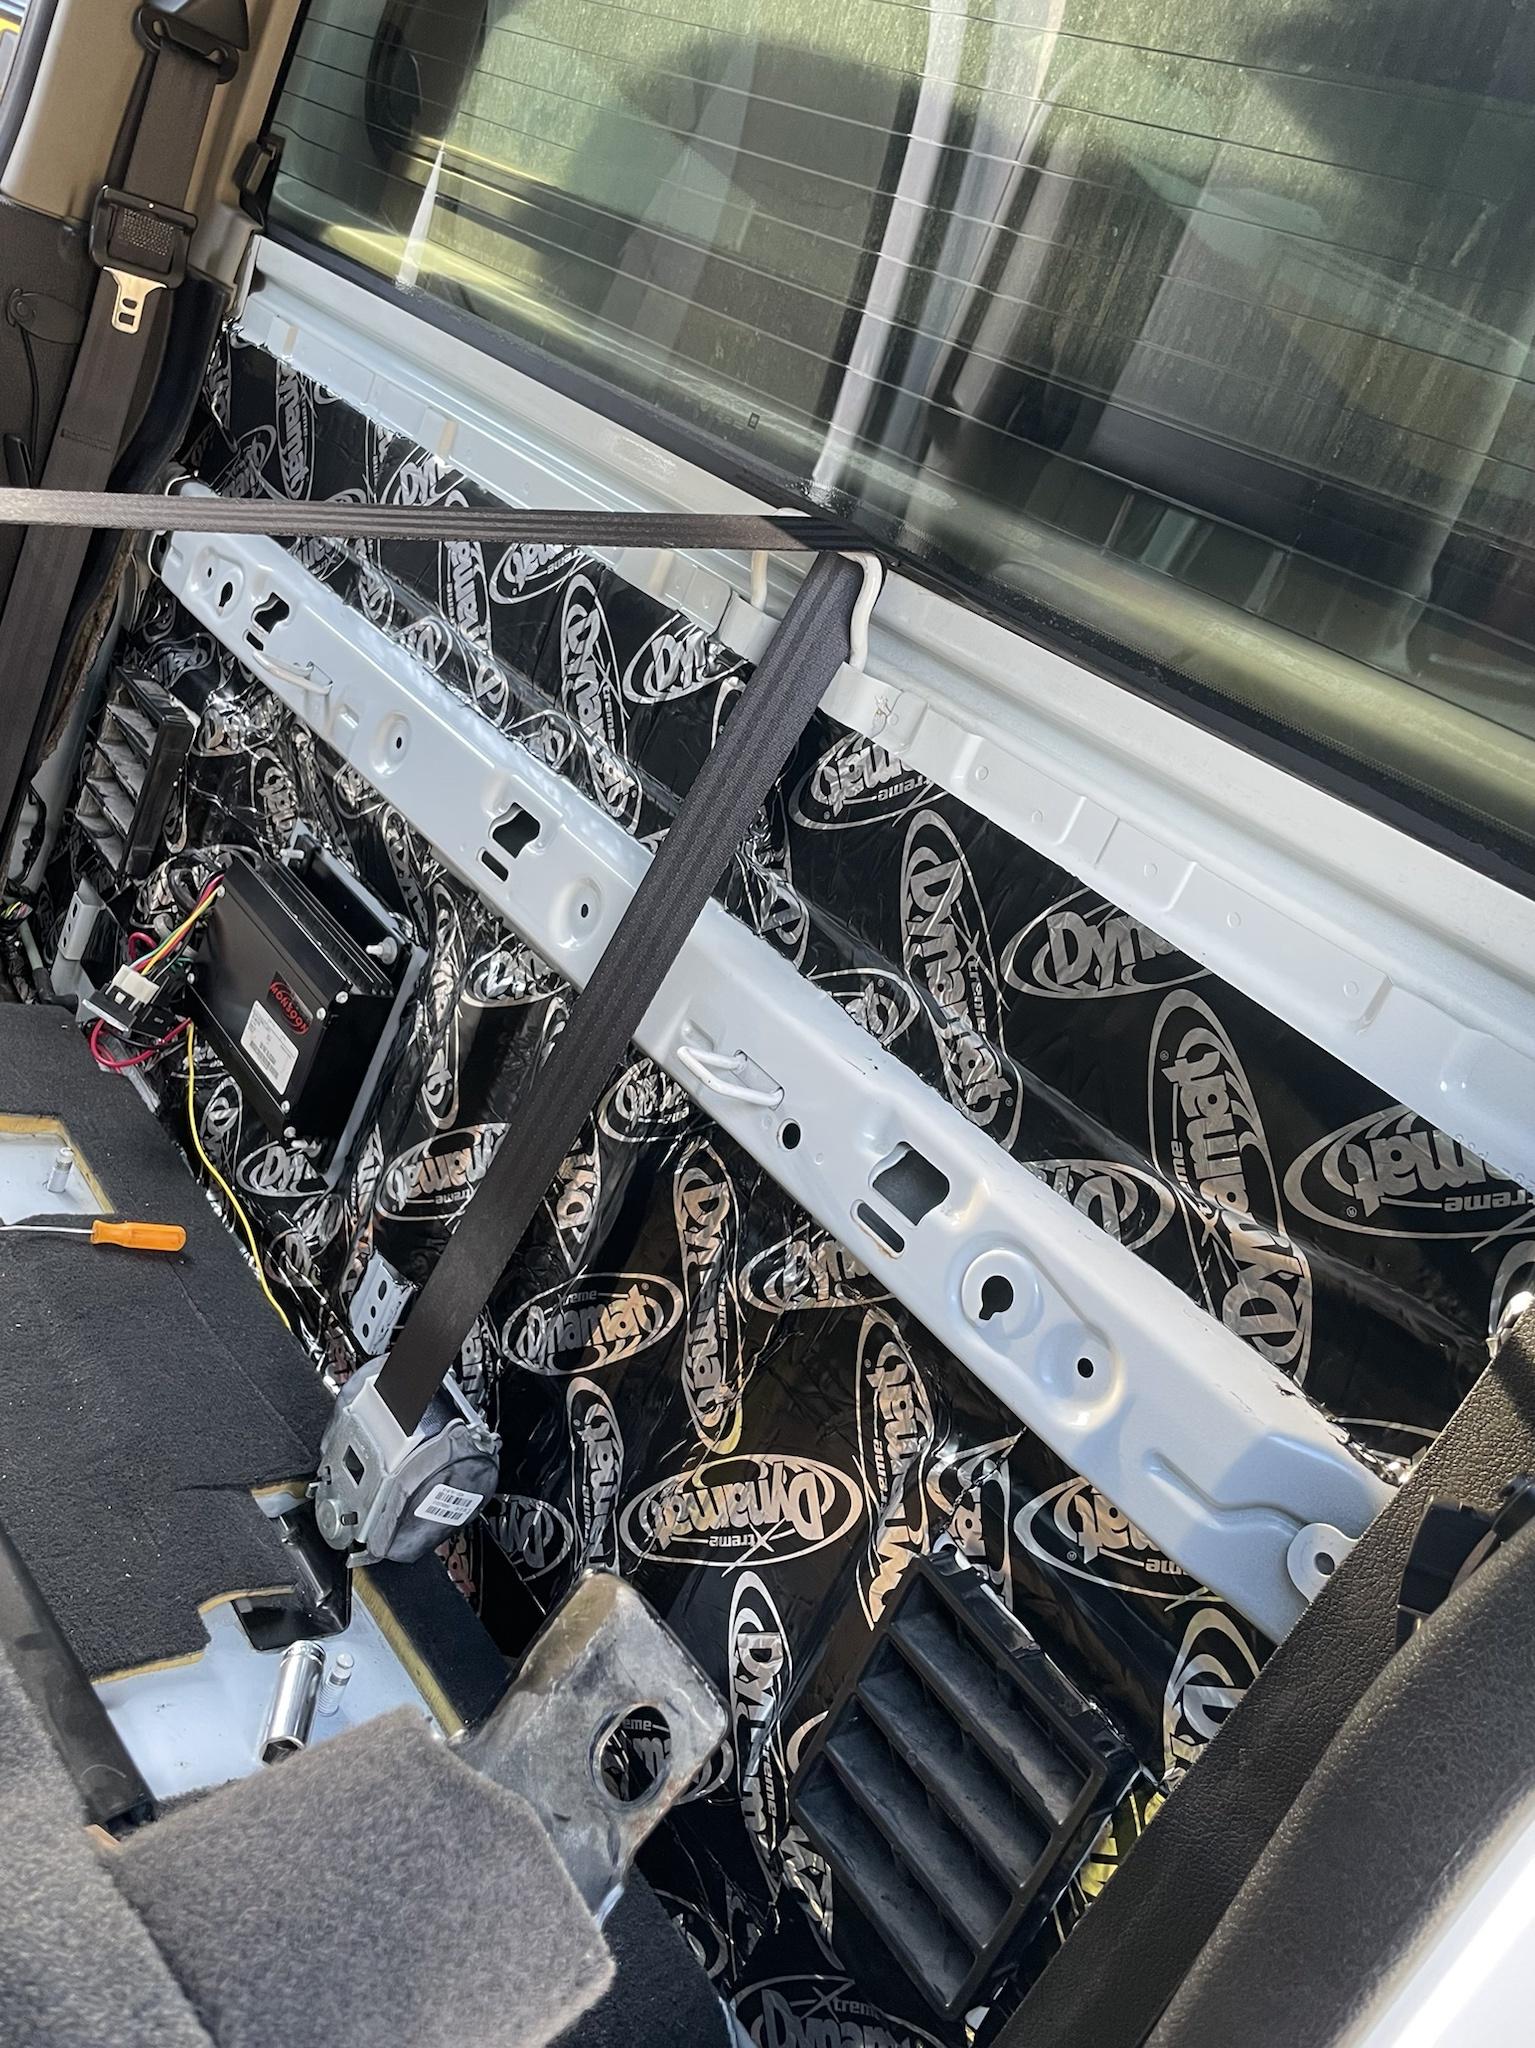
Top portion completed. Avoided the seat support bar, as the plastic trim attaches to it with push pins and sits on it, as well as the very top extruded section where the trim sits in place and slides into the metal sleeves. Don't mind the leg of the bottom seats sticking up in the way lol.
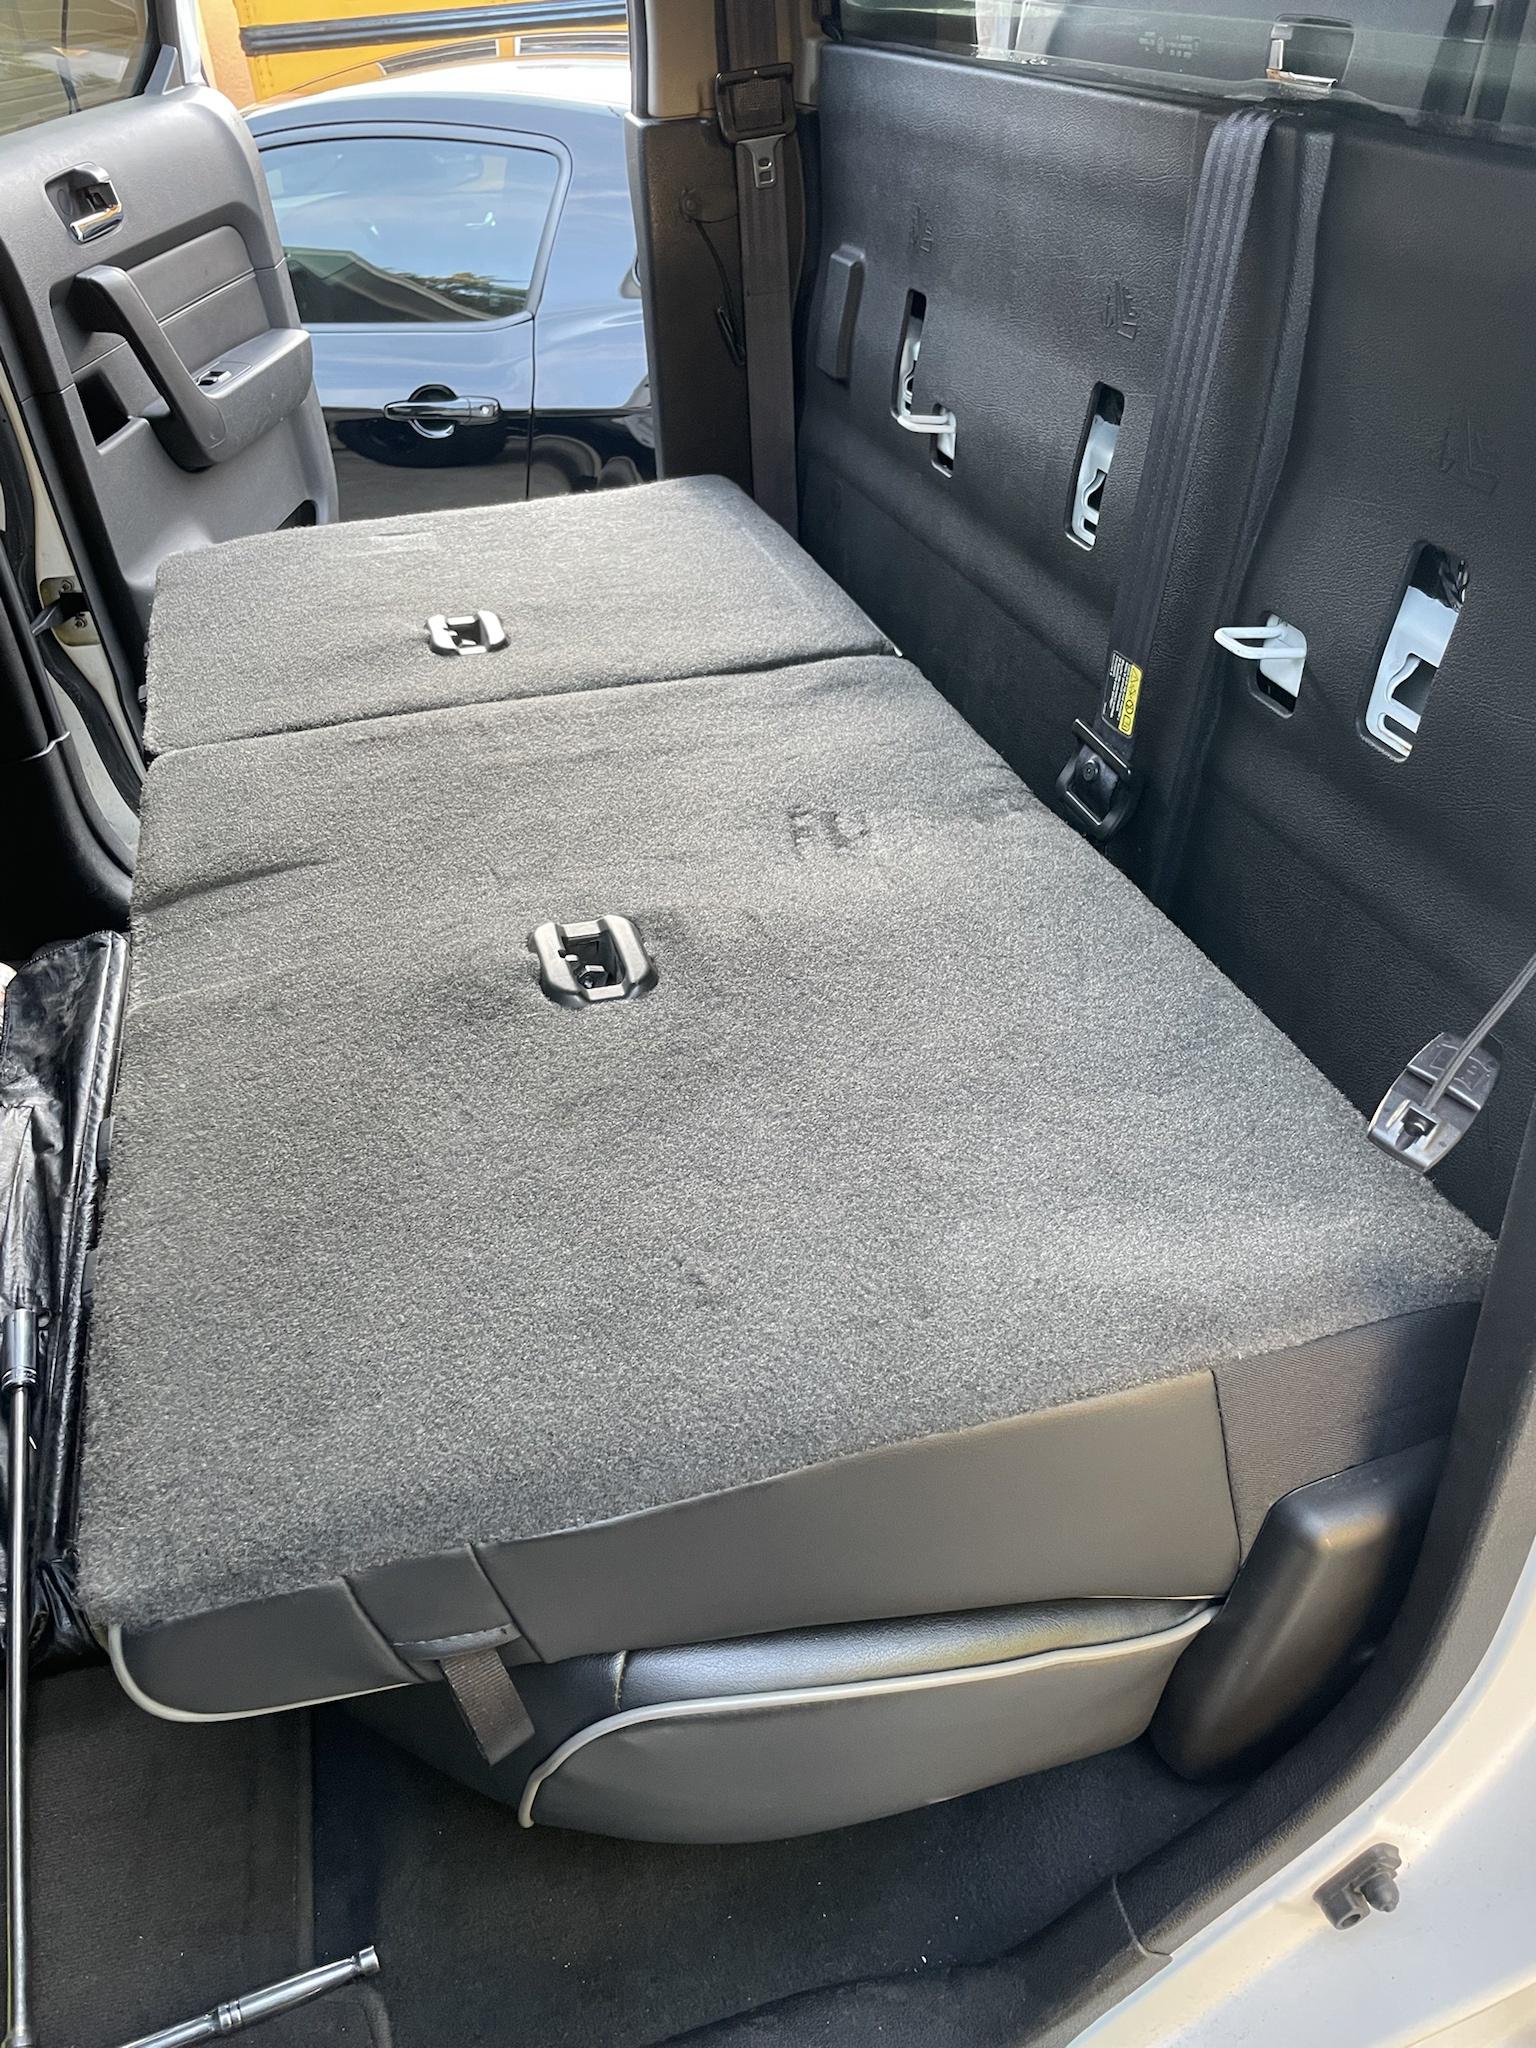
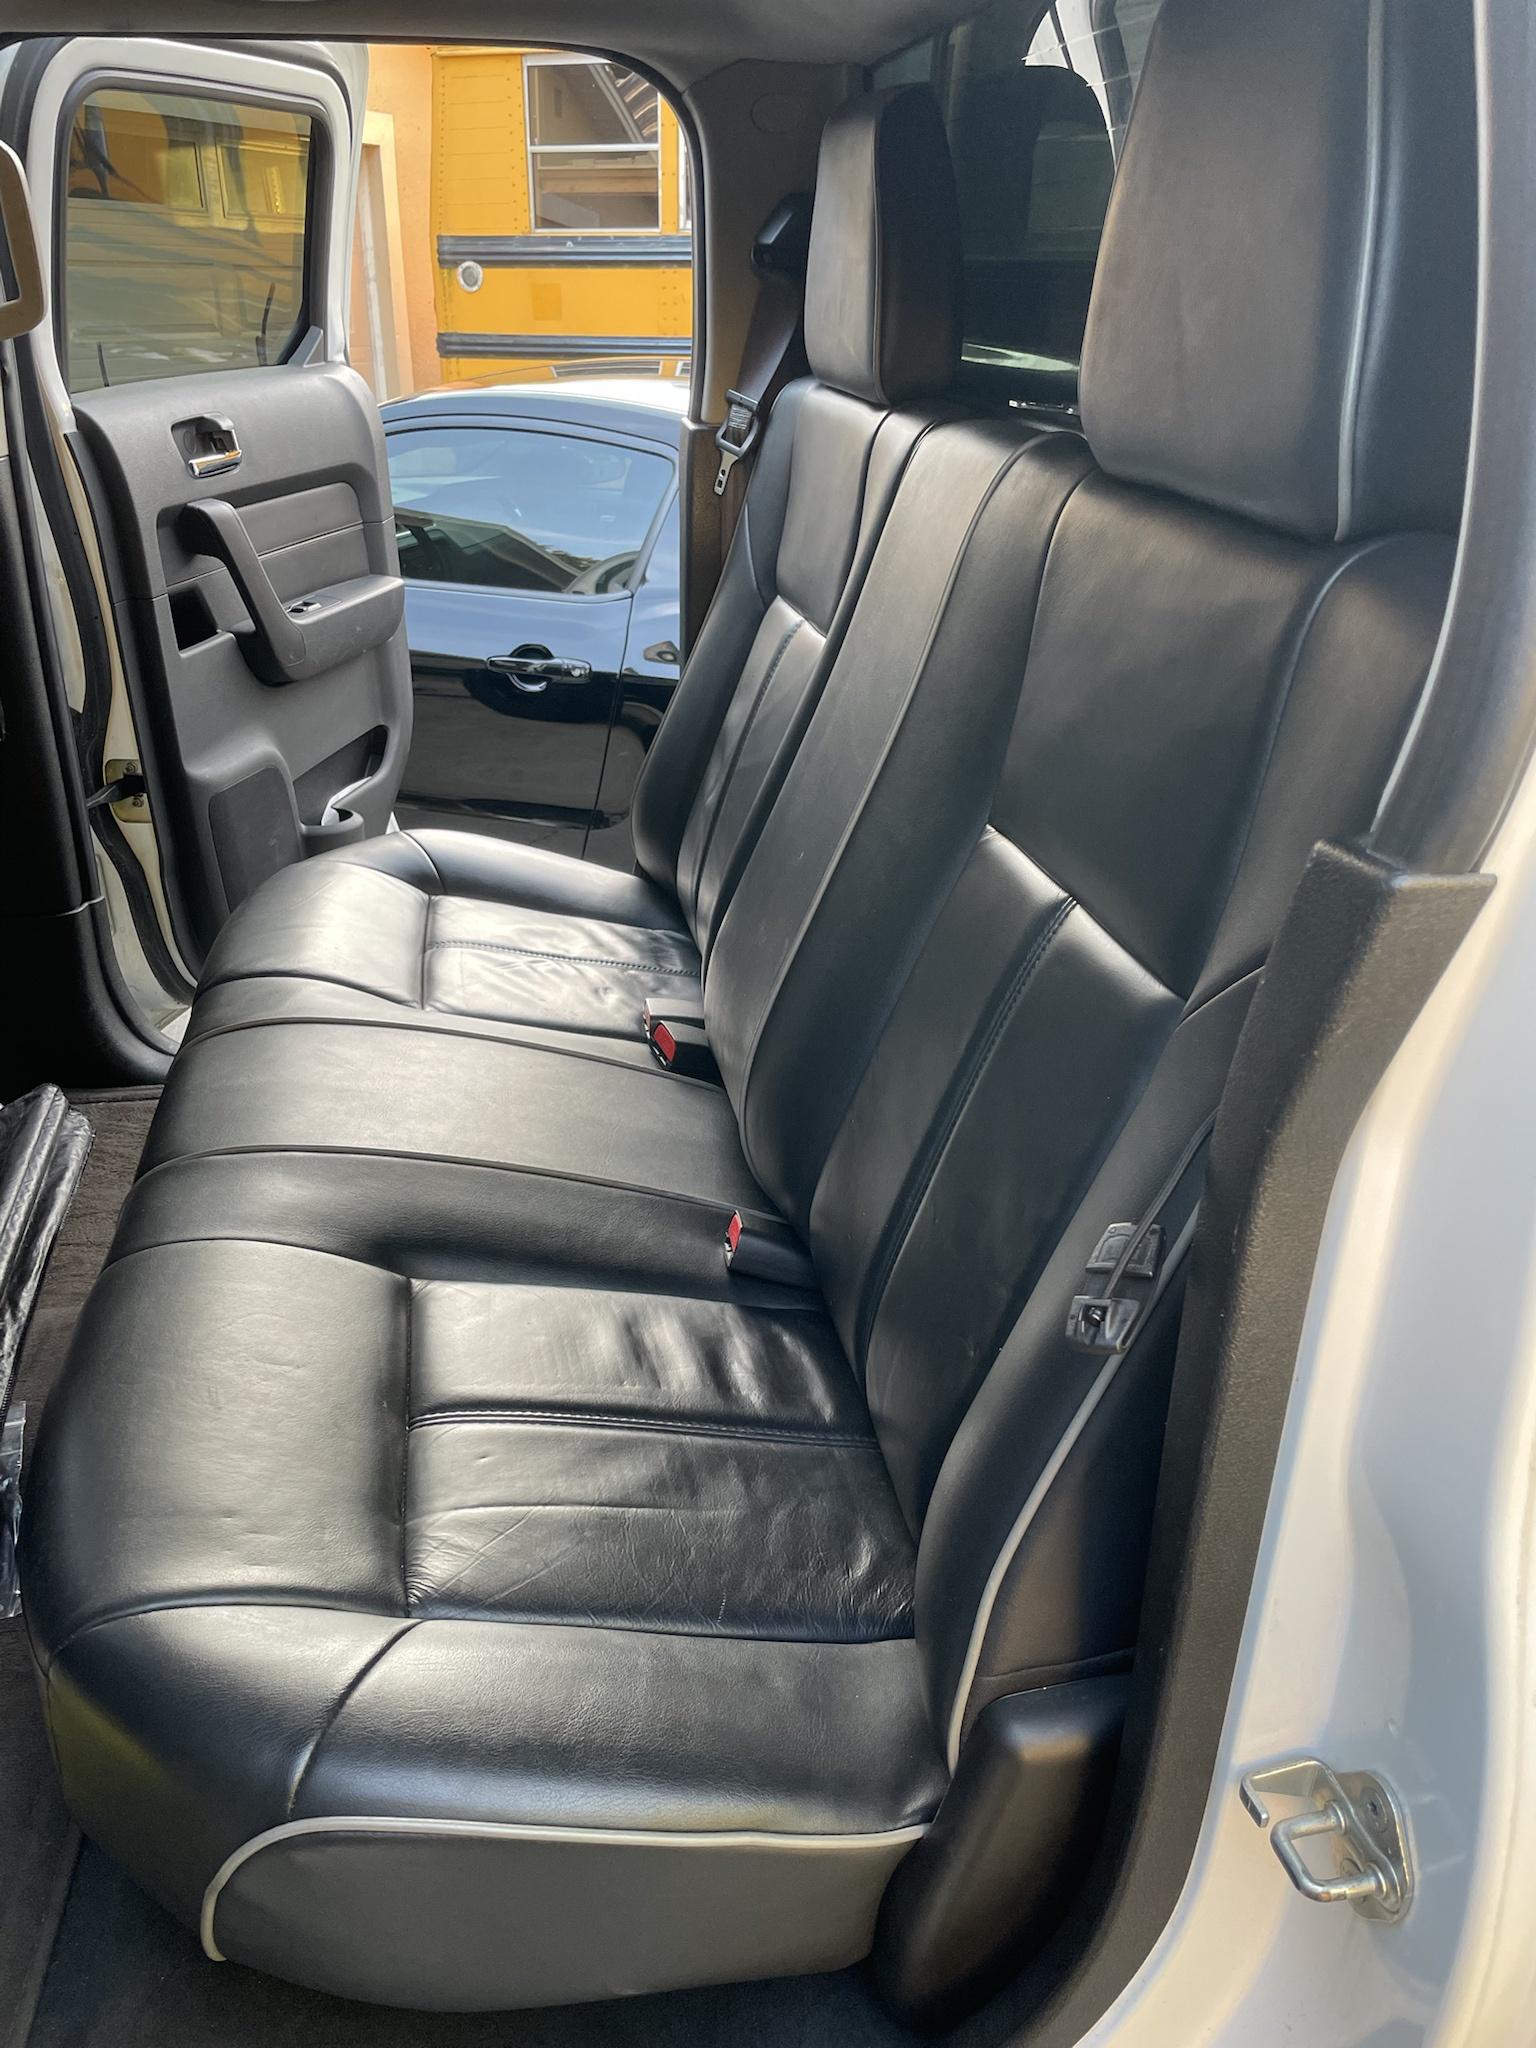
Plastic trim and rear seats re-installed and back into place.
And while we were at it, went ahead and put the T on the lift to make sure everything from the built engine/trans/cab off install was looking good.
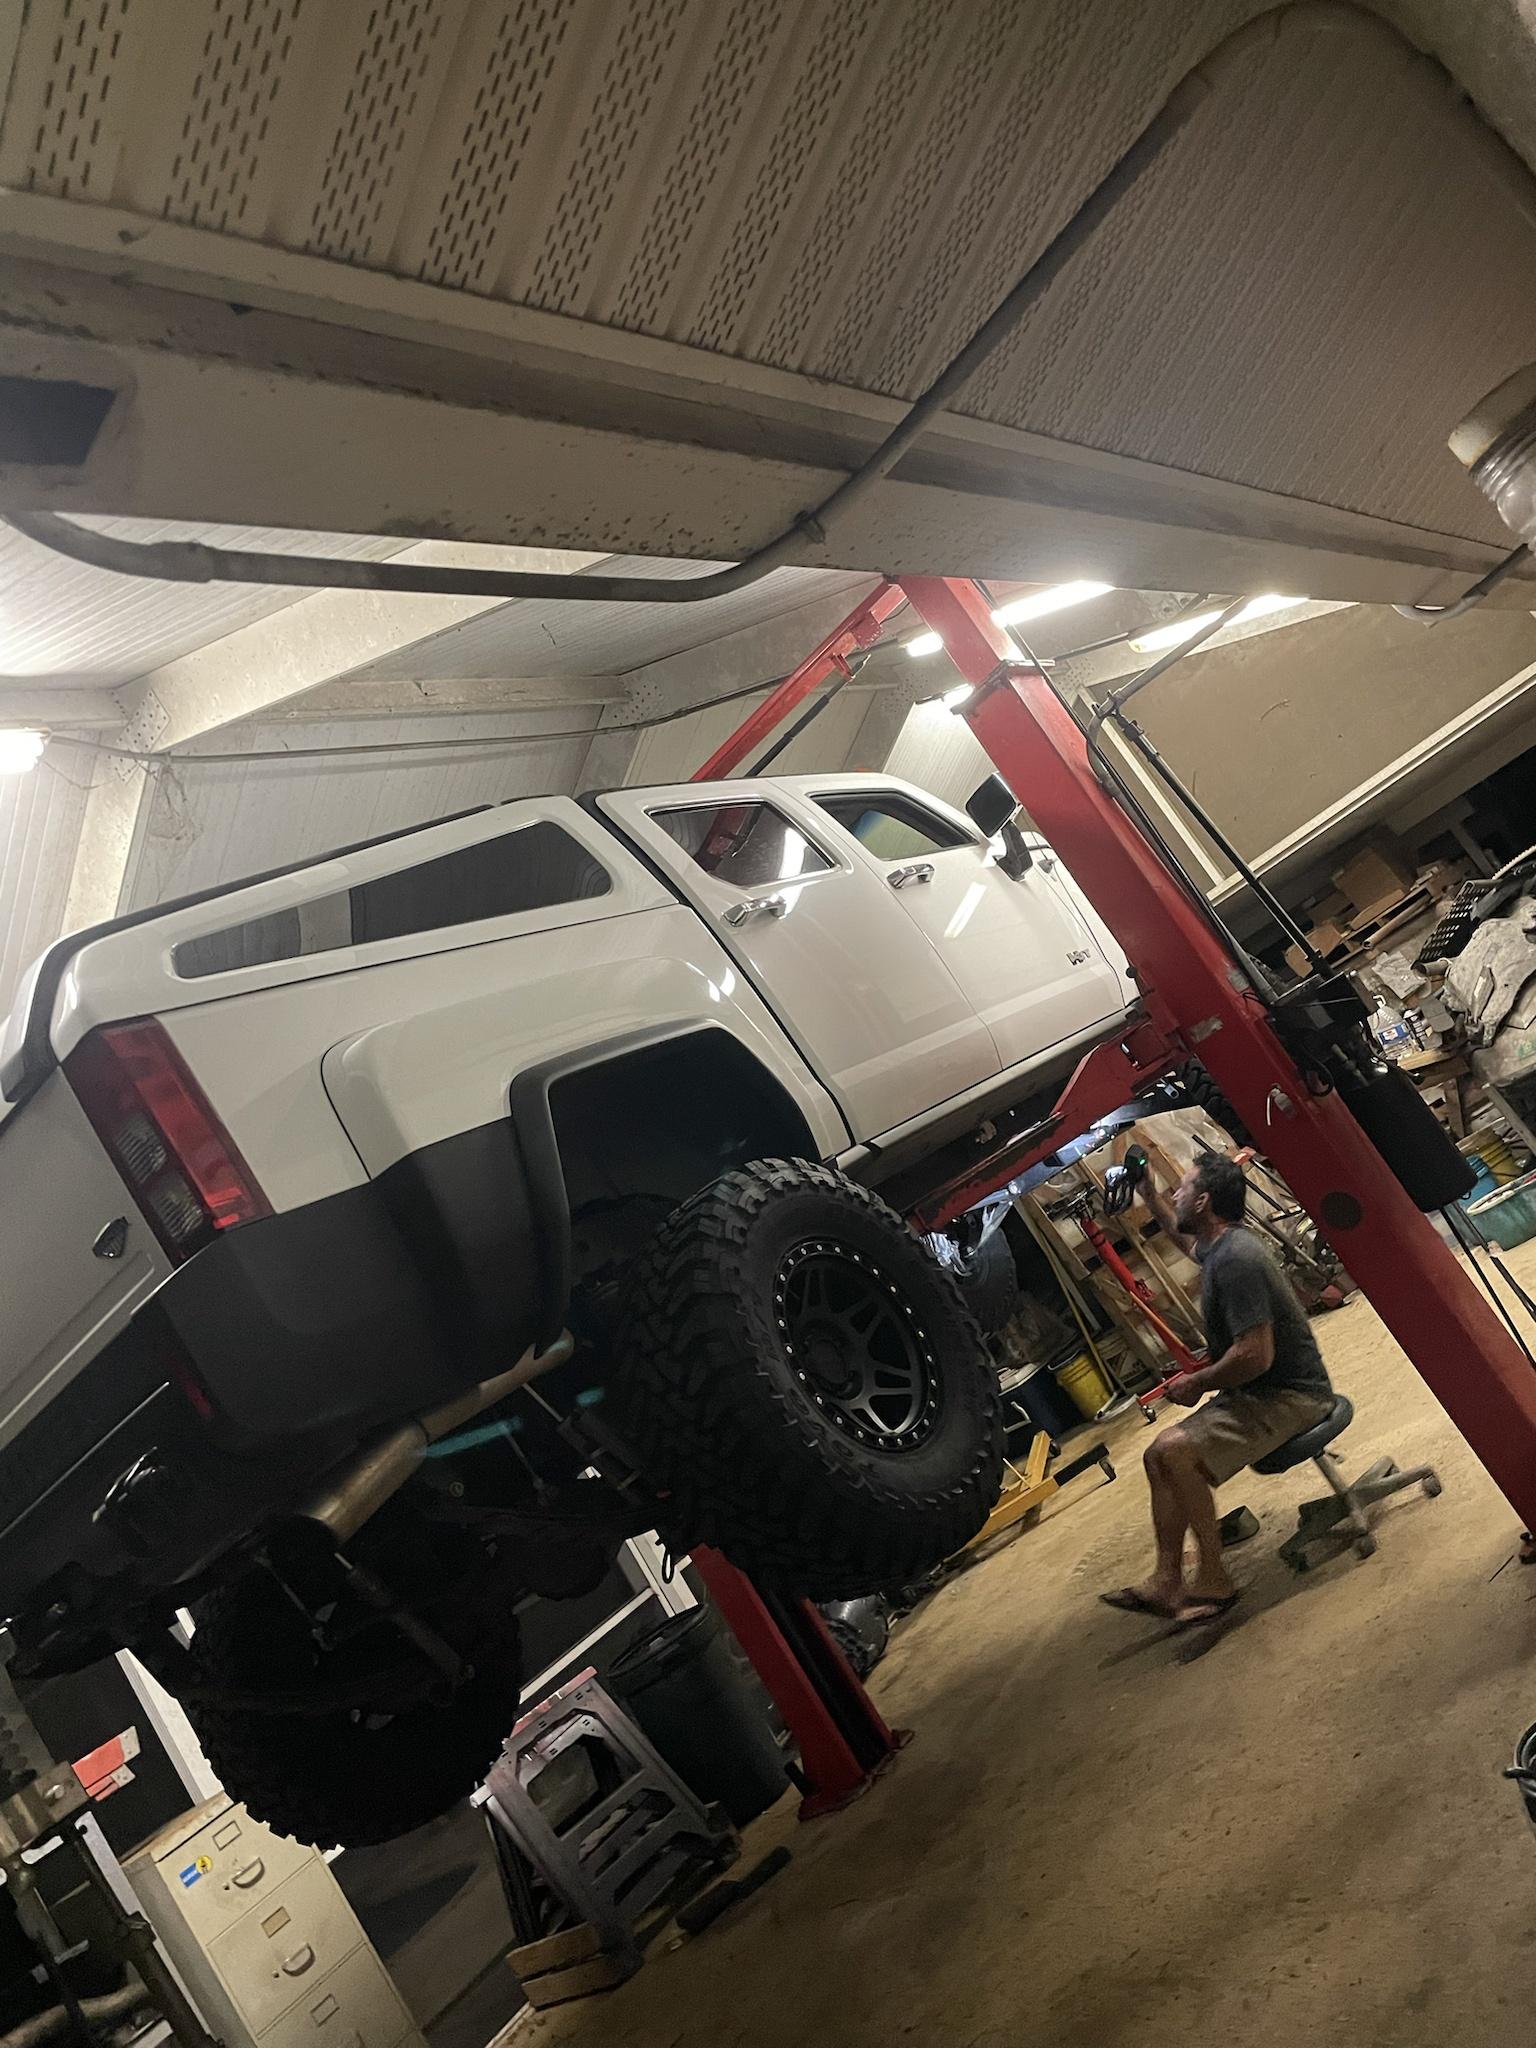
Most everything looked great. Noticed just a tiny bit of trans fluid on the oil pan. Check the pan bolts and a few weren't the tightest. Adjusted all of them, brake cleaned all the fluid and ran the truck in gear on the lift to check for any leaks. Satisfied nothing else was leaking, I pulled off the front skid plate and removed the un-used stock transmission lines to the radiator.

Thankfully I was able to loosen the clamps and pull it out all in one piece. I didn't want to try to cut it out. But turns out, they aren't that expensive for anybody needing them. $15 new each and still available. So these into trash unless somebody needs them lol.
Annddddd.... you're pretty much caught up! I just did the items in this post last month.
Additionally, seeing how the back of the truck cab was just plain metal then plastic trim/seats, I decided to add some Dynamat for more sound protection.
Rear seats removed and some alcohol wipe-down for Dynamat adhesion promotion. Paint back there looks like it's still new, still perfect! Also adjusted my controller for the trans fans, which I located back here.
This is the Dynamat kit I used, above.
And below... the bottom portion (harder section) completed.
Not too difficult to do, just takes some time to measure everything out and cut the stuff up lol.
Top portion completed. Avoided the seat support bar, as the plastic trim attaches to it with push pins and sits on it, as well as the very top extruded section where the trim sits in place and slides into the metal sleeves. Don't mind the leg of the bottom seats sticking up in the way lol.
Plastic trim and rear seats re-installed and back into place.
And while we were at it, went ahead and put the T on the lift to make sure everything from the built engine/trans/cab off install was looking good.
Most everything looked great. Noticed just a tiny bit of trans fluid on the oil pan. Check the pan bolts and a few weren't the tightest. Adjusted all of them, brake cleaned all the fluid and ran the truck in gear on the lift to check for any leaks. Satisfied nothing else was leaking, I pulled off the front skid plate and removed the un-used stock transmission lines to the radiator.
Thankfully I was able to loosen the clamps and pull it out all in one piece. I didn't want to try to cut it out. But turns out, they aren't that expensive for anybody needing them. $15 new each and still available. So these into trash unless somebody needs them lol.
Annddddd.... you're pretty much caught up! I just did the items in this post last month.
#69
02-18-2022, 11:20 AM
Forgot to update you guys on this� Took the factory chrome grill off the truck and sent it on a voyage...
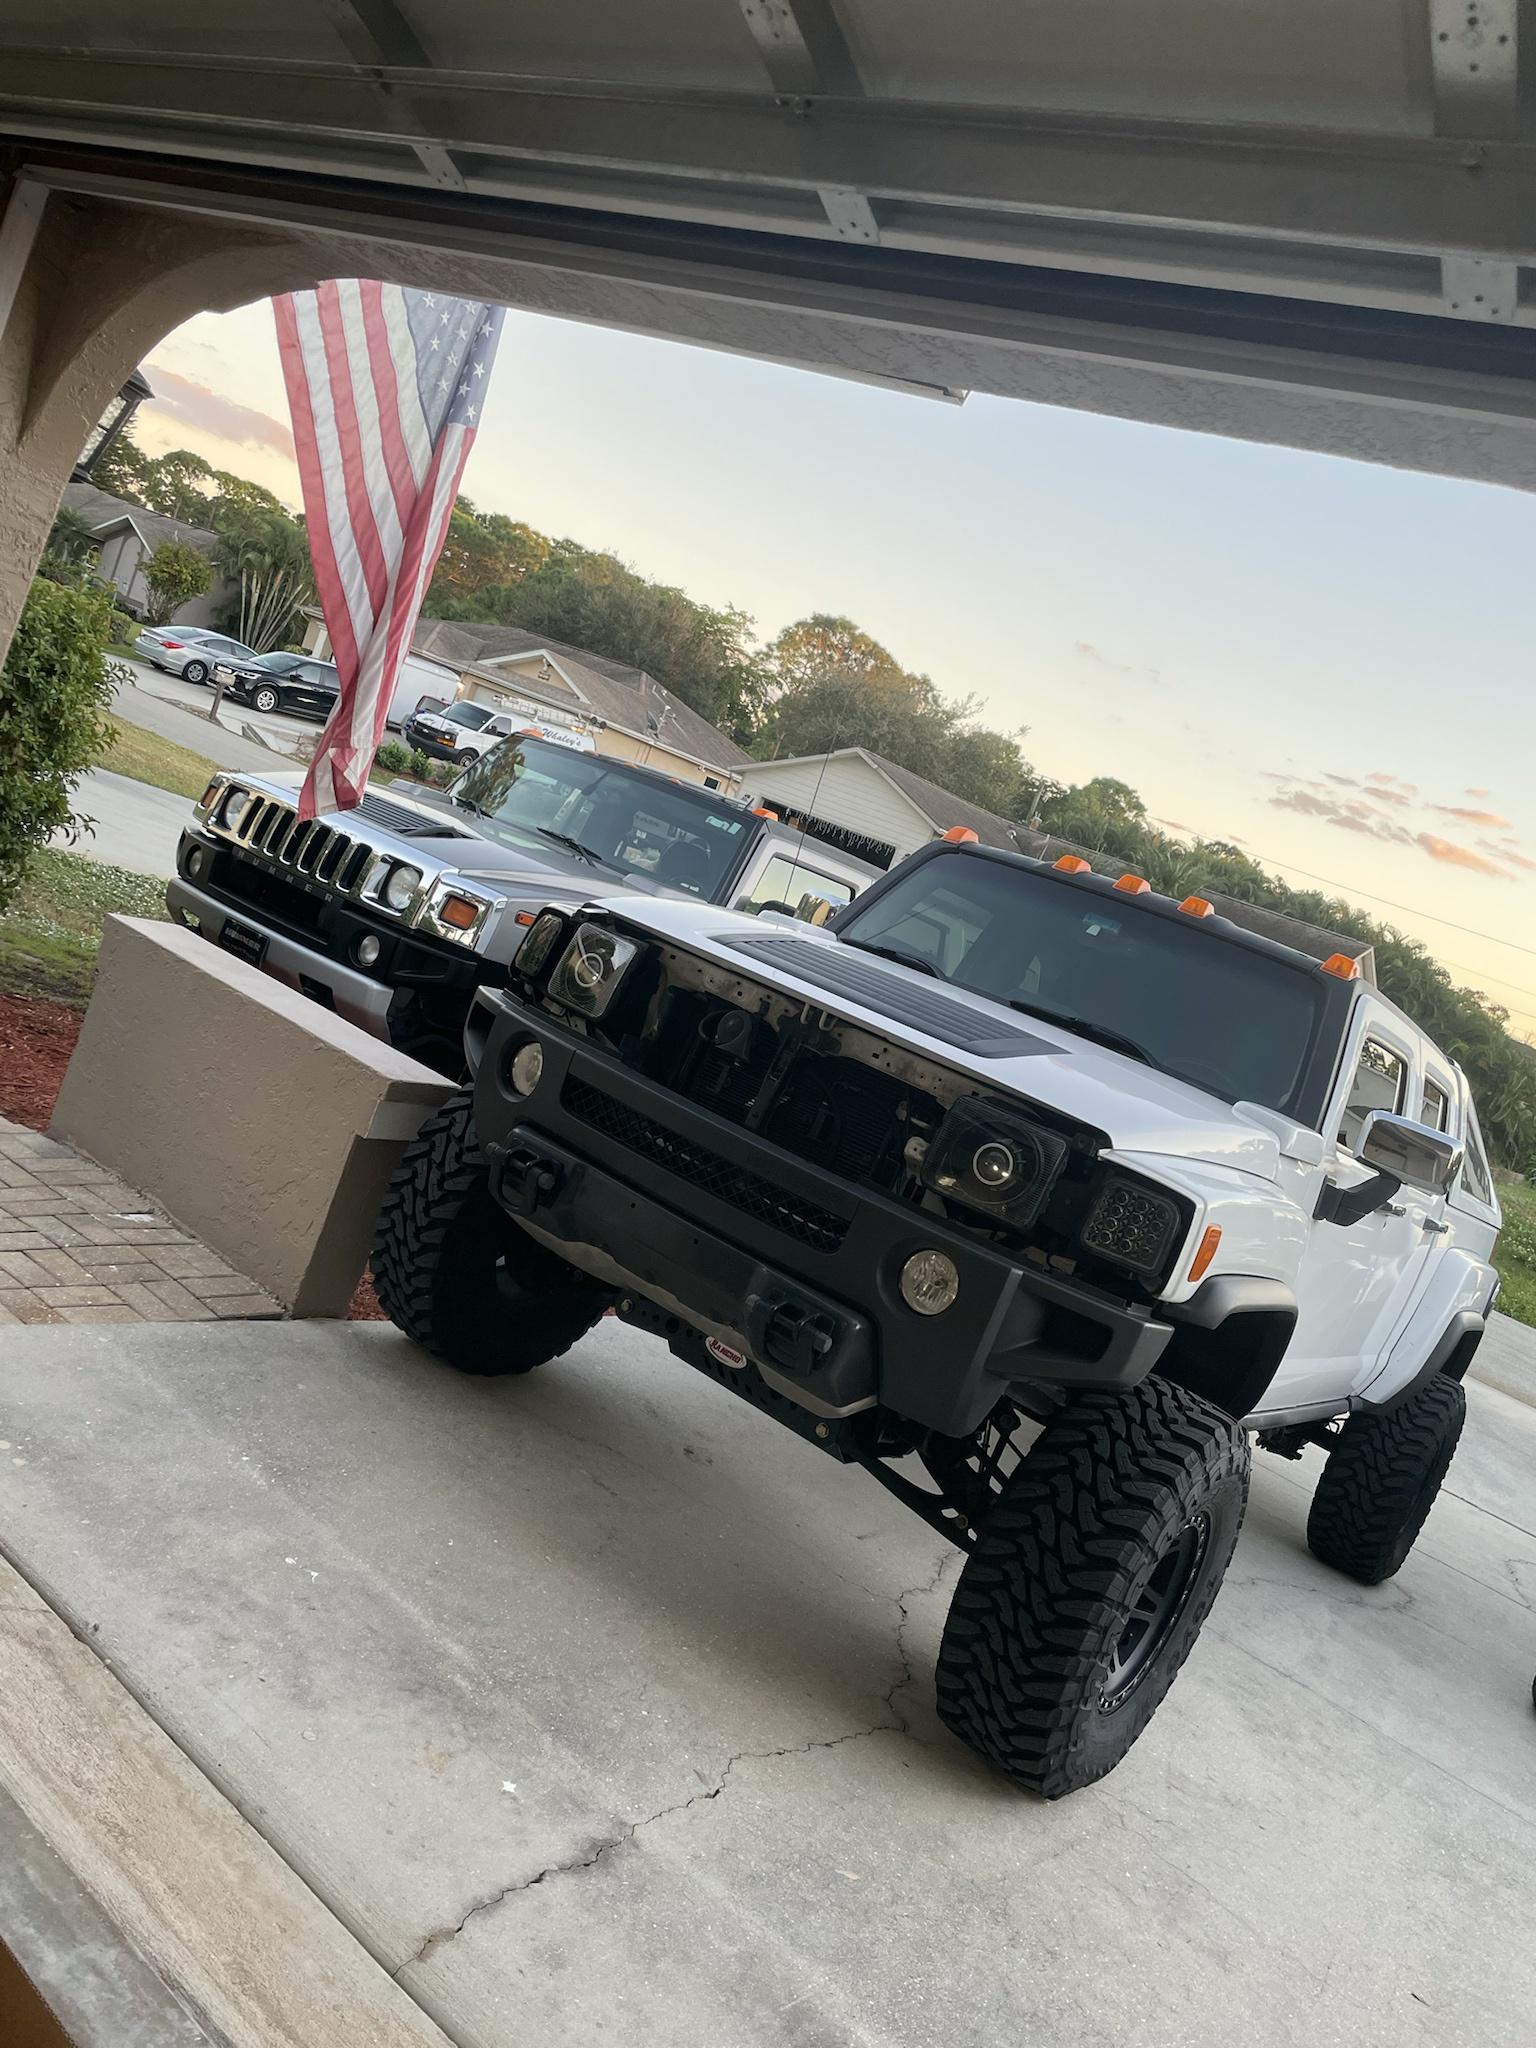
And it was gone during the Christmas holiday. Probably got a few odd looks during the few times I drove it. Parent's H2 came to visit during the break!
And it's back! My buddy owns a body shop and did a fantastic job color matching the grill. Didn't mind the chrome grill at all (even though I'm not a big chrome guy), but..... No more chrome!

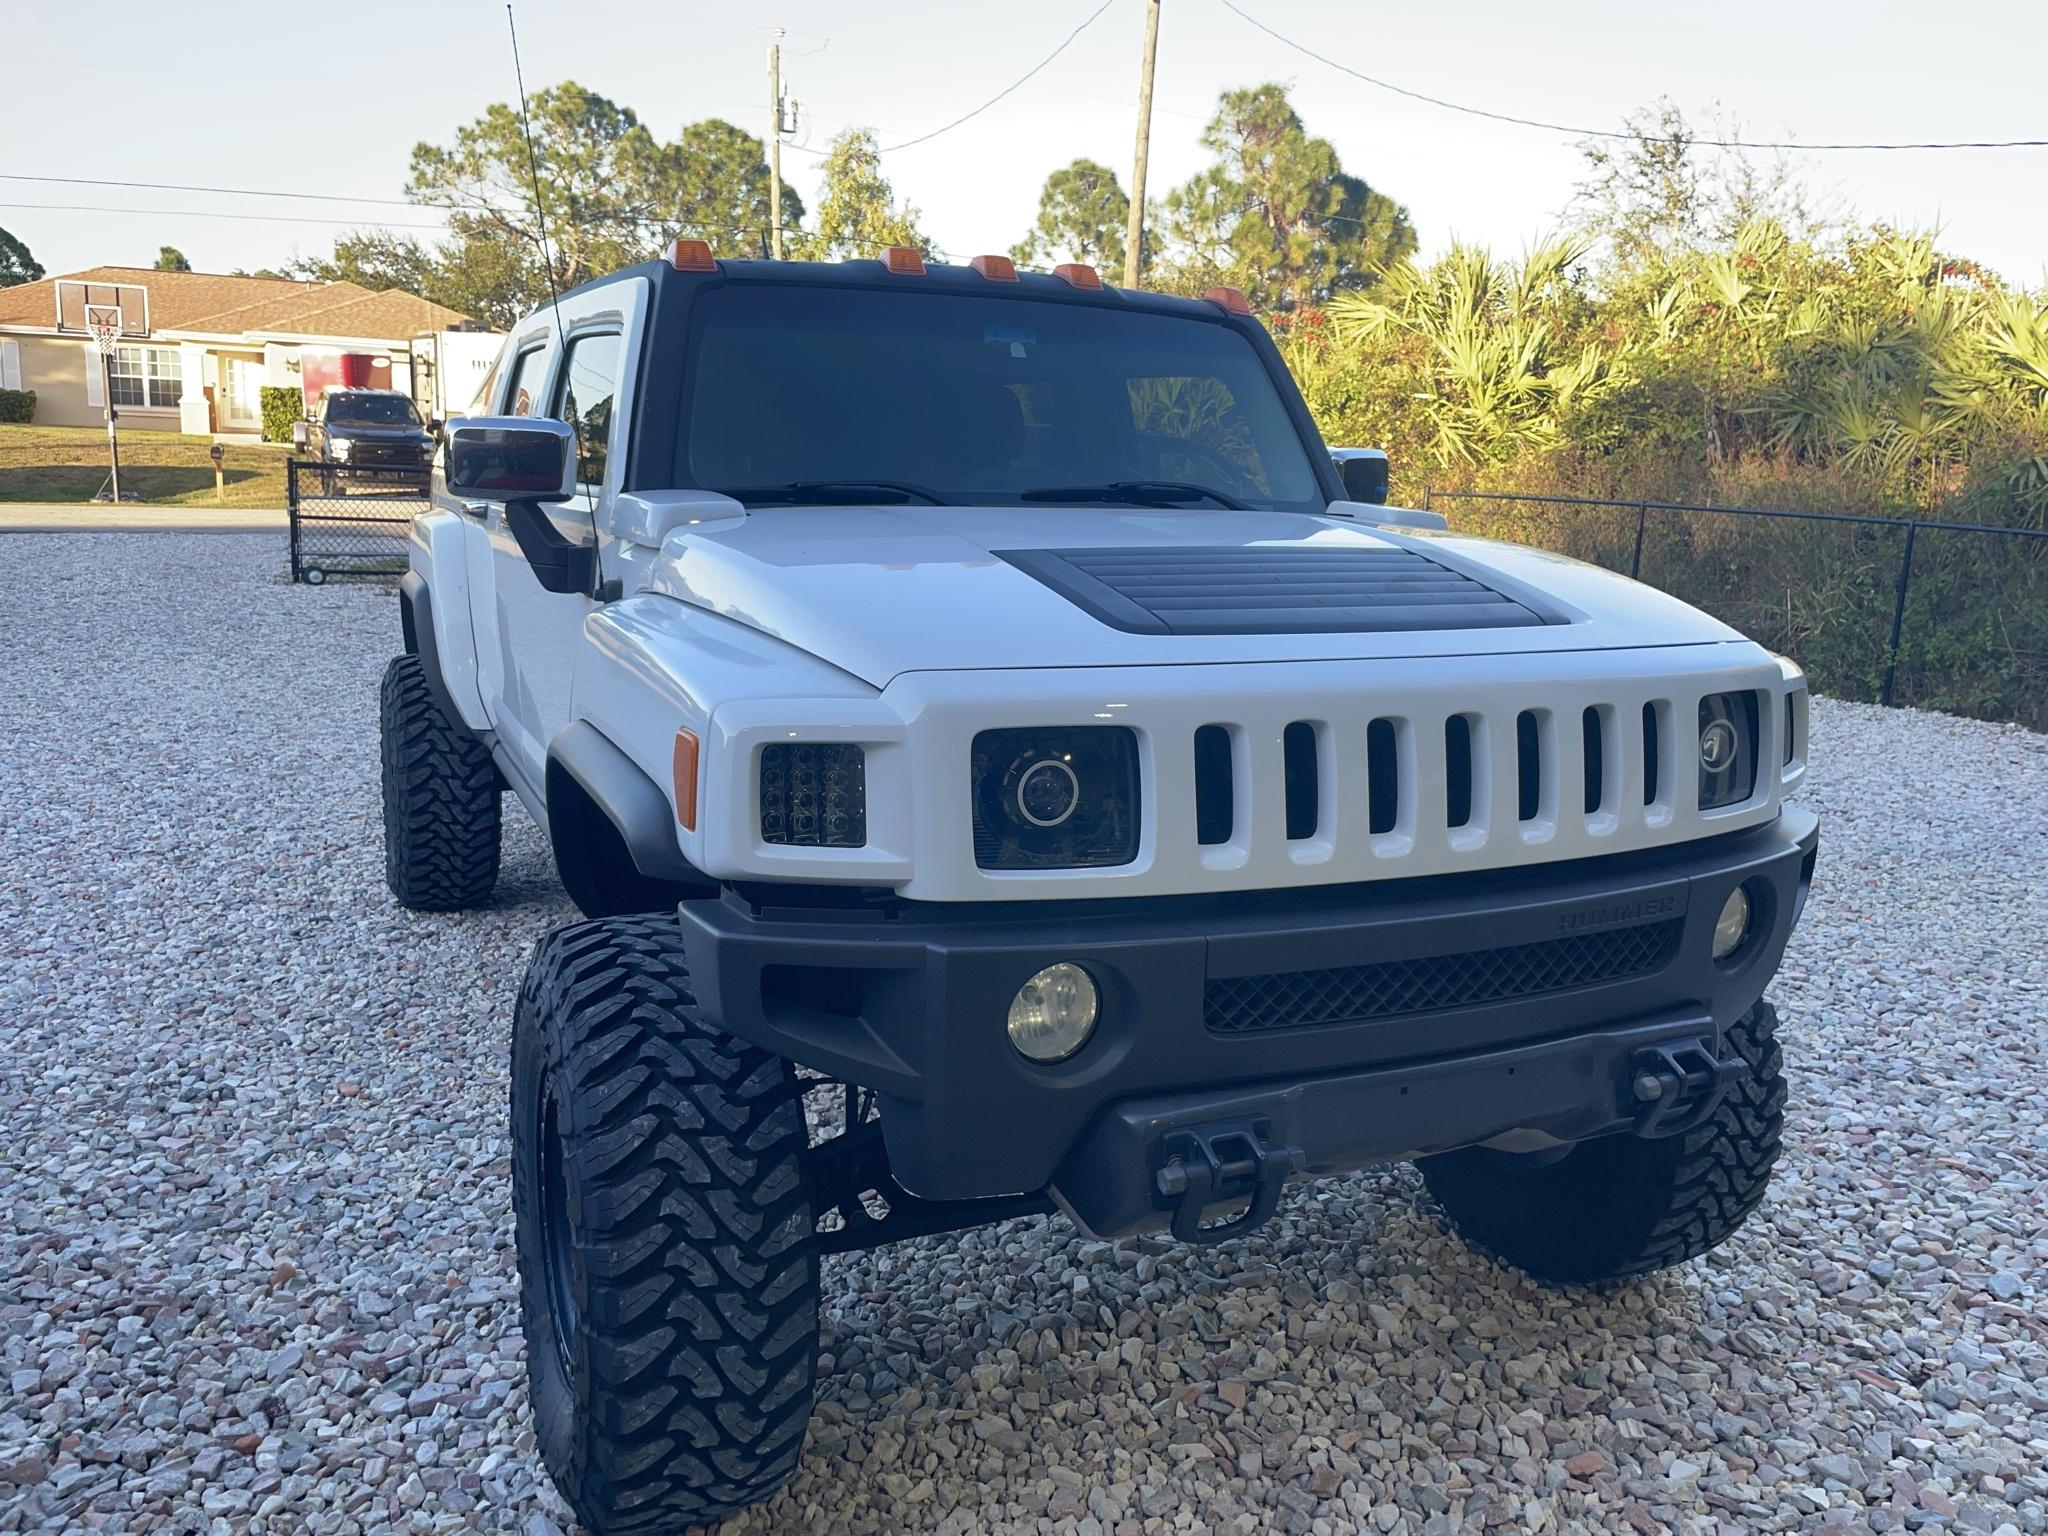
And another shot after she got all cleaned up.
Love how it turned out.
And it was gone during the Christmas holiday. Probably got a few odd looks during the few times I drove it. Parent's H2 came to visit during the break!
And it's back! My buddy owns a body shop and did a fantastic job color matching the grill. Didn't mind the chrome grill at all (even though I'm not a big chrome guy), but..... No more chrome!
And another shot after she got all cleaned up.
Love how it turned out.
#70
02-22-2022, 01:13 PM
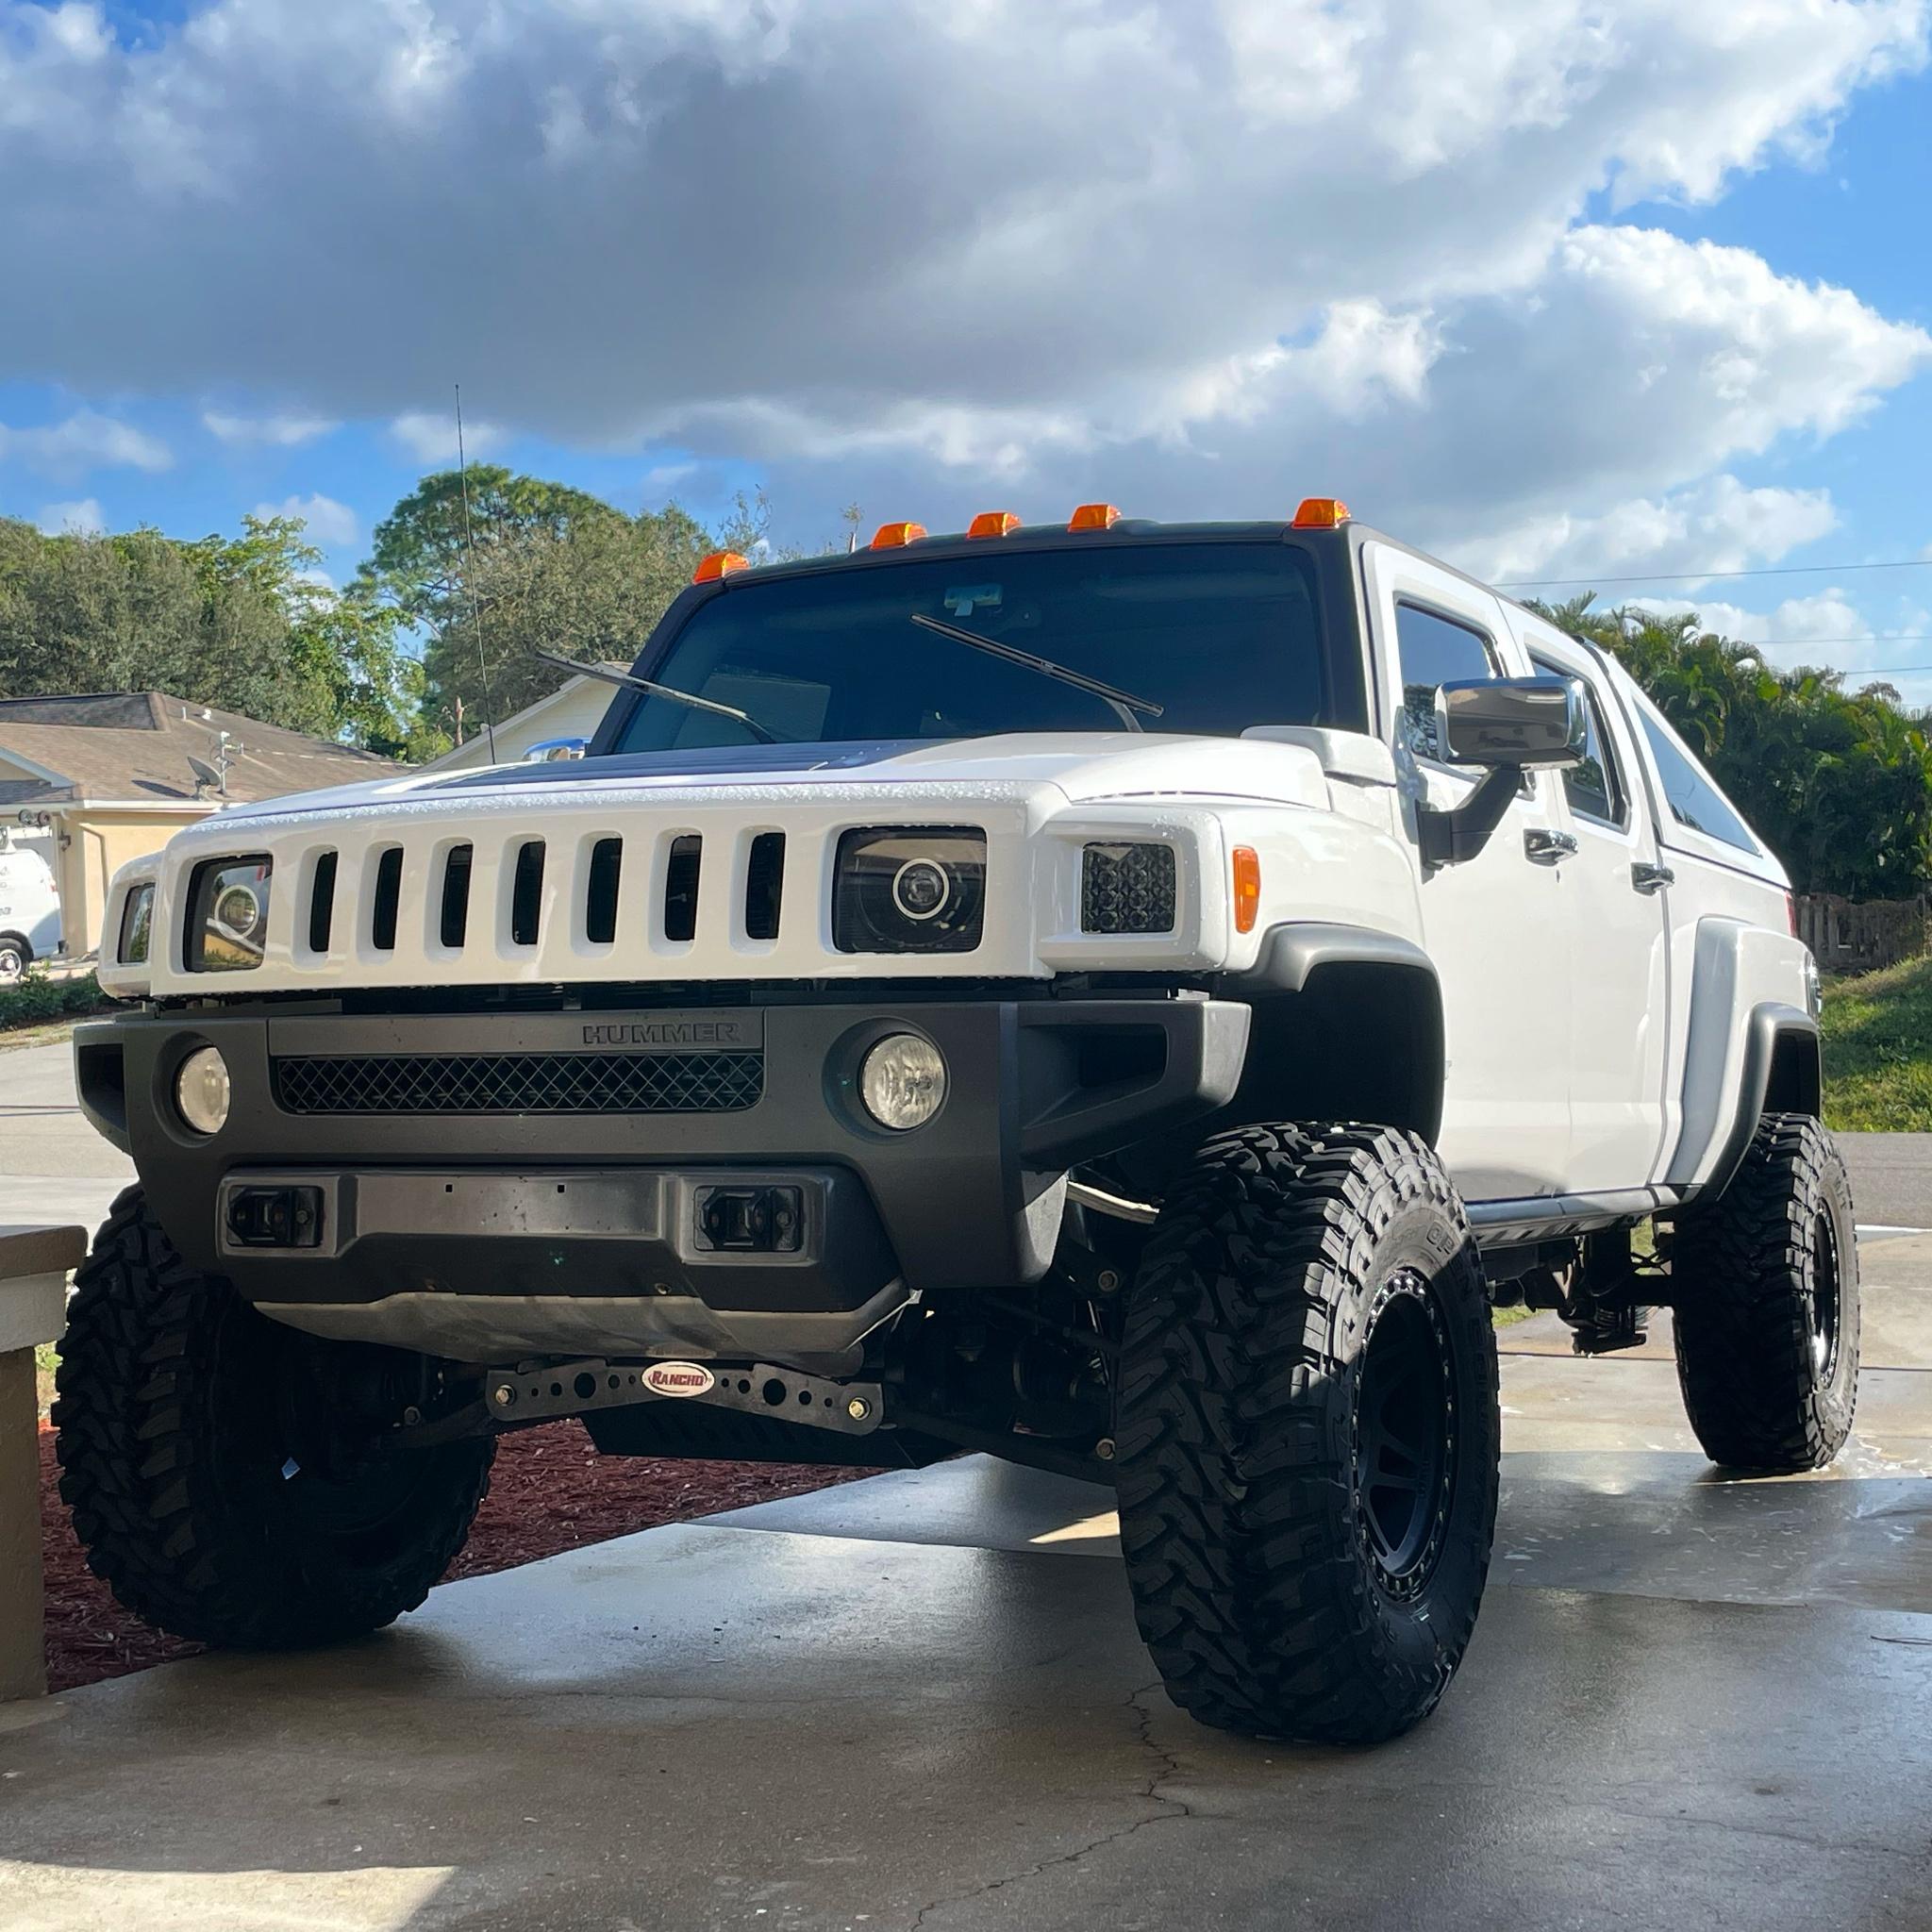
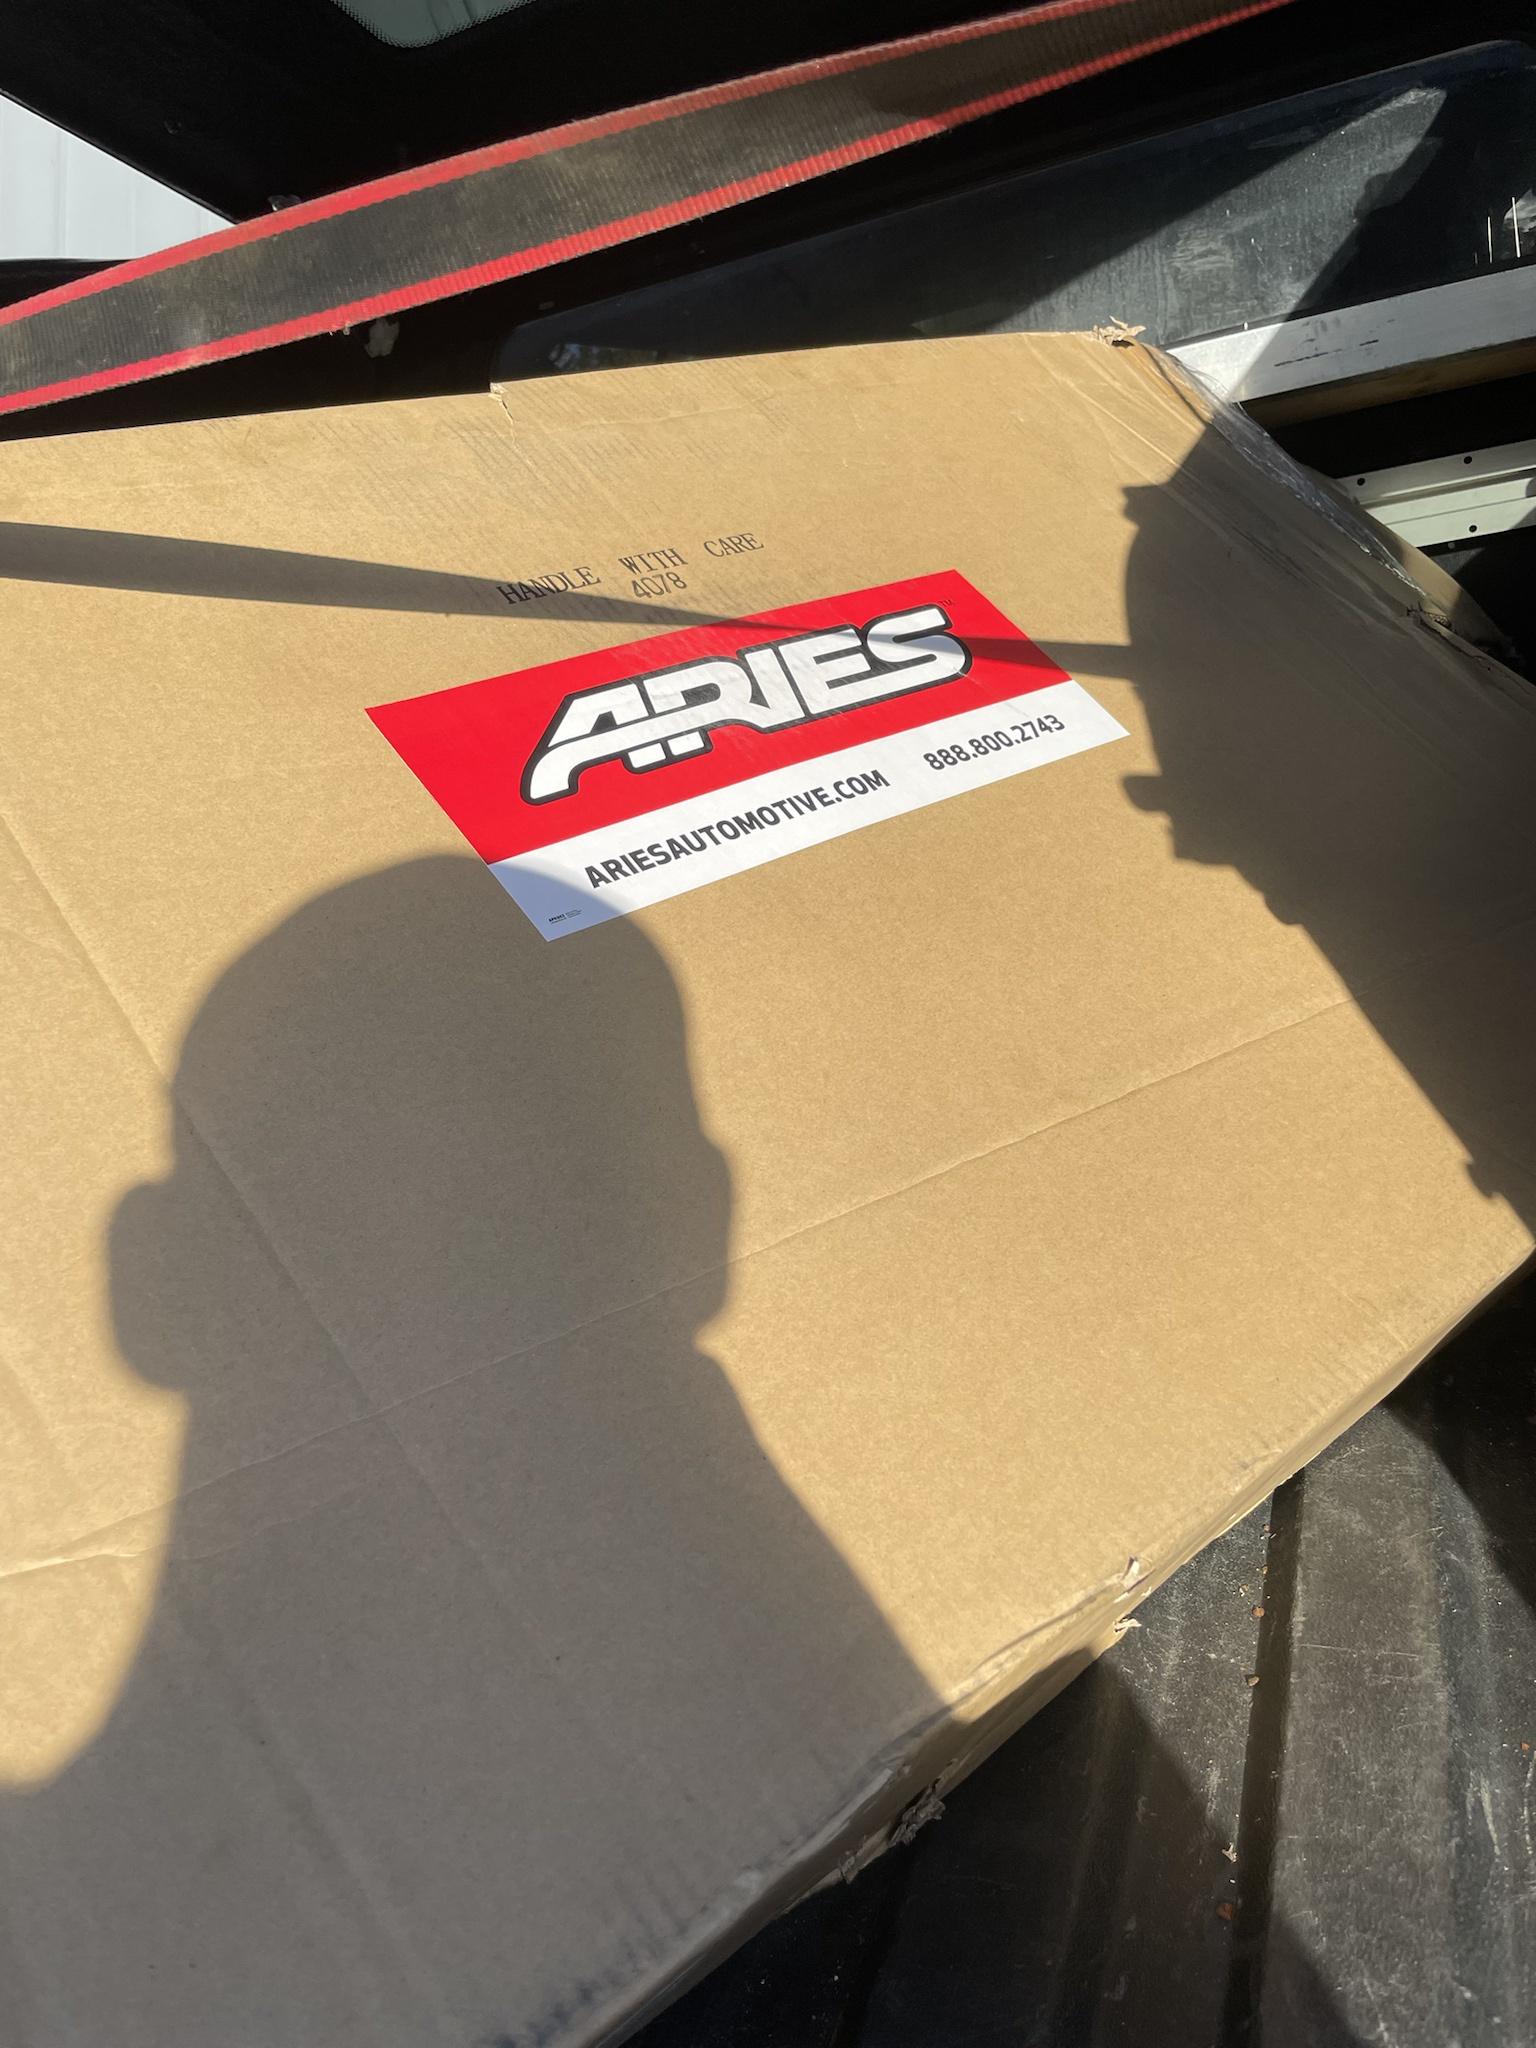
Bought a new Aires brush guard for the H3T a few months ago and finally decided to install it. Really wanted an OEM brush guard but couldn't find a new one. This Aires looks almost exactly the same so it was perfect. Been something I've been toying with the idea of, and many of you, my Hummer buddies & Hummerz on this thread have even suggested.
Since I have a 1-inch body lift in addition to the Rancho, there was a bit of an extra step to take in order for it to fit correctly. First step was to remove the guard from the box and punch mark the location for the new mounting hole, 1" below the standard hole. Then we drilled into the mounting plates on both sides and made our new mount locations. Painted the new holes to avoid any rusting. Looks a bit dirty but is just metal dust/shavings and tire marks lol.
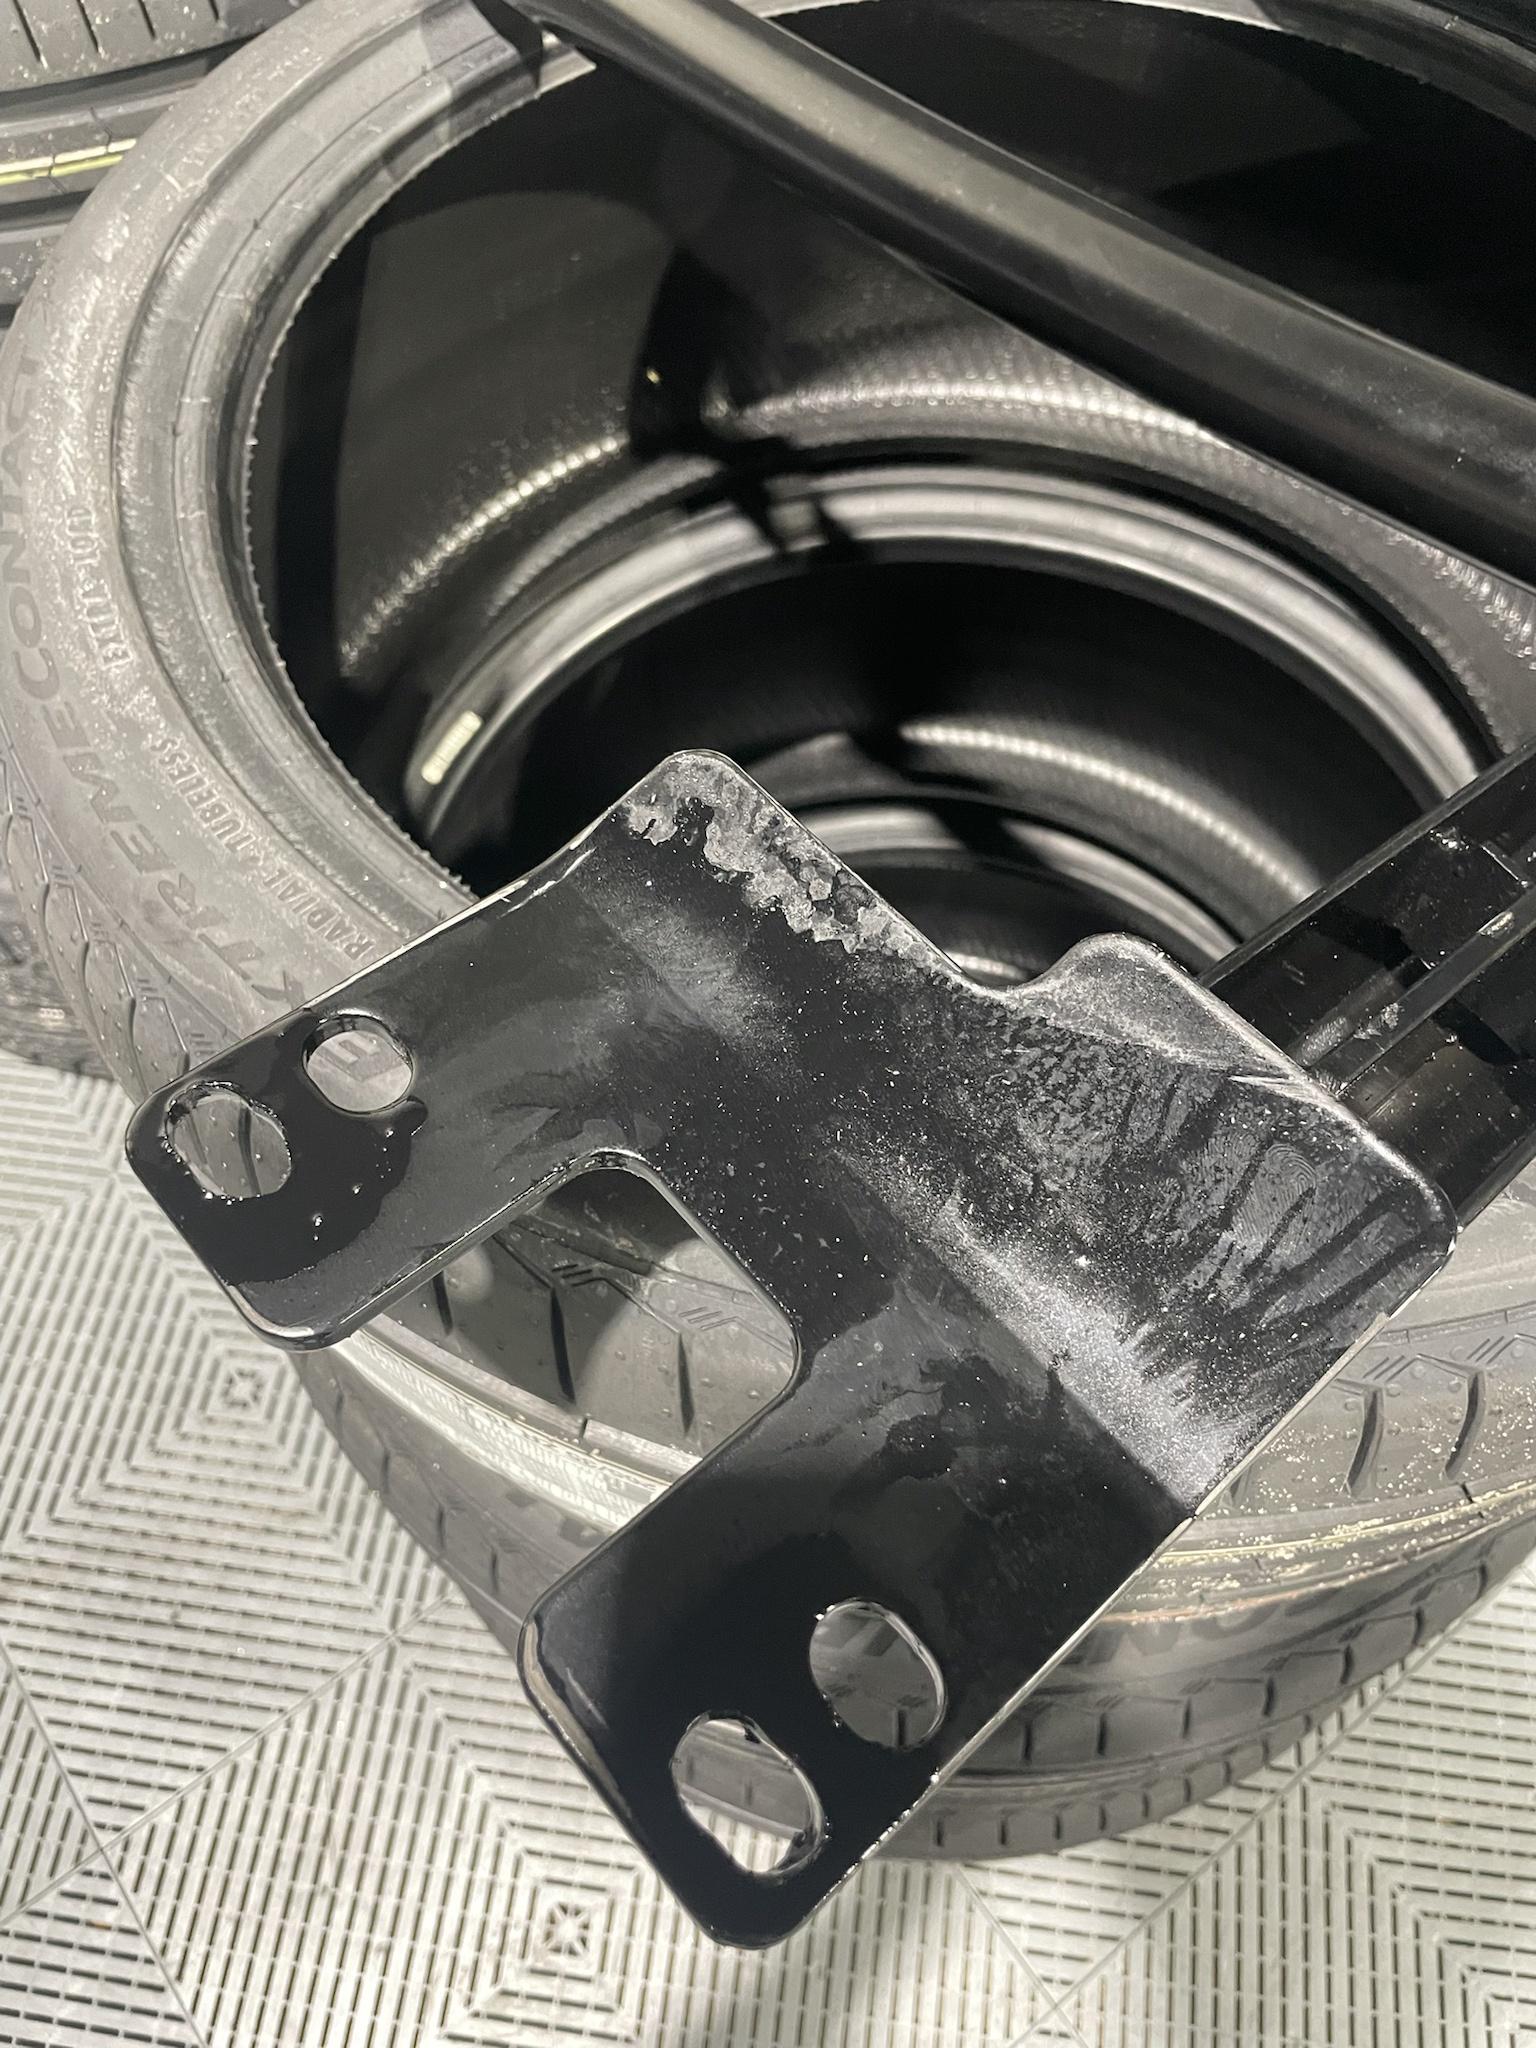
Tried to make the new holes just as nice as the standard ones.
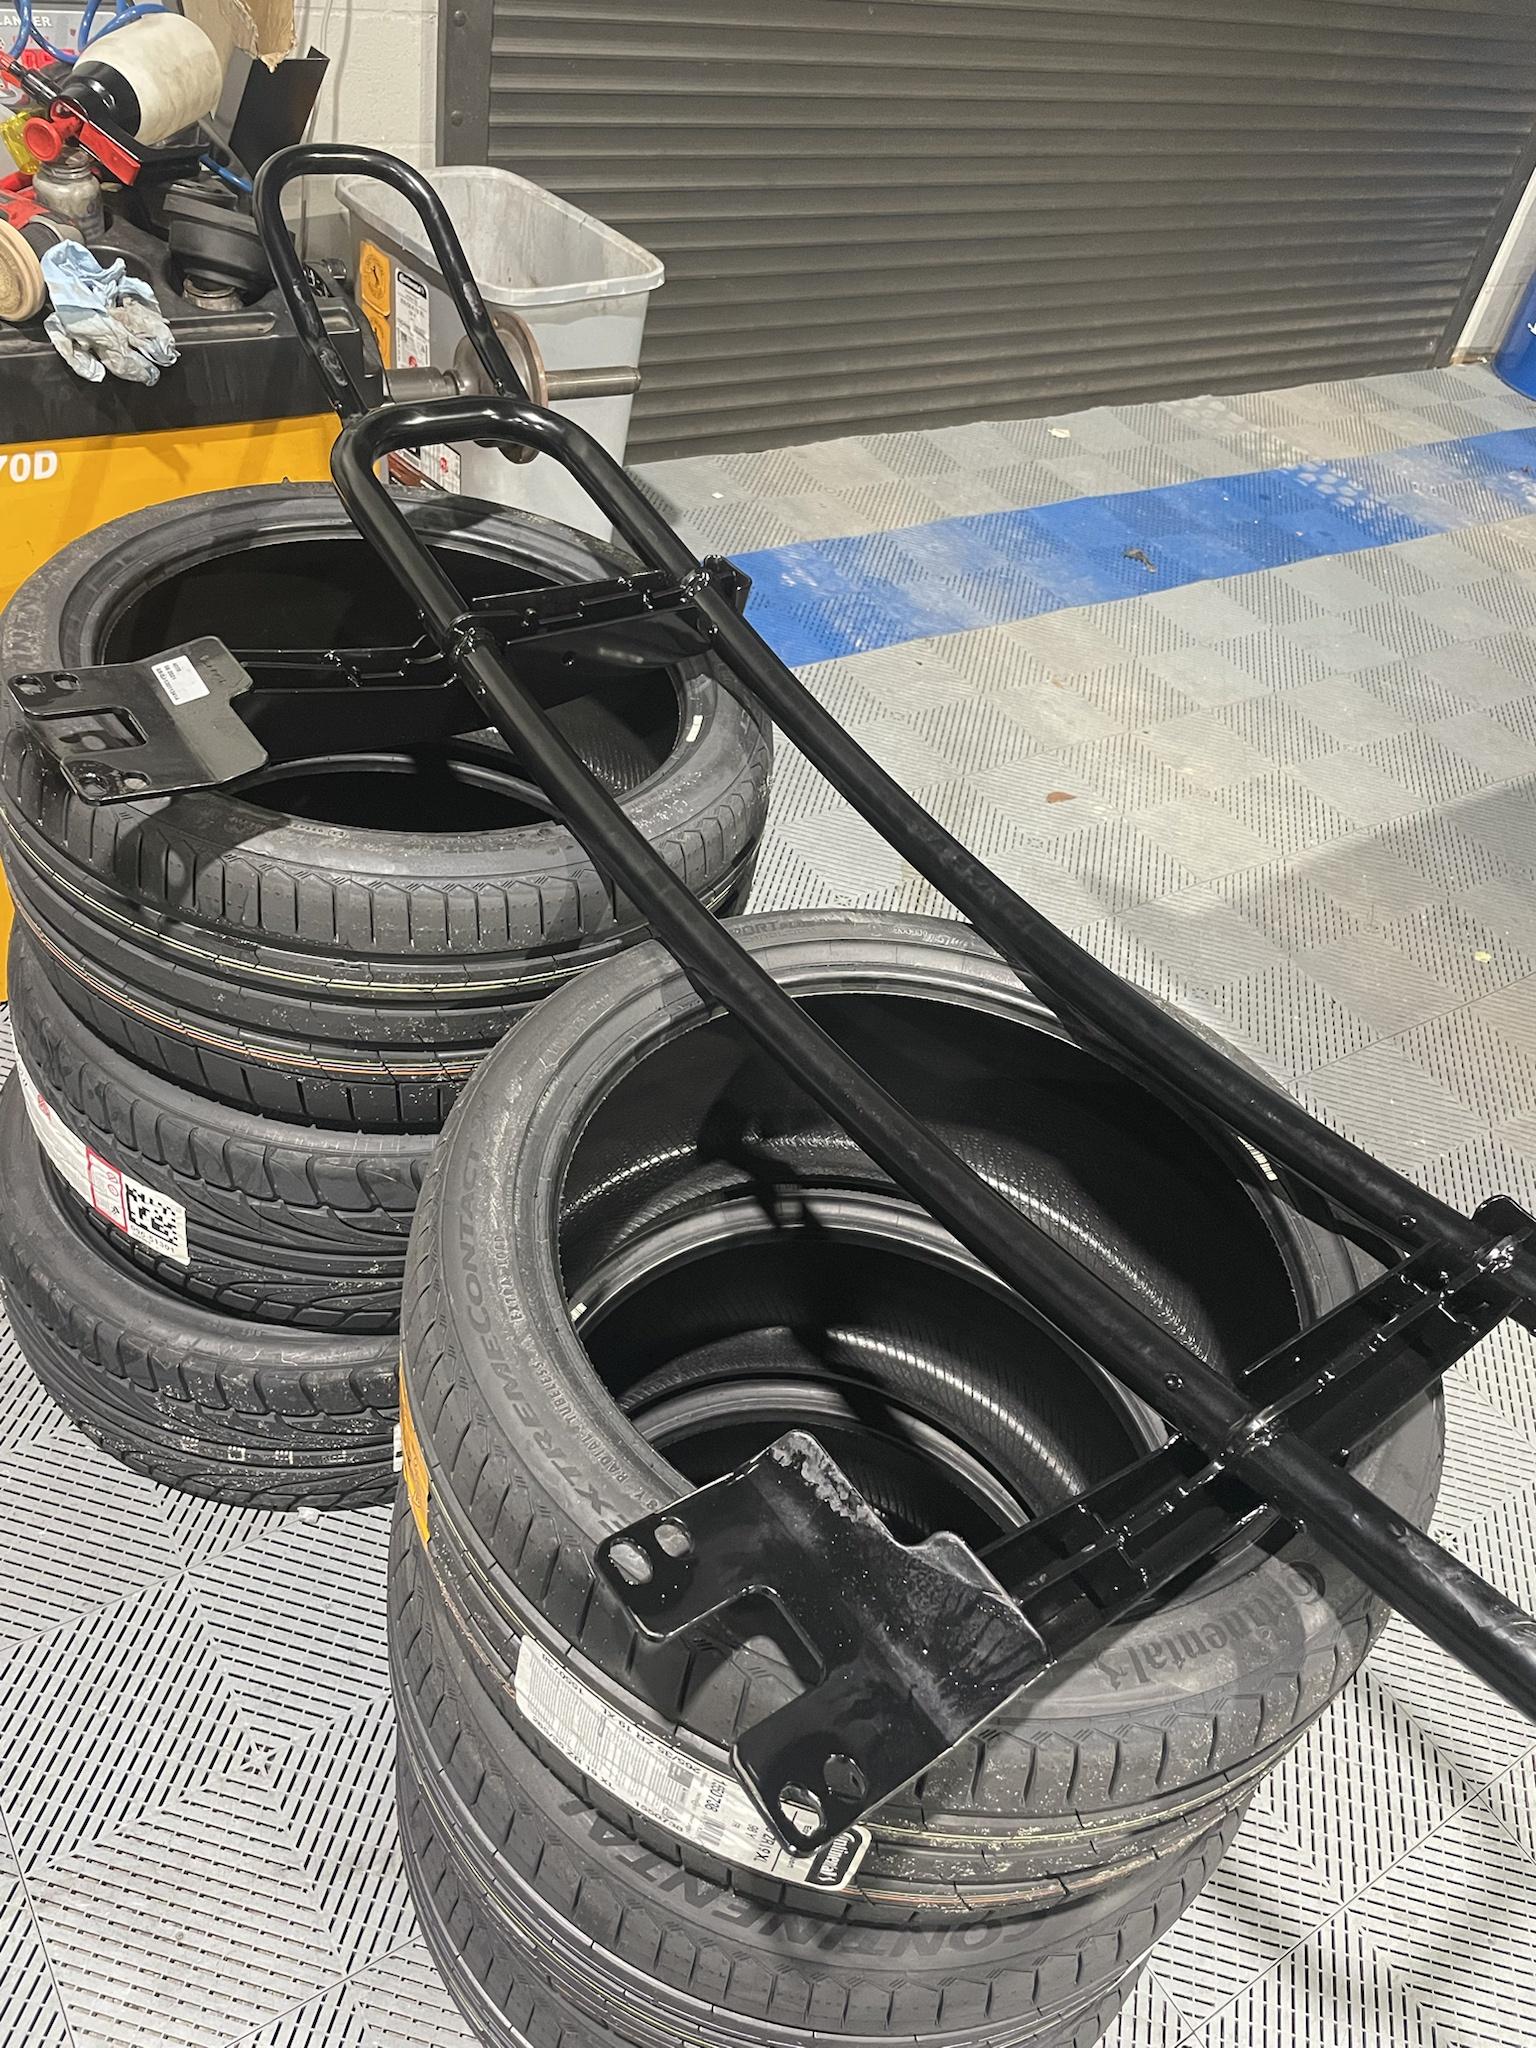
And here was the preliminary turnout. Needed some fine tuning
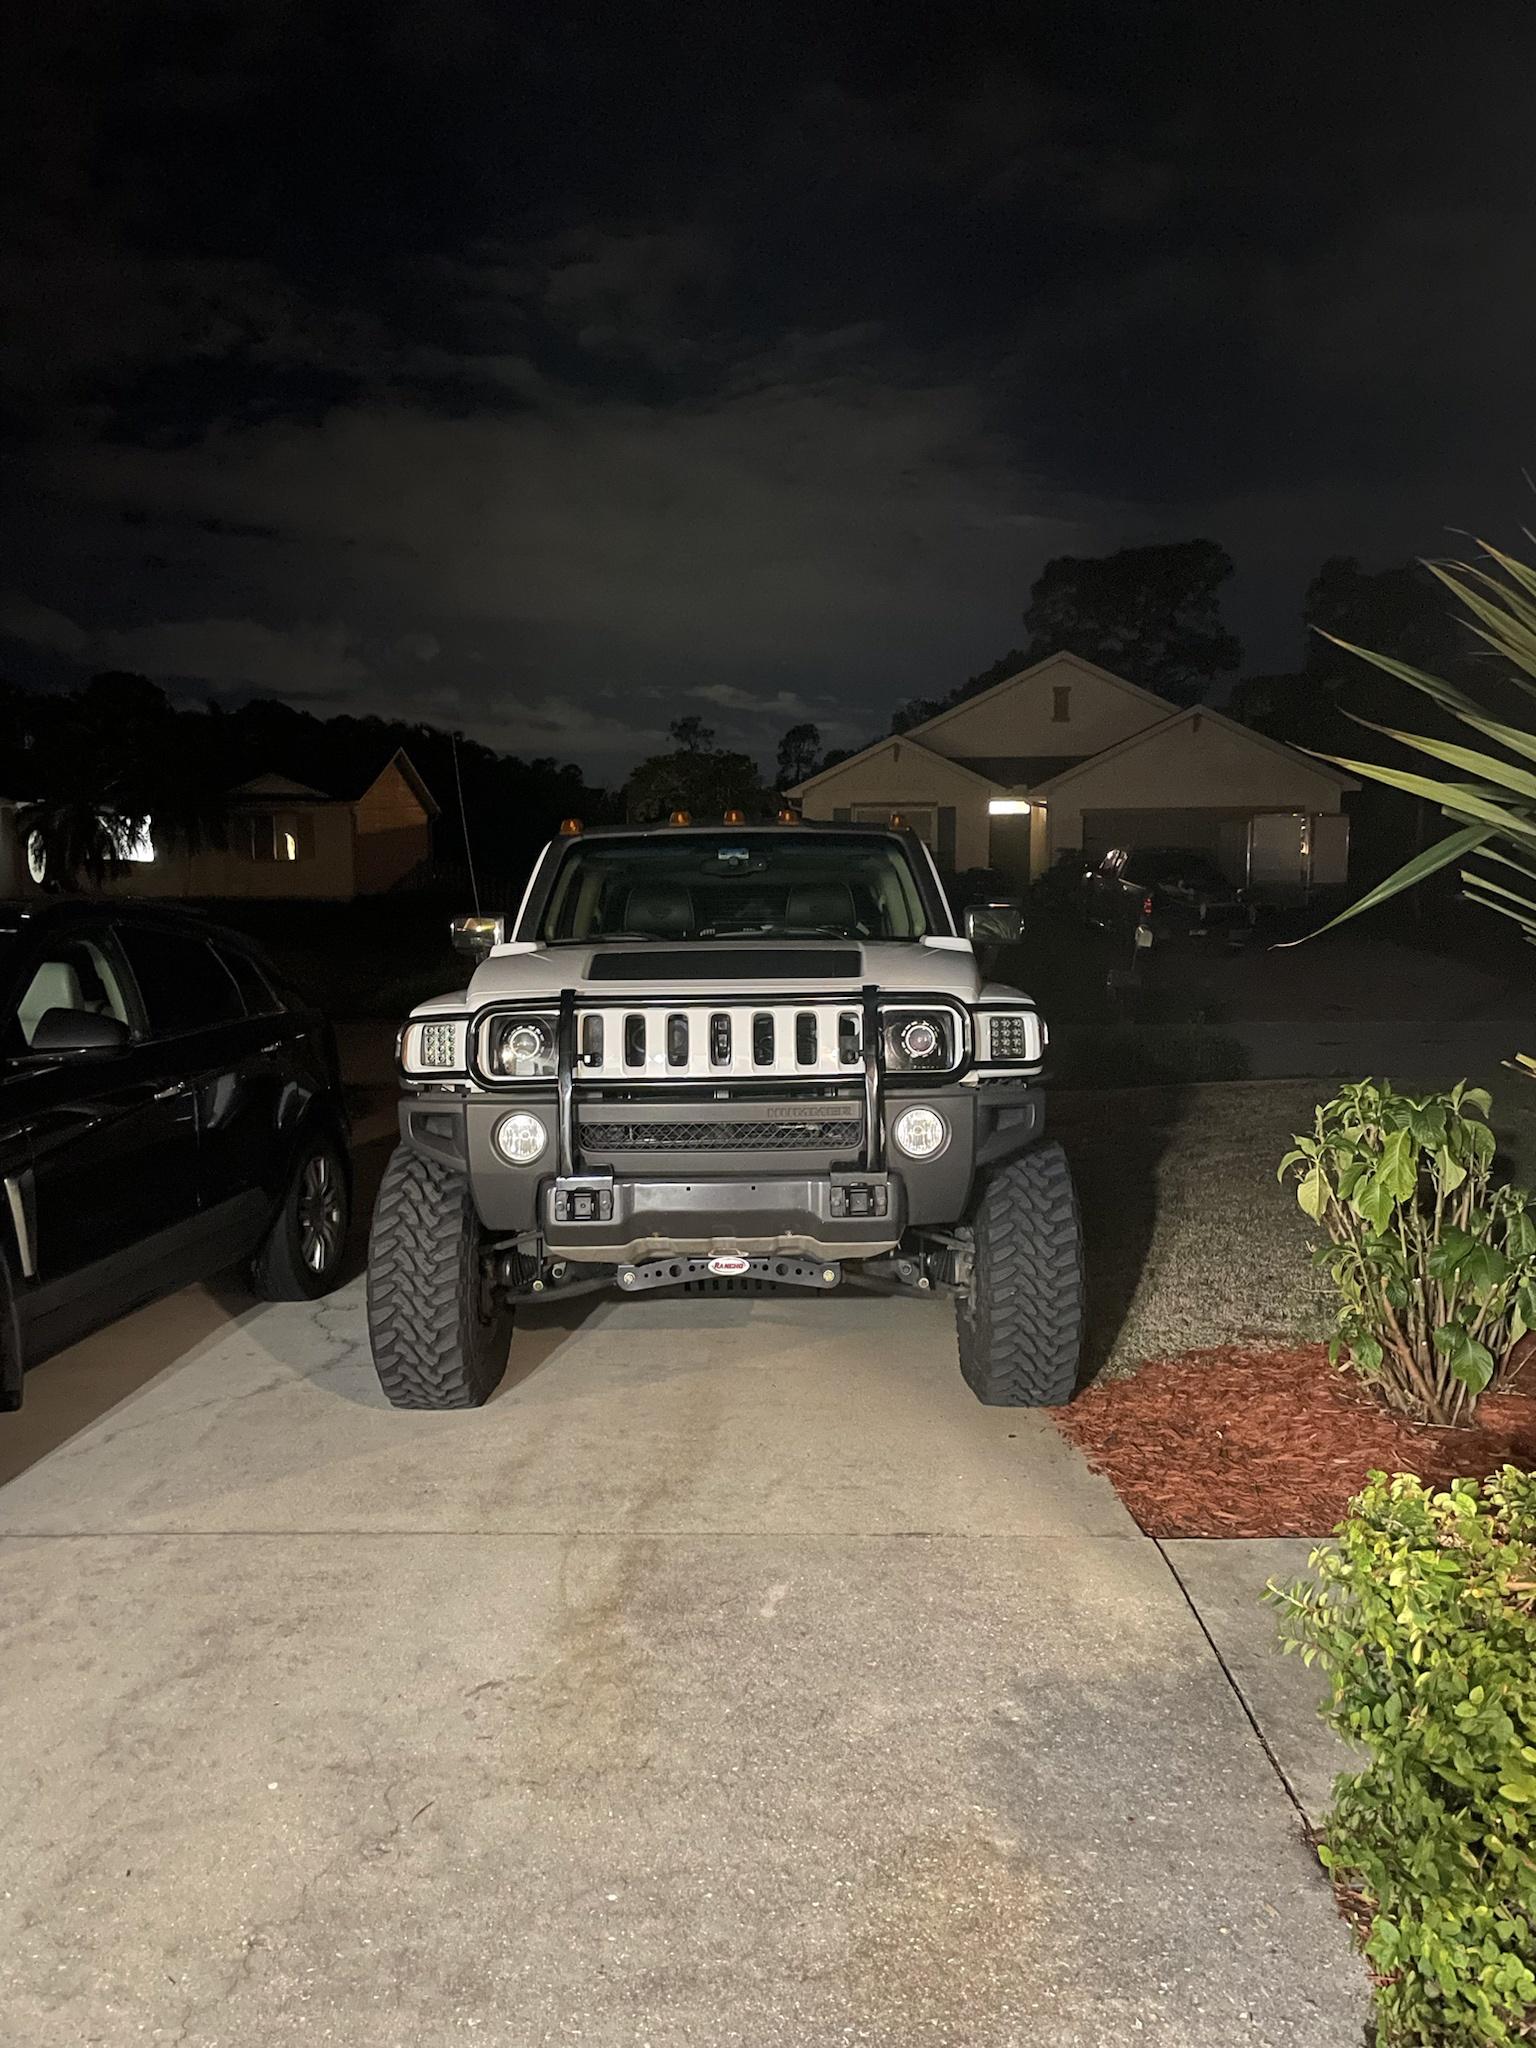
After drilling the holes and test fitting the brush guard, you can tell our new mounting holes were just a little bit off. The driver's side looked just about right and the passenger side was low a hair. So back to the shop to shave the holes a bit more for perfect fitment.
Minor shaving of the mount holes for better fitment.
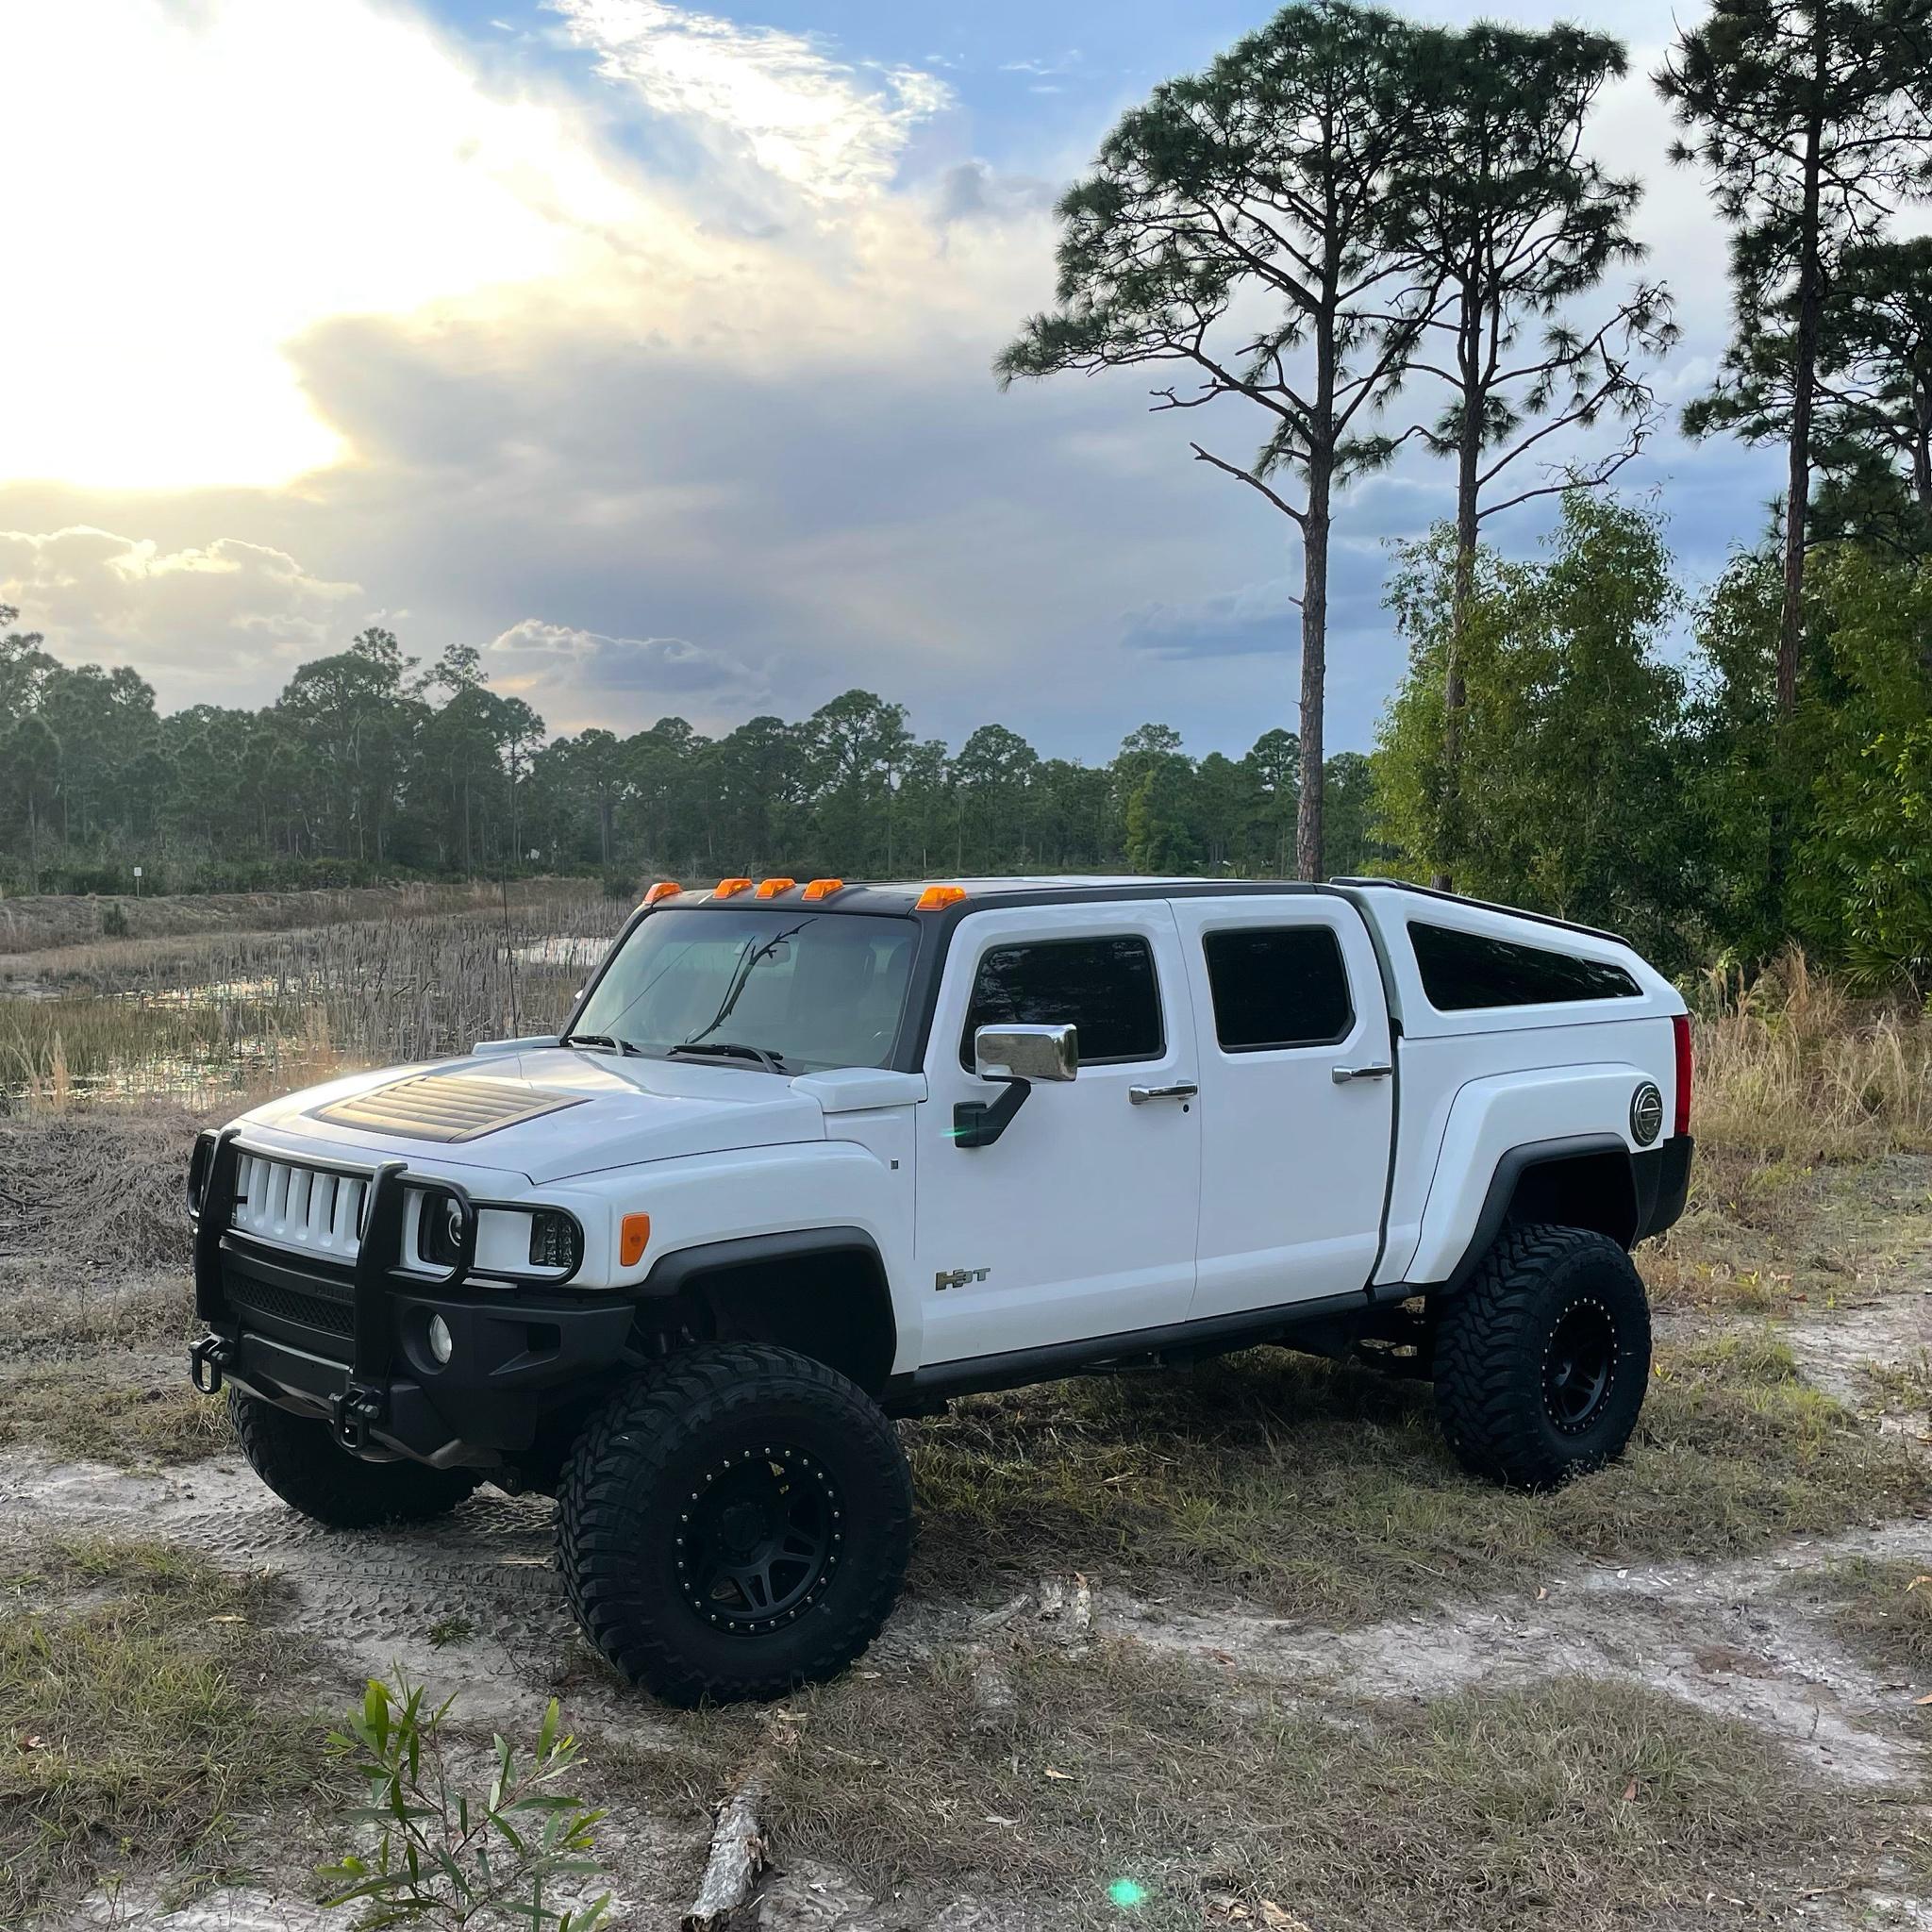
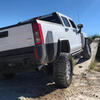
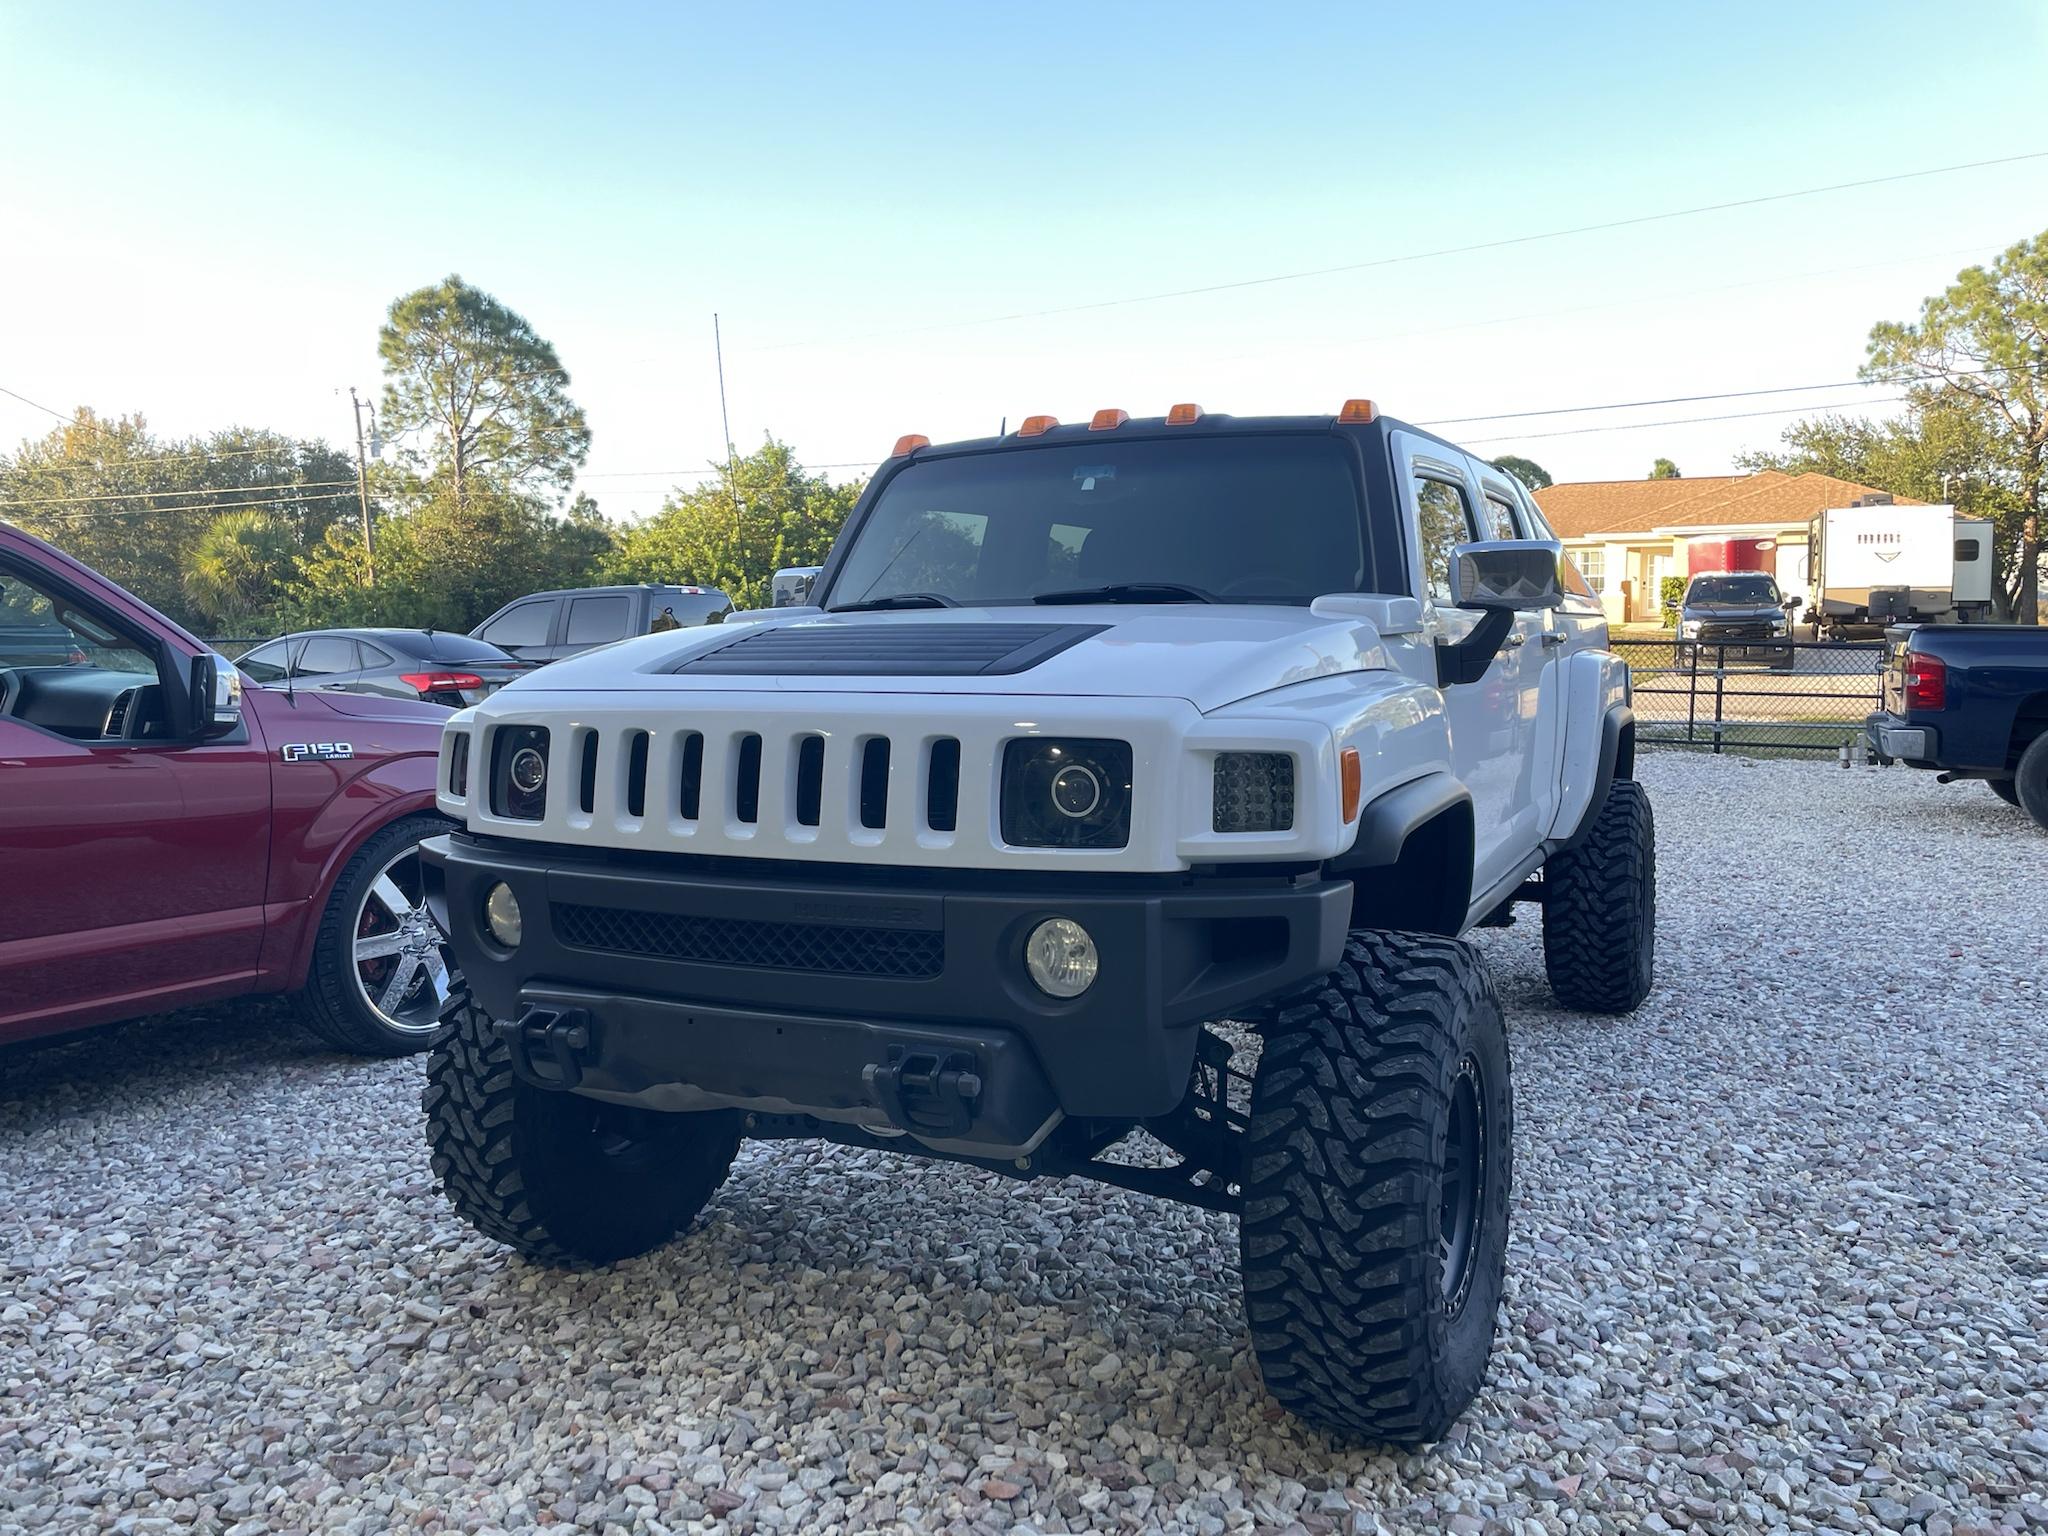
And some exploration a few days after final installation of the brush guard. Love how it looks and how it compliments the new body painted grill.
Since I have a 1-inch body lift in addition to the Rancho, there was a bit of an extra step to take in order for it to fit correctly. First step was to remove the guard from the box and punch mark the location for the new mounting hole, 1" below the standard hole. Then we drilled into the mounting plates on both sides and made our new mount locations. Painted the new holes to avoid any rusting. Looks a bit dirty but is just metal dust/shavings and tire marks lol.
Tried to make the new holes just as nice as the standard ones.
And here was the preliminary turnout. Needed some fine tuning
After drilling the holes and test fitting the brush guard, you can tell our new mounting holes were just a little bit off. The driver's side looked just about right and the passenger side was low a hair. So back to the shop to shave the holes a bit more for perfect fitment.
Minor shaving of the mount holes for better fitment.
And some exploration a few days after final installation of the brush guard. Love how it looks and how it compliments the new body painted grill.