When you click on links to various merchants on this site and make a purchase, this can result in this site earning a commission. Affiliate programs and affiliations include, but are not limited to, the eBay Partner Network.
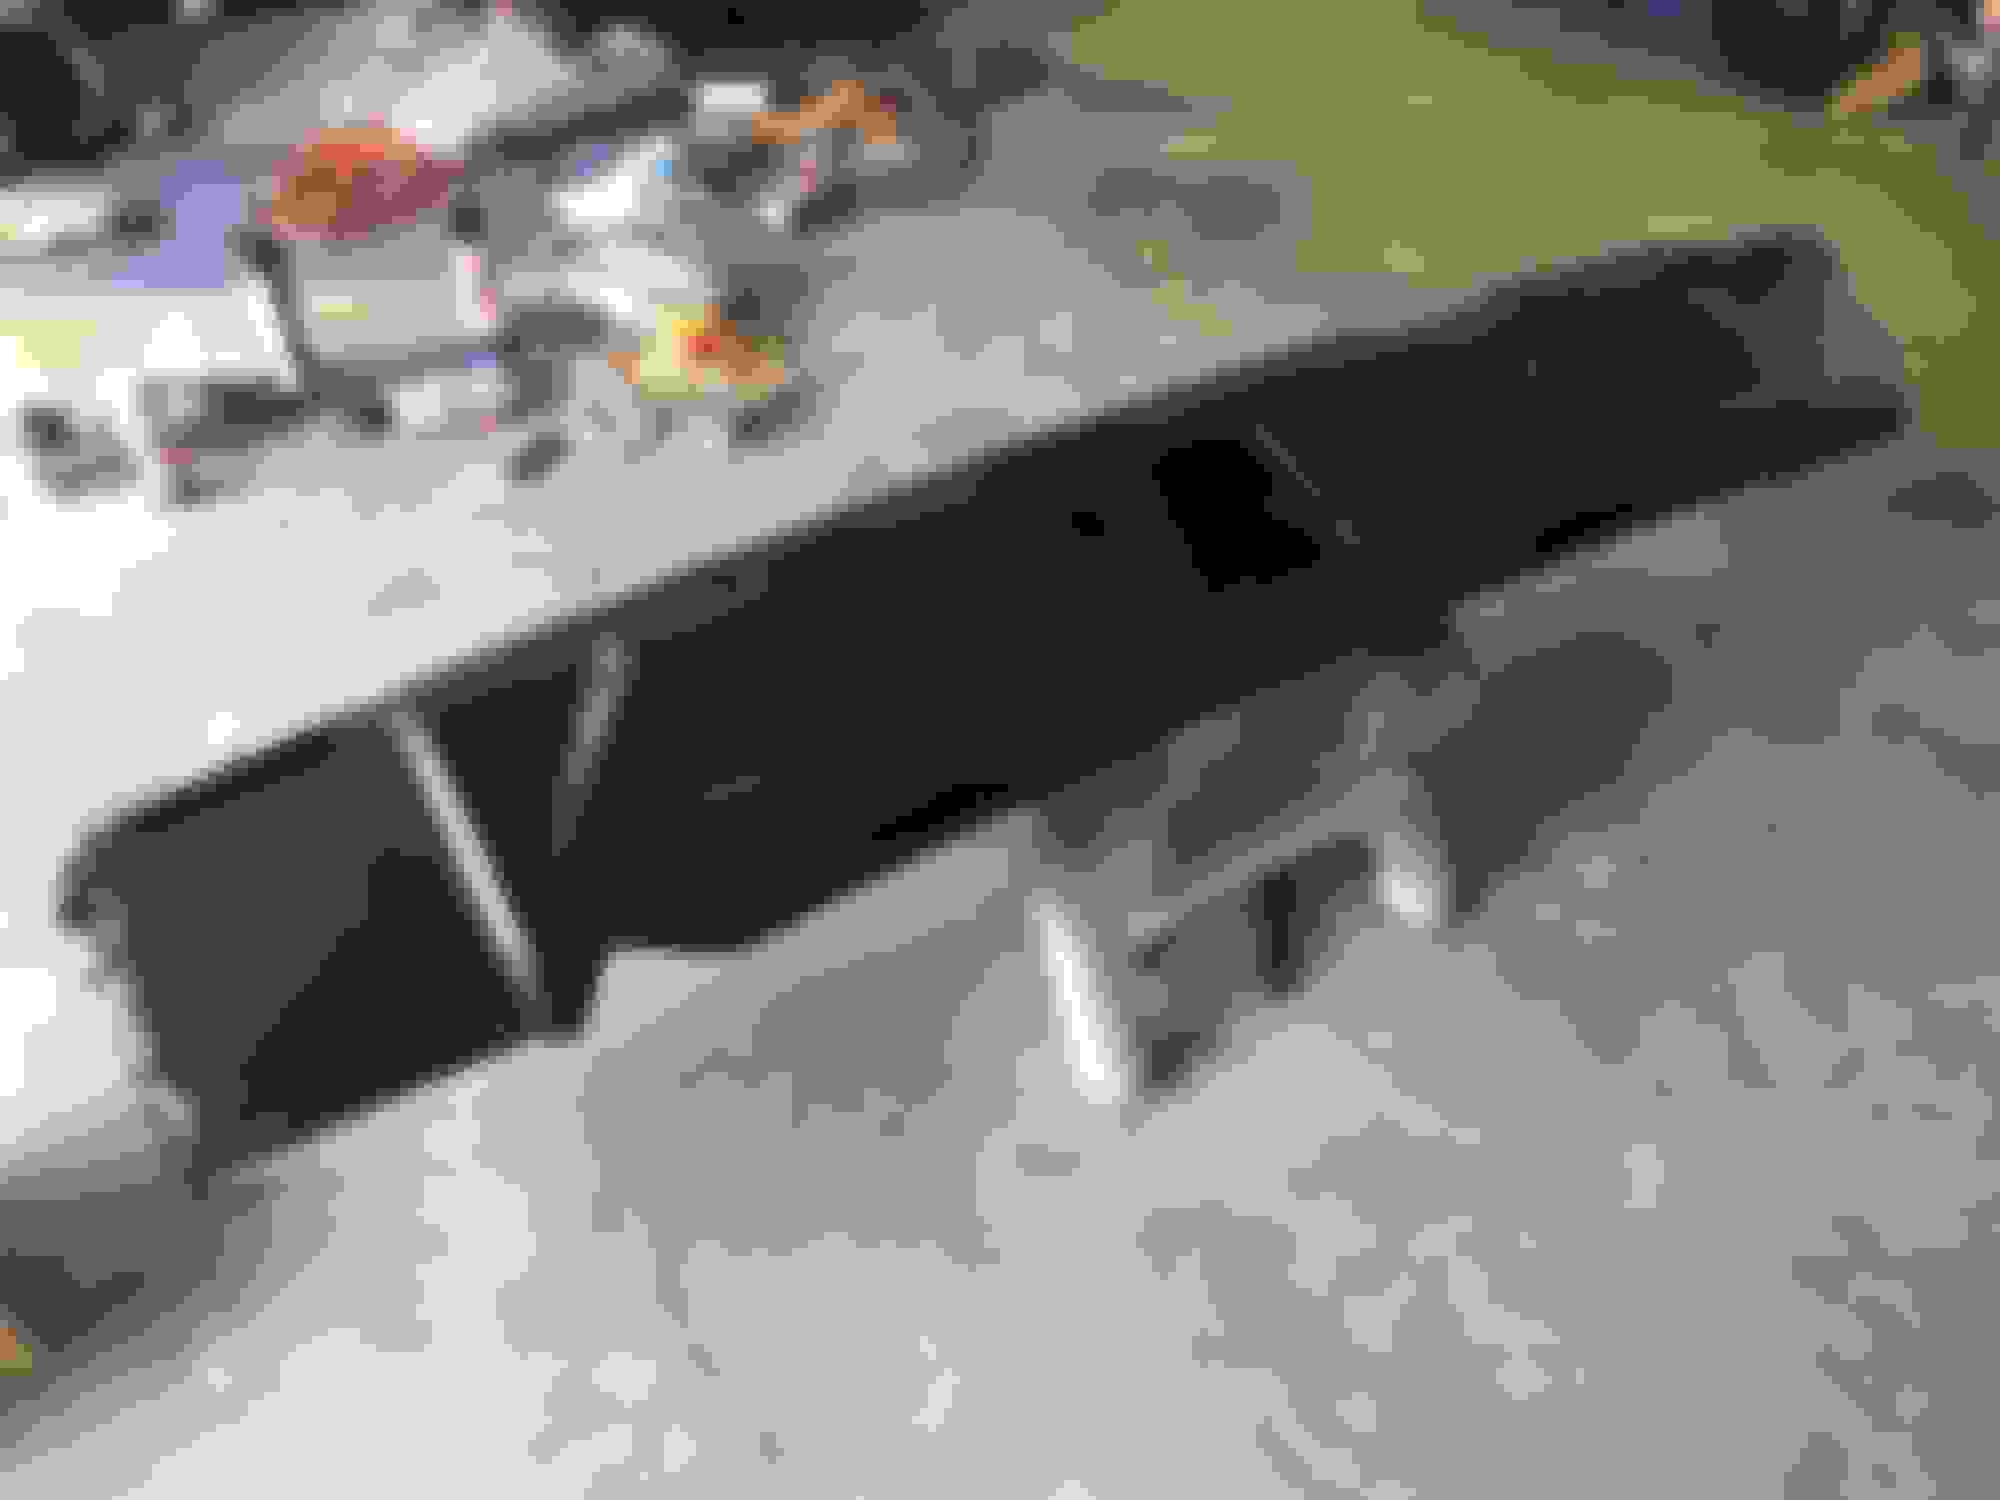
Ok so I put some paint on the bumper... I wish I had better light. I ended up with two small runs... hard to say how they will show up till it’s dry. But I can see imperfections. I may be over thinking this for a bumper. I’ll get it in light once I can touch it, but here are a few wet shots. Notice you can see the filler and there are other noticeable imperfections. What do you think, should I hit it with bedliner or keep as is and see if it grows on me? Once upon a time I was a good painter... let’s just say I’m out of practice
I’m still thinking about hitting the bumper with duplicilor bed liner. I wanted to let everyone know that the VHT roll bar paint is actually really nice. End result is raven and a nice color match (satin). If I did a better job with the body work it would have been perfect.
Pics will follow if I bed line it... or if I keep as is I’ll post pics of the swap.
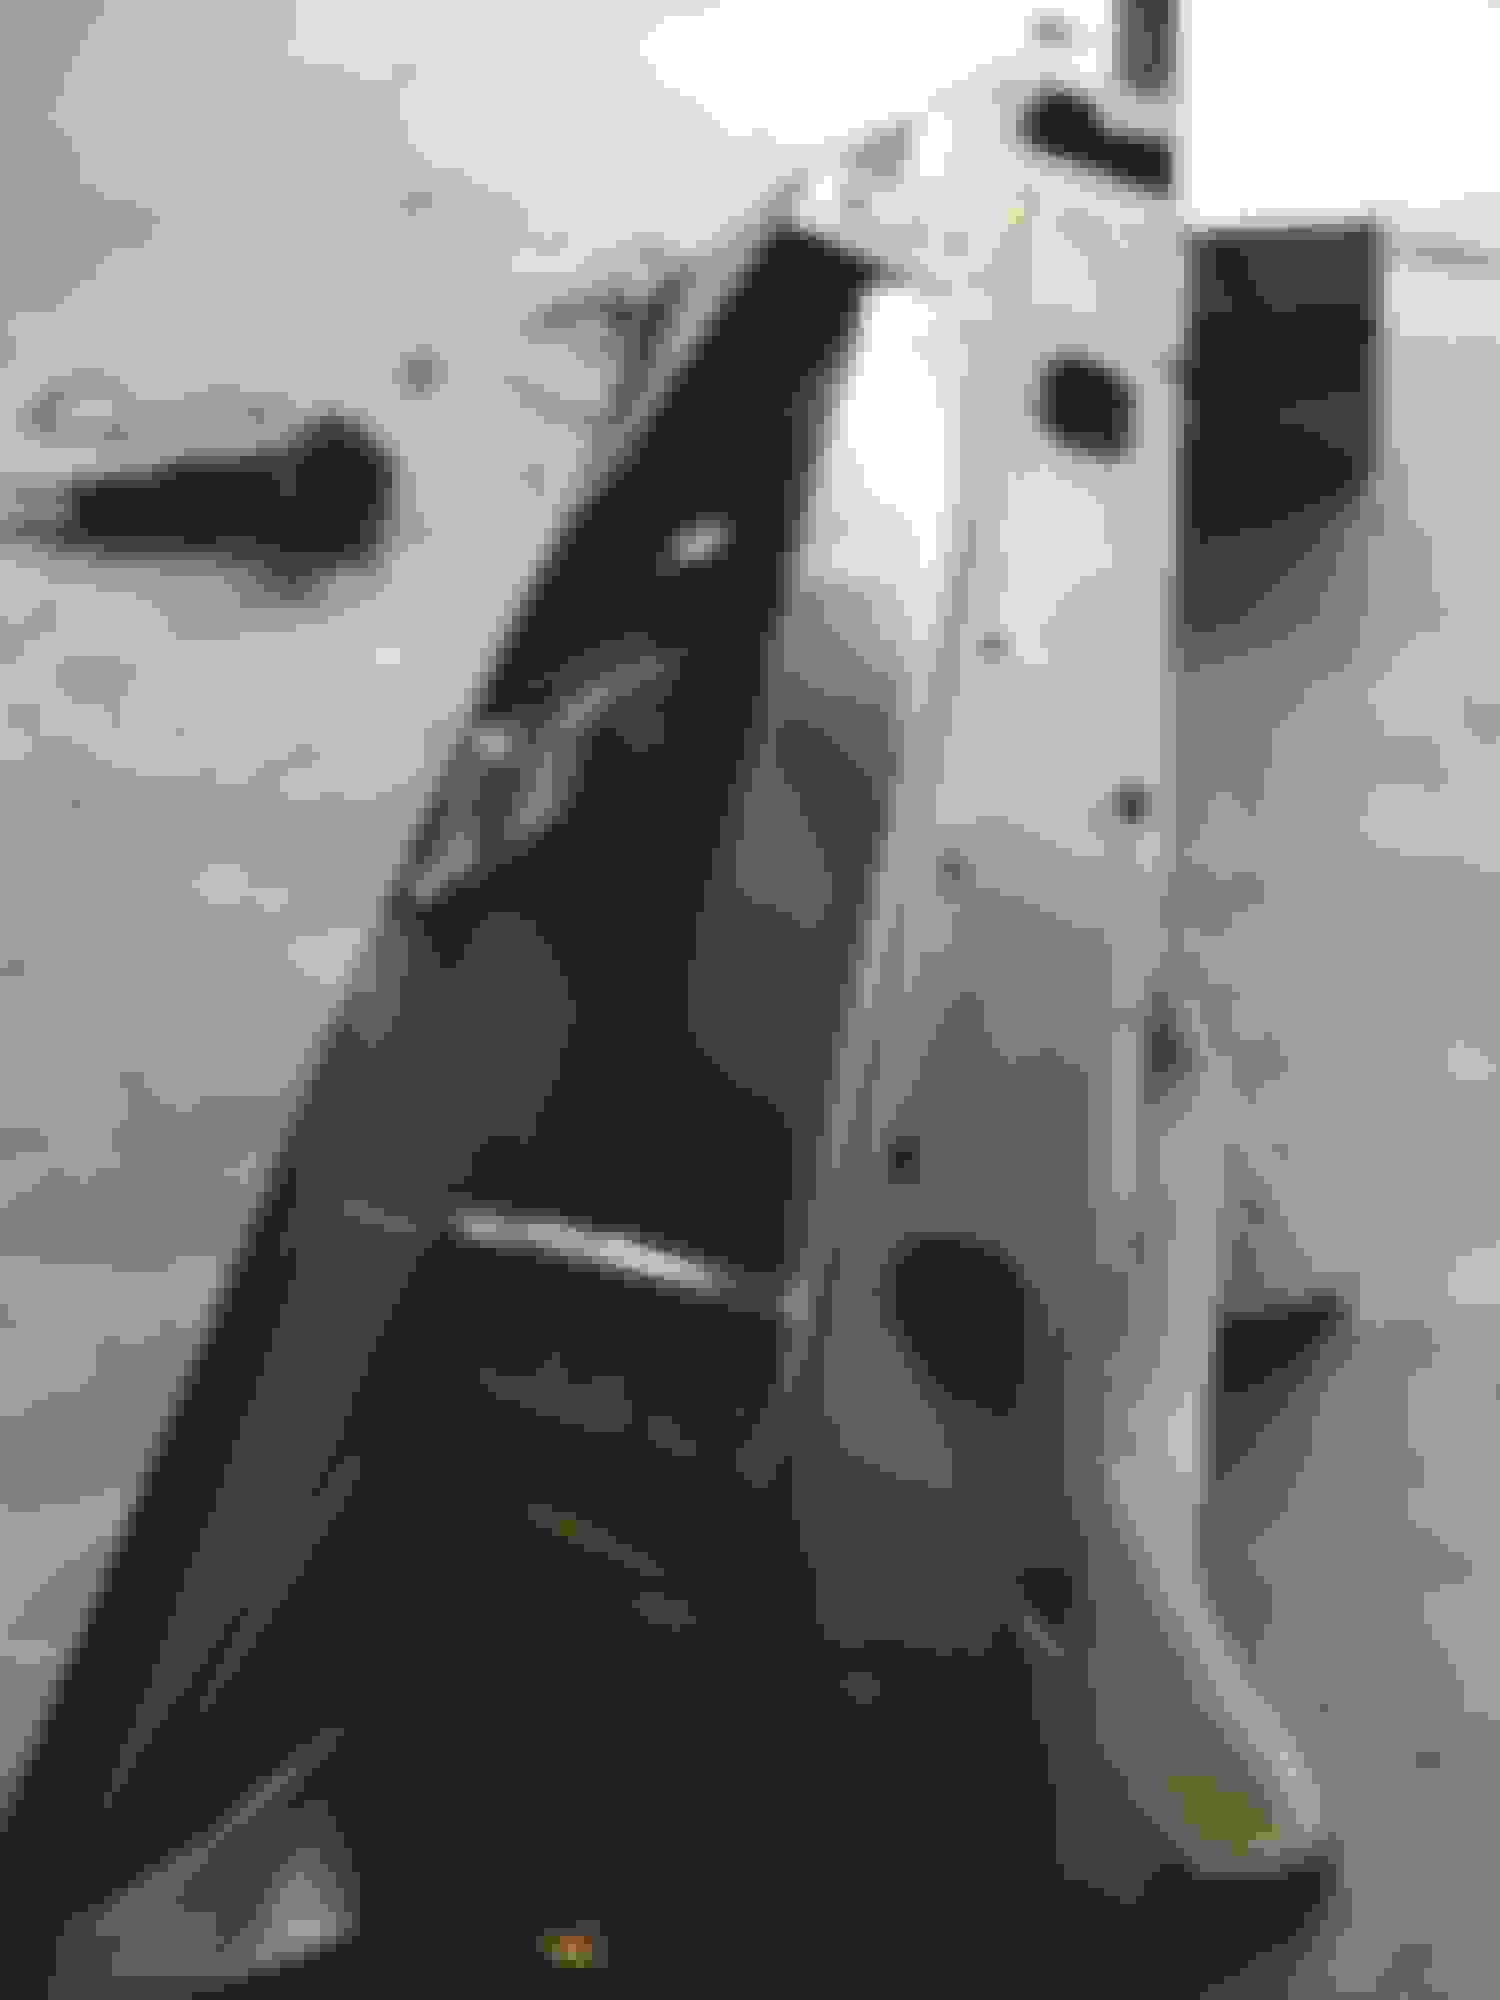
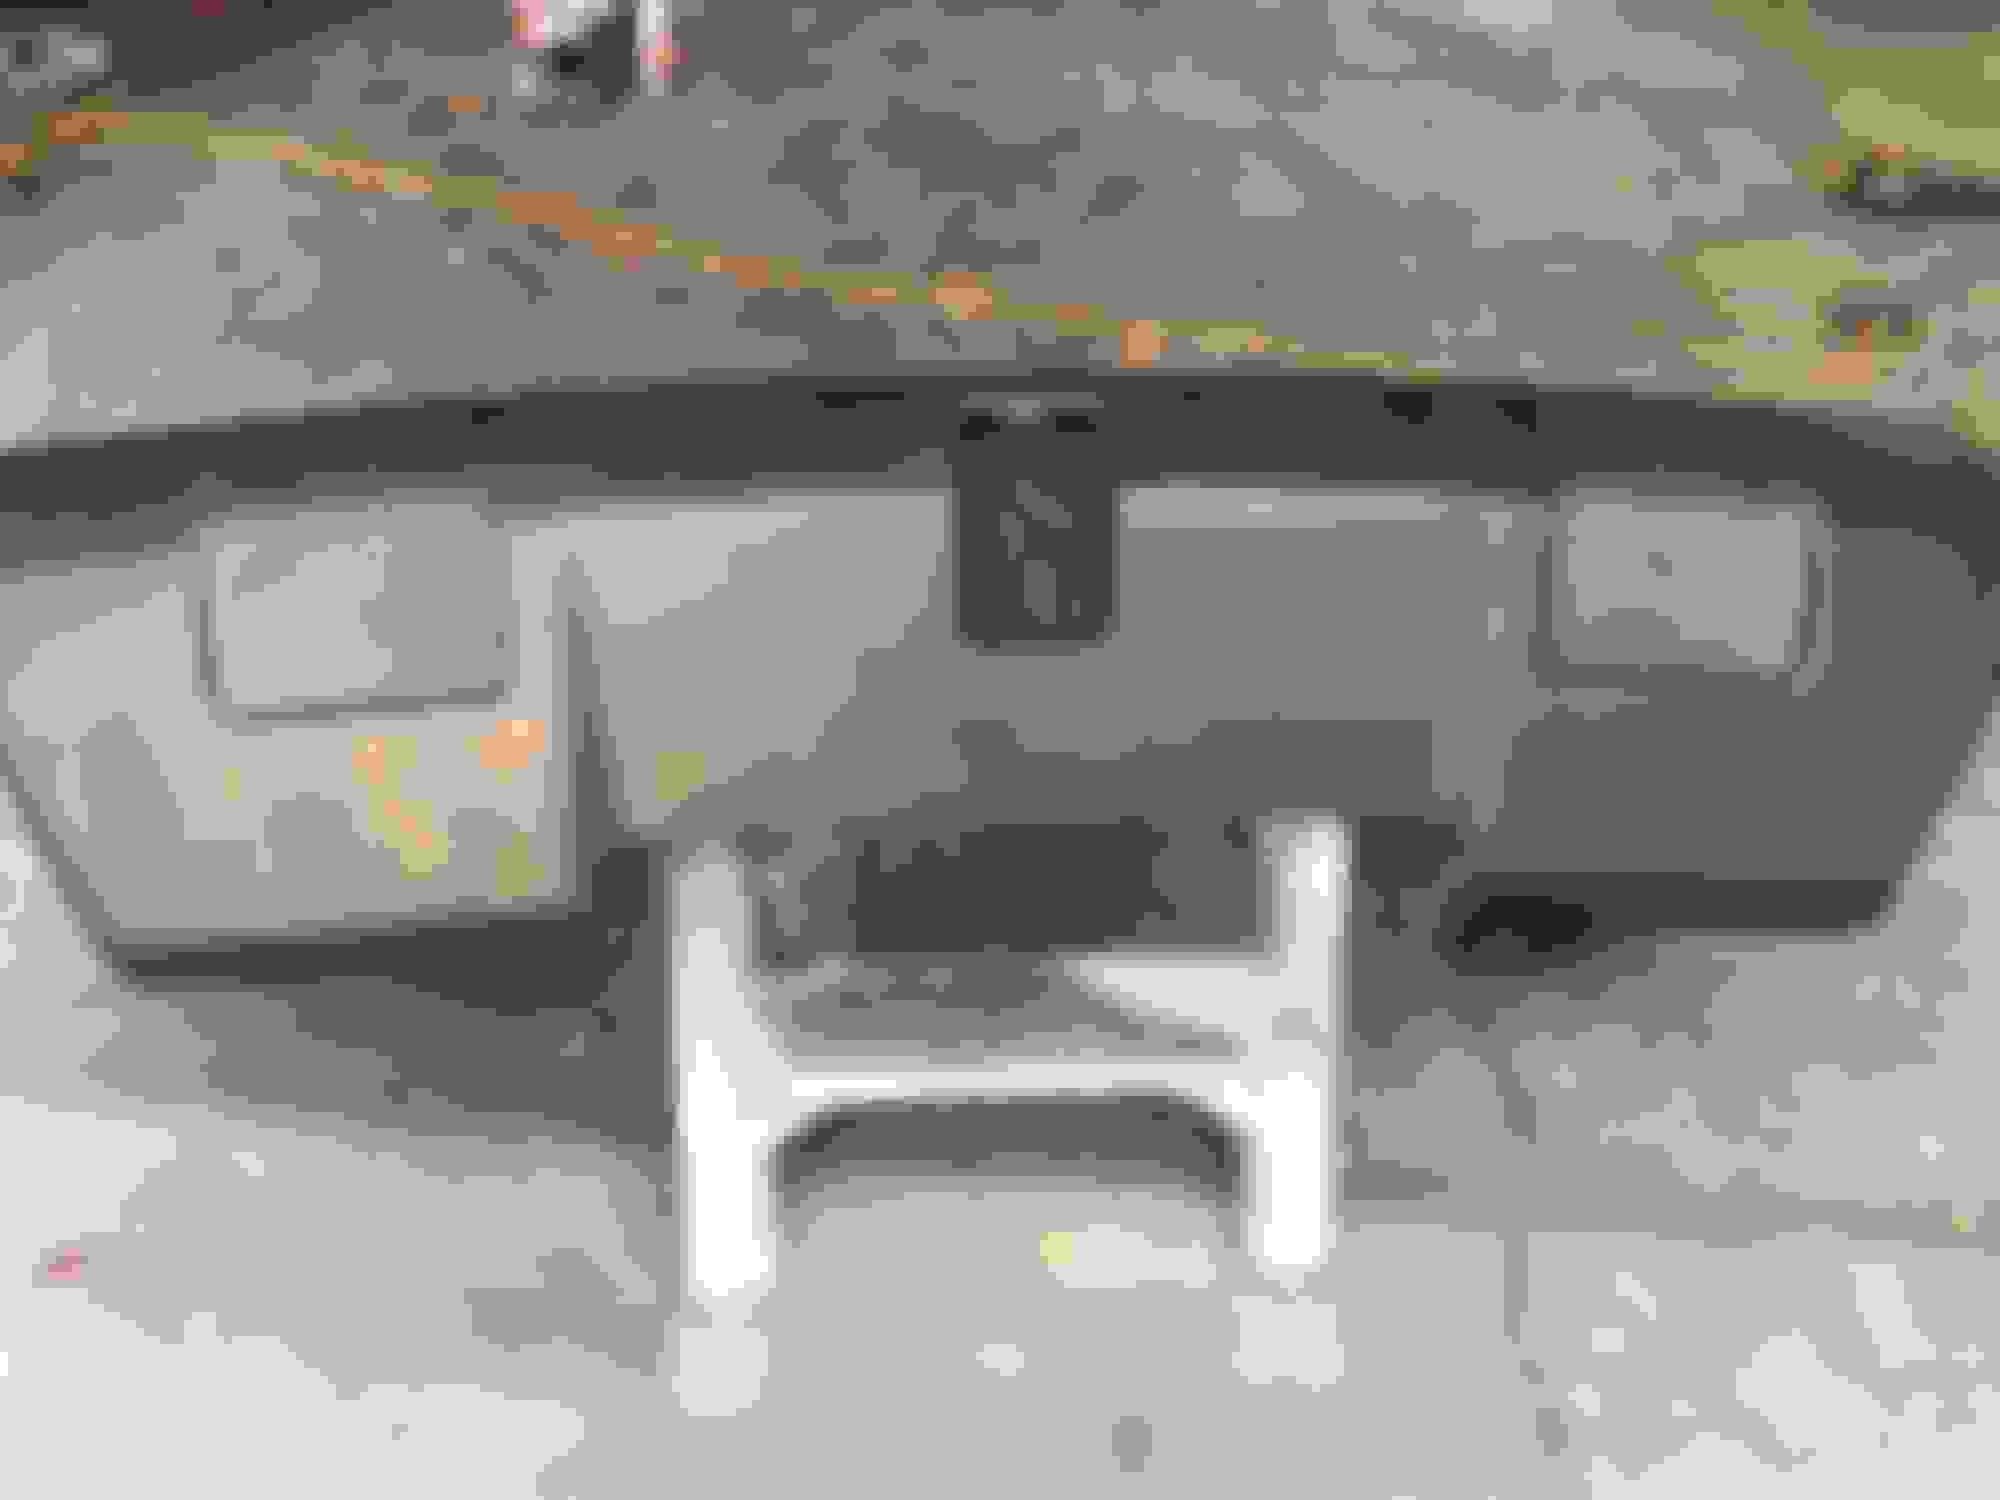
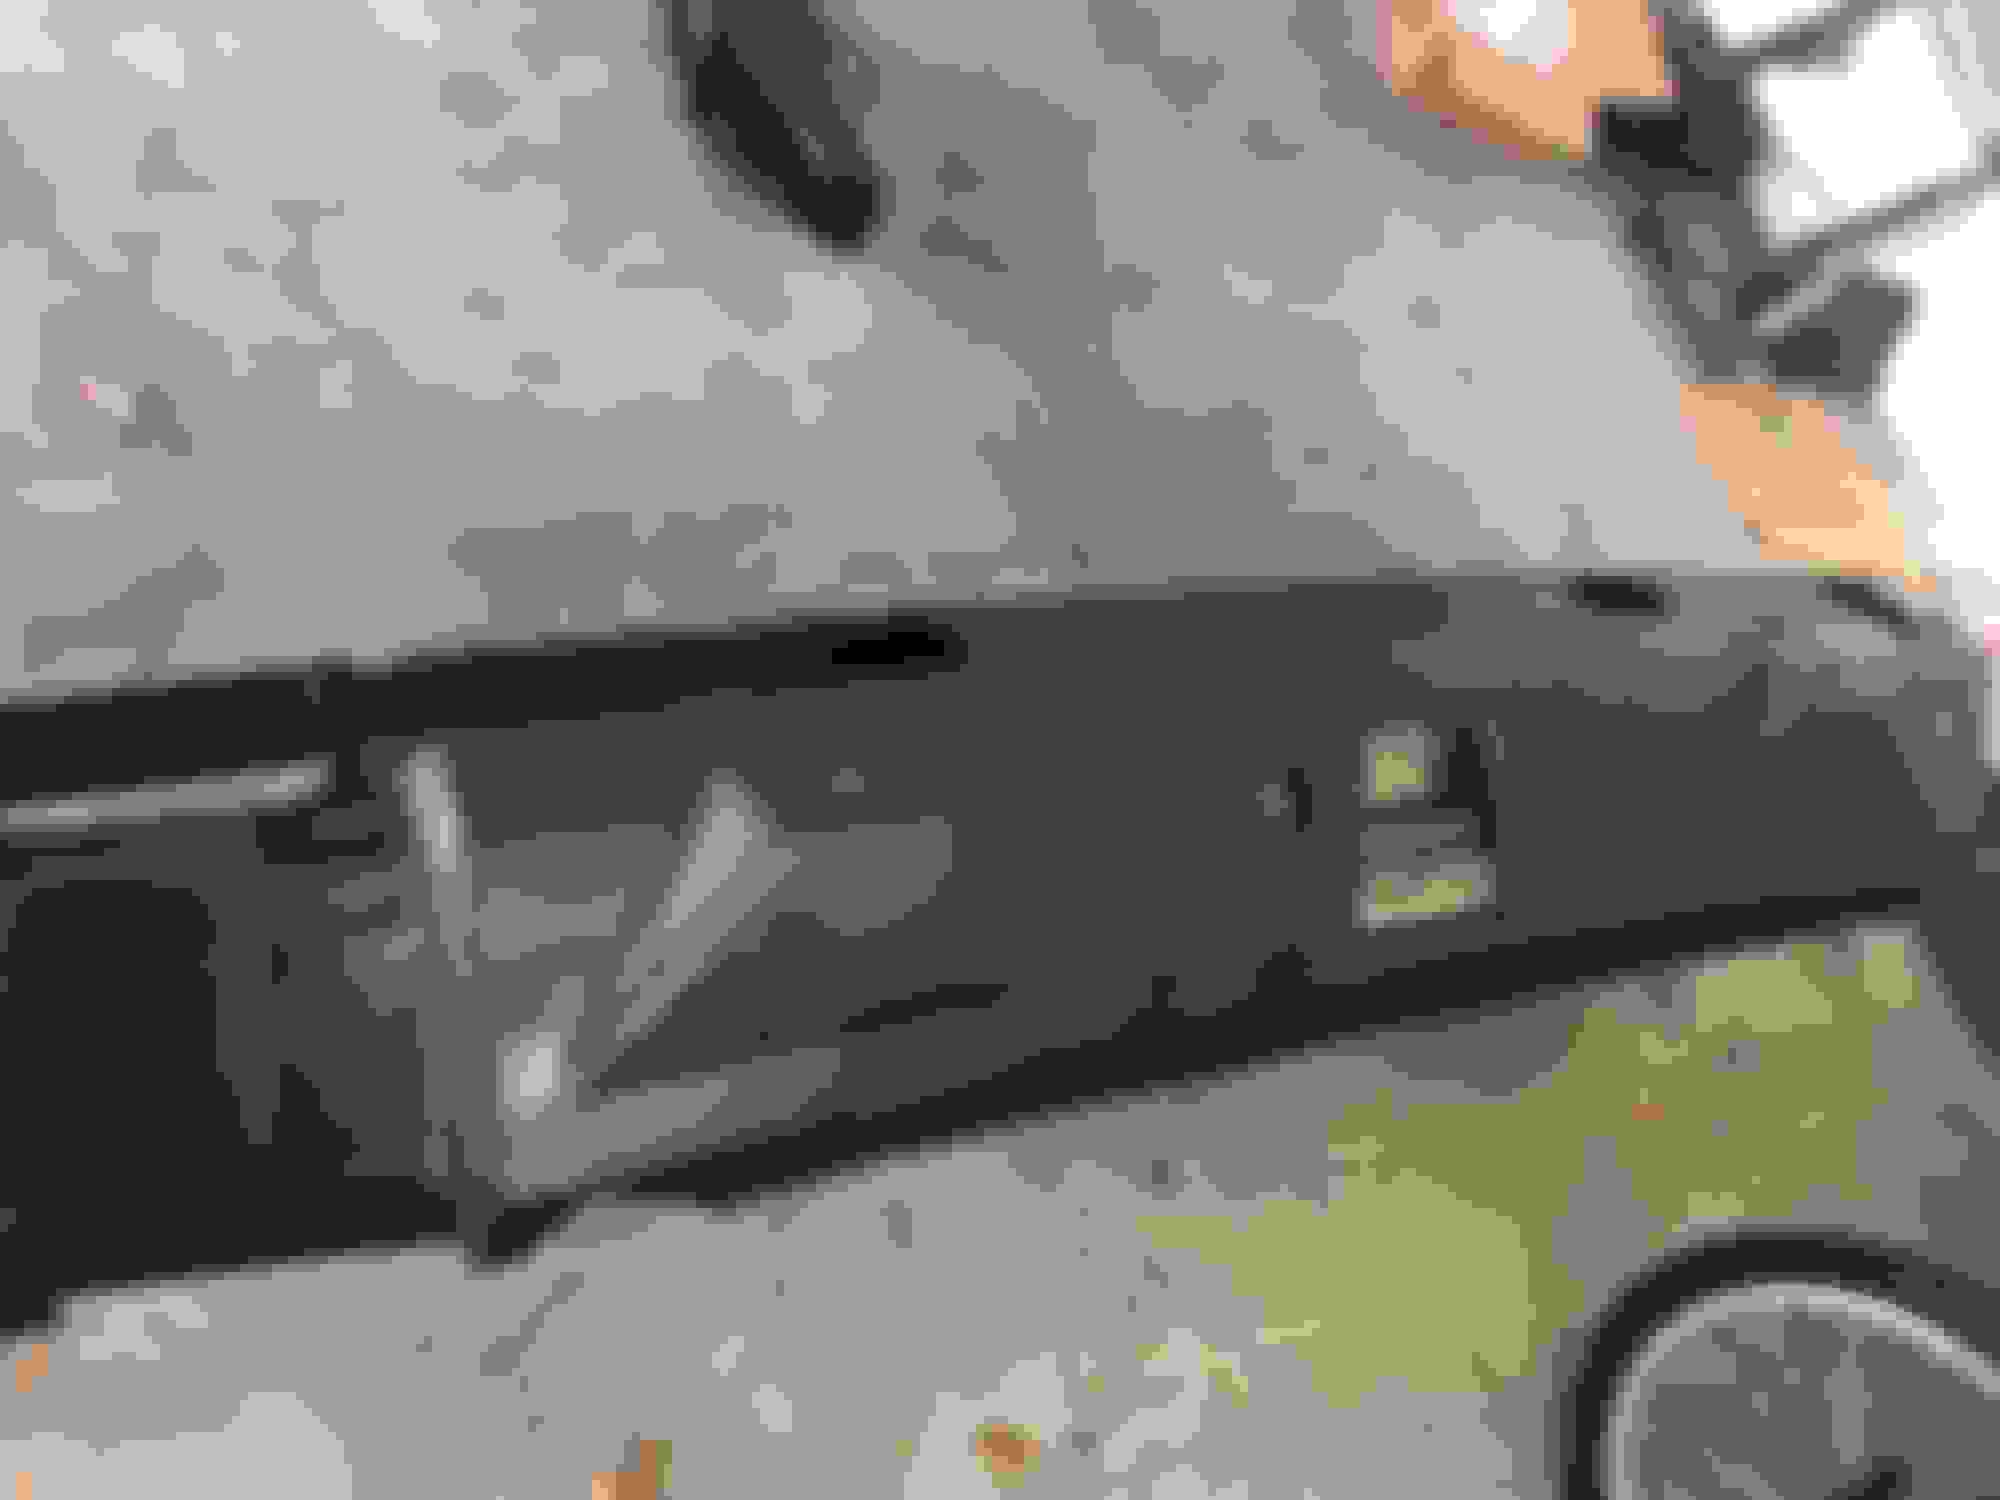
Alright, I couldn’t stand it. And I need to know. I put 2 coats of bedliner on my rear bumper and 1 cost on my front bumper (metal impact bars) only. My intentions are to see if it holds up better with one medium cost (nit how I usually paint) or 2 coats (one light tack coat and one medium coat). I figure if it doesn’t stay I will take it to linex or who ever for a professional job. My main intention is to see if I really do like the textured finish. So far I’m really excited about the look... once they dry I’ll asymble and see for myself.
By the way, the bumpers are super easy to remove... that’s what made my mind up... easy pull and easy paint.
Mire to follow. And here are some wet paint shots. I Hope the shiny spots even out as it drys. Other than that it’s perfect
Thanks Lojac... same her on the holding up part... I bet not more than 6 months... but who knows... I am trying to decide if I want to hit it with one more uniform coat or if I want to clear coat is (UV Protection) with some satin Clear... Or run with it just for testing purpose...
Wow that old one is pretty bad. I would still take some wire wheels and what not to it and clean it up, repaint, and either keep or sell it. Those metal bumpers are fairly thick and usually the rust is just on the surface.
Looking at your pics, not sure if the front was still drying or not but it's odd how there are glossier spots where the liner must be a little thicker. That is the one downside of using a rattle can on such a large part. You could try a clear but I don't know what the recommendations are for clear on top of the bedliner-if you should at all or what type of clear. That might even out those spots but may not also. That is the one positive of using something that comes with a gun such as Raptor Liner since the gun sprays in such a large area. I think dupli color sells that stuff in quarts, you could maybe do a second coat with an air gun. Just depends how far you want to get into it because even then it still may not take away the spots. AT THE SAME time one it fully cures those spots may go away also...........I feel like I'm saying the same thing over and over lol
yeah, I agree with what your saying... I dont have a compressor or an air gun these days... so I am very limited I may get a can and try one more coat on them and see if I can work with the distance a bit to get the texture to be more even... and your right, its tough really due to the size to get it even... I will give it one more go and then run with it... sometimes the limit is the tools we have to work with... If I like it and want it to be more perfect ill have it linexed or whatever next summer.
its a definite improvement over what I had
Final install pics will come once I have time to fool with it.

 09-26-2018, 02:33 PM


 I may get a can and try one more coat on them and see if I can work with the distance a bit to get the texture to be more even... and your right, its tough really due to the size to get it even... I will give it one more go and then run with it... sometimes the limit is the tools we have to work with... If I like it and want it to be more perfect ill have it linexed or whatever next summer.
