When you click on links to various merchants on this site and make a purchase, this can result in this site earning a commission. Affiliate programs and affiliations include, but are not limited to, the eBay Partner Network.
Hummer H2For those who like a little more gleam to their Hummer, the H2 offers a similar rugged look as the H1, but as a lower cost, and with more added features, making it almost a massive luxury SUV.
I've recommended to several other members on here to get a Tech2 from https://www.chinacardiags.com/
That is where I got mine several years ago and have not had a single problem with it. I know a few others on here also bought one from there. Shipping was also quite fast.
The Tech2 will also give you a ton of other diagnostic and troubleshooting capabilities so it you plan on keeping your H2, it is a tool worth having. Particularly since no other tool on the market has made any sort of programming or diagnostics for something like the air suspension controller on an H2.
X2! Save $$$$, DIY, with anything professionals use!
Hi MixManSC - is yours a Vetronix brand also? Many, including "oceanbrave's" are this brand I believe. Maybe this is the only clone of the real GM one?
No clone Tech2 is really "Vetronix". That is the original name. The Chinese clone ones generally all come with the official looking labels that you stick on yourself to make it look like an authentic Tech2. I just know that the ones from the place I linked do tend to work fine. Vetronix was bought out by Bosch a very long time ago and I the current "vetronix" website is basically just some retail website that is not associated with the original Vetronix brand that Bosch bought out. Bosch knows there are so many Chinese made clone Tech2 devices out there now and since it is really a long discontinued model I dont think they really even care anymore to even try to go after any of them for infringement...
First, thanks to all forum members, especially @oceanbrave for giving me the confidence to attempt this repair.
Notes:
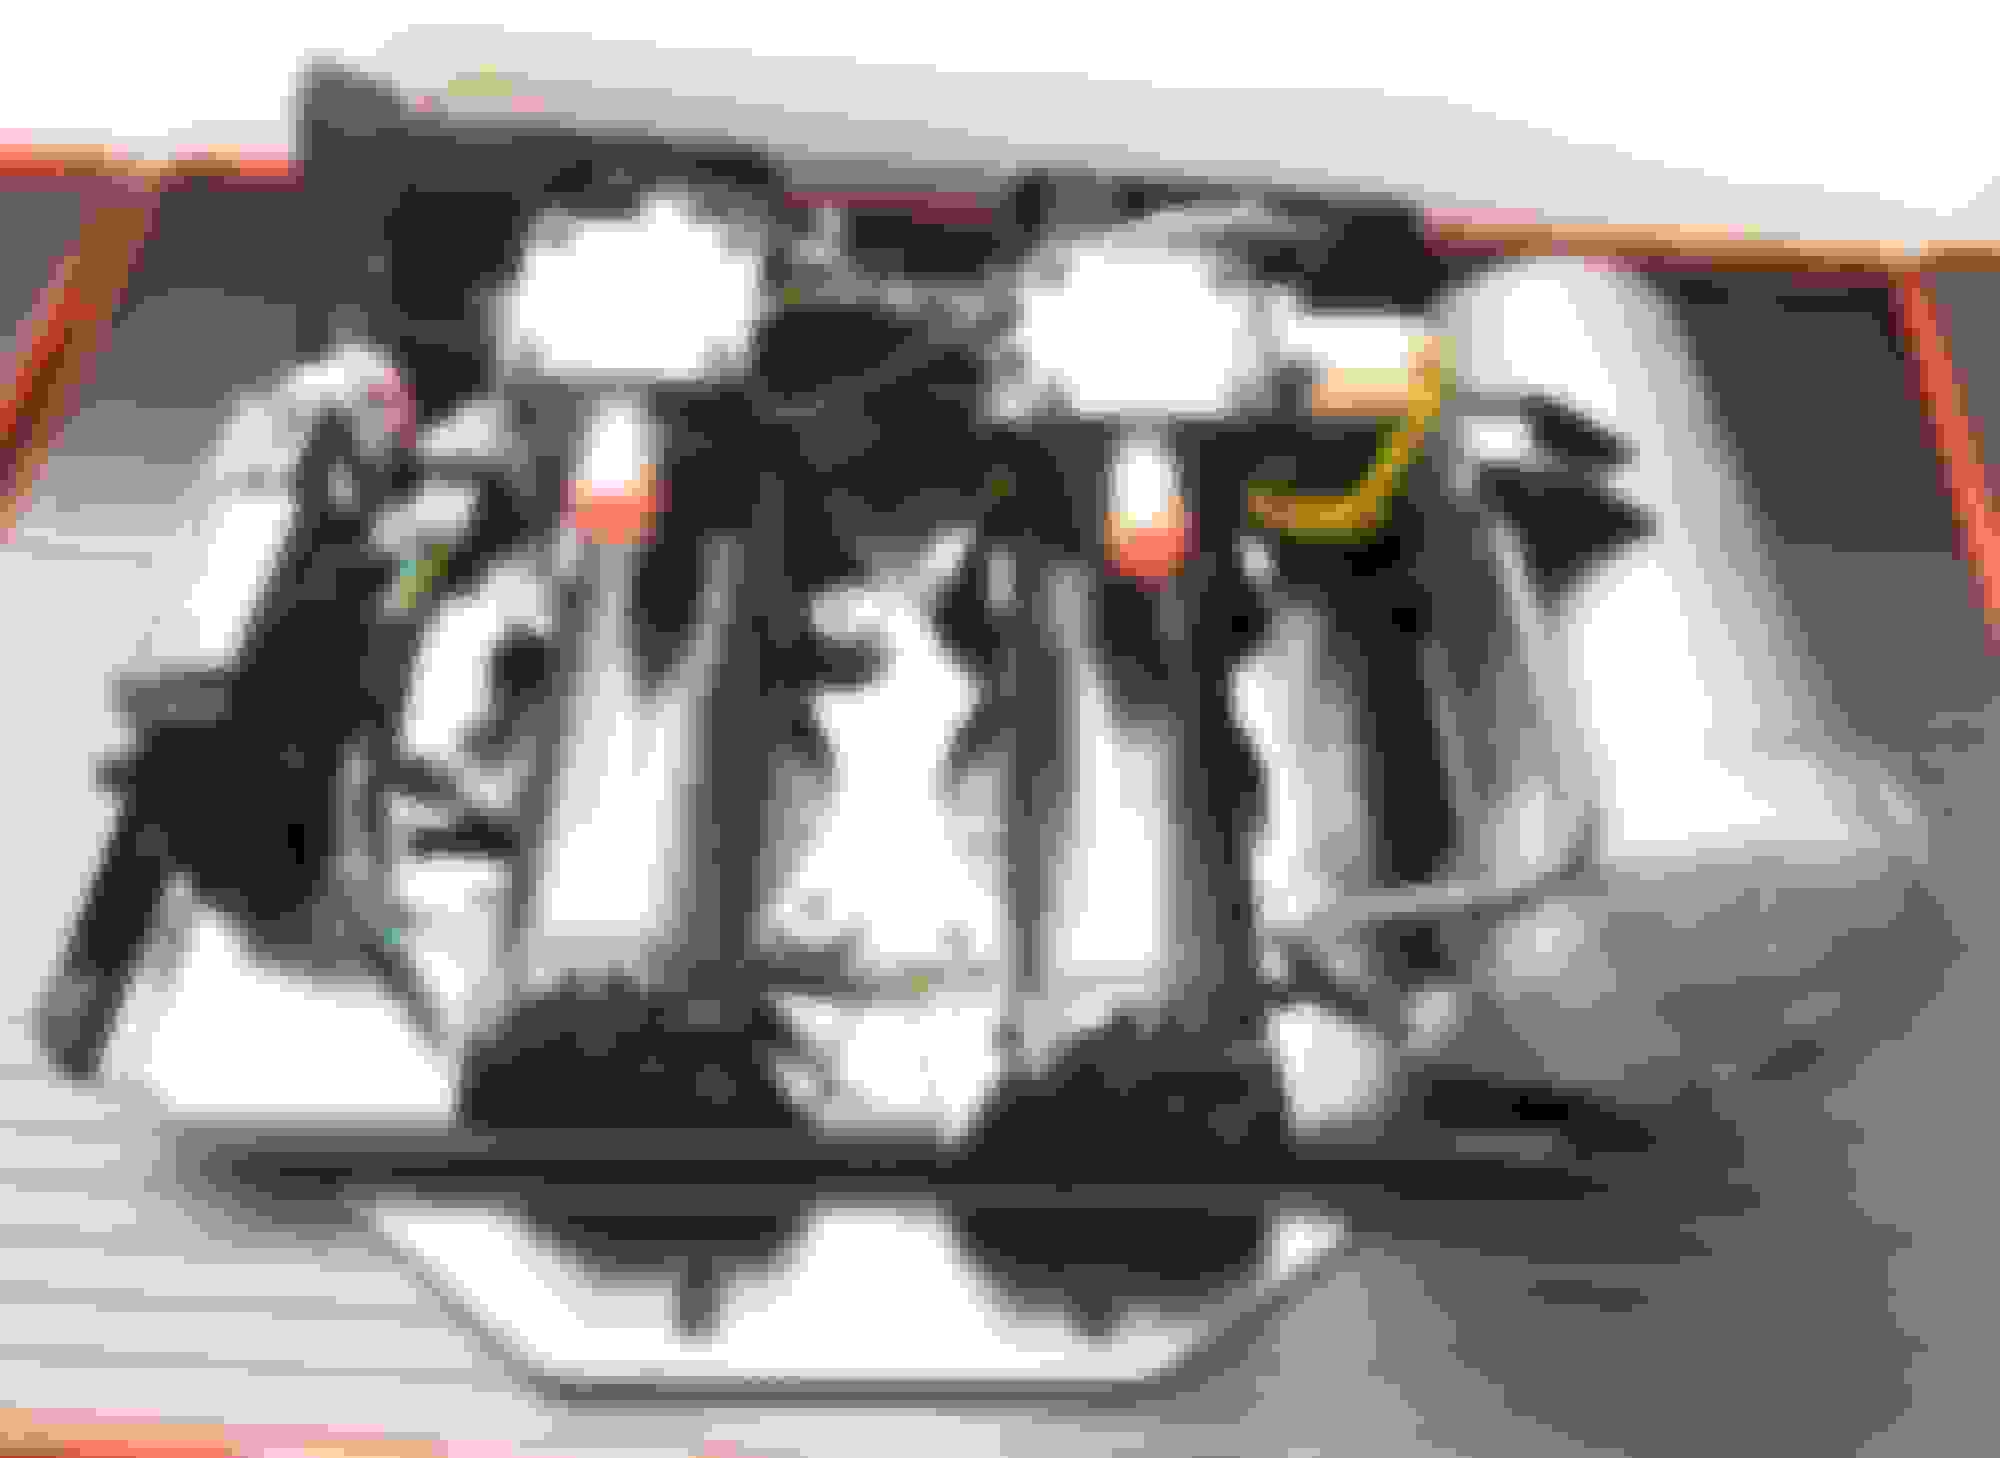
1. The new air compressor (build date 2018) now has the exhaust solenoid sending exhaust back thru its compressor. That explains why the exhaust filter and tube are now referred to as the “intake/Exhaust System”.
Build in England by Dunlop.
The old compressor (built circa 2007) has the solenoid venting exhaust out of a nipple mounted to the solenoid.
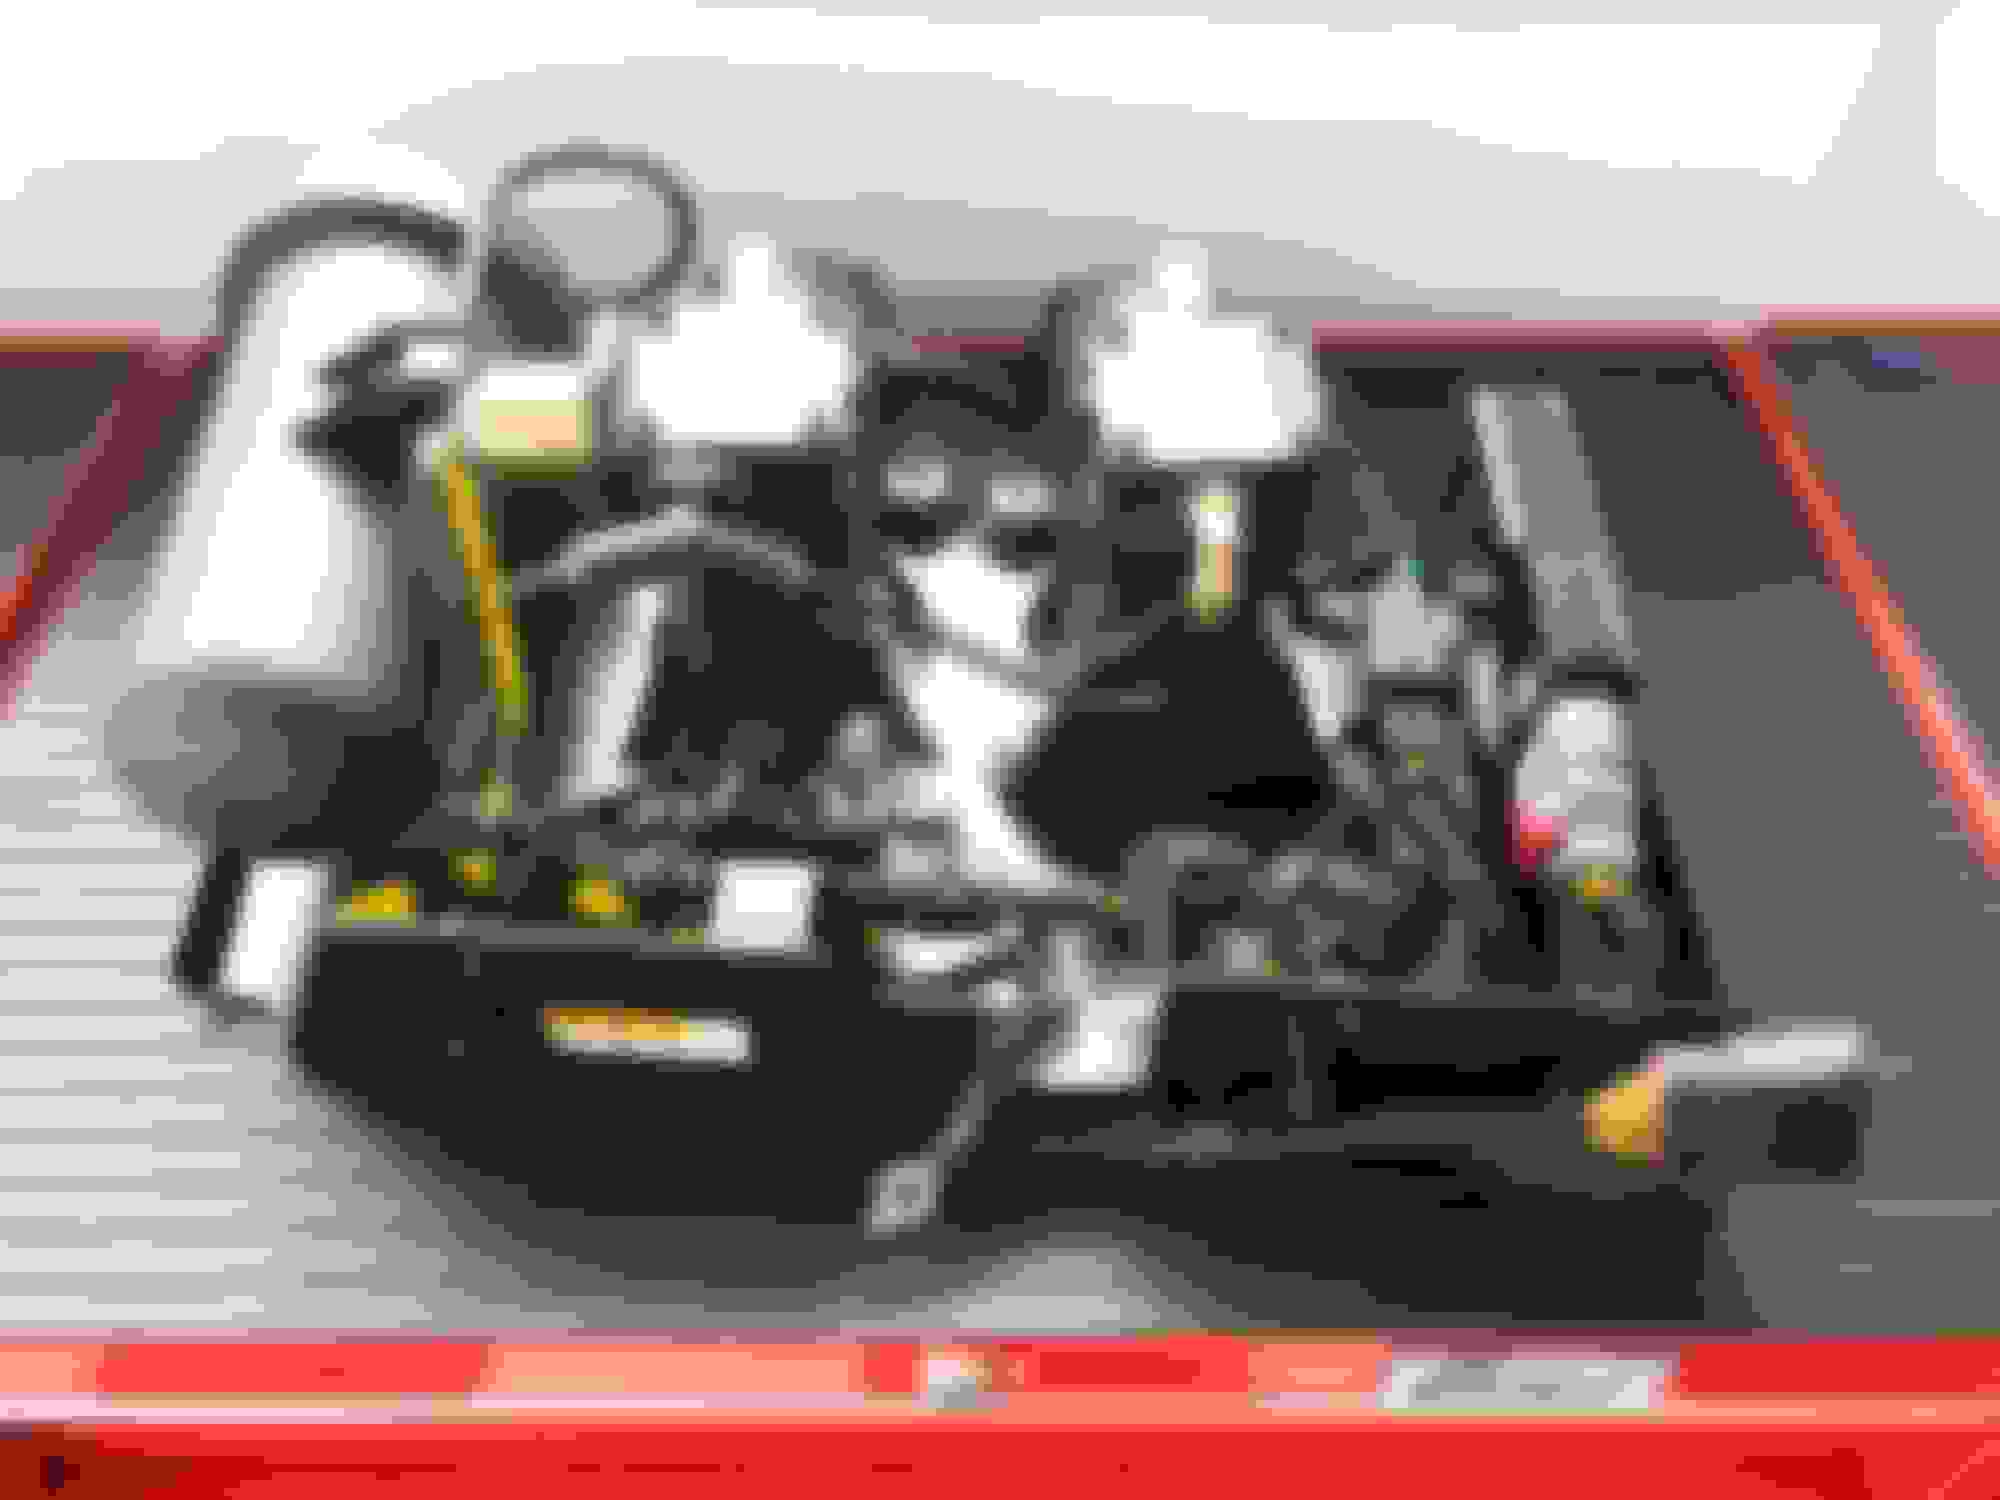
There were a ton of loose wires exposed. Some are quite thin. I used black wire loom to sleeve as many exposed wires as possible, and to tidy up the wiring mess. And a mess it was.
In the photos you can see black vacuum plugs inserted in the 3 holes where the 1/8" tubing goes. And 2 orange caps on the compressors show where the air filter 3/8" hoses plug in.
2. The air filter is serviceable. Carefully slide the vinyl protector cap down the tube, pry apart the air filter by pushing in 2 plastic tangs, and wash out the filtering materials.
My filter and tubing was full of mud. Because the filter is unbelievably stupidly mounted behind the LR tire. Exposed to mud kicked up by the tire eventually found its way thru the filtering material.
3. That explains the failure of the original air ride. It was full of mud. You could see it in the old tubing. The exterior of the old air ride, unlike some photo seen, was not corroded. Because I regularly wash the underbody and squirt water over the compressor assembly to wash out debris and salt.
4. I extended the length of the 3/8” ID black tubing, so I could relocate the air filter next to the gas cap assembly. I zip-tied it to the gas filler neck, as high as possible. Done by removing the gas filler lid and plastic bucket.
The identical tubing was purchased from a dealer selling SMC brand, and is indistinguishable from the original. Identical 3/8” ID straight and T- connectors were purchased from local auto parts store for pennies.
(https://www.smcusa.com/products/fitt...s/Tubing~22059
5. Contrary to other posts, the service manuals, and everything else I read, the system did NOT require any calibration tools nor the Tech2.
6. Important steps:
First disconnect battery or pull 2 underhood fuse box air ride fuses).
Detaching the 2 air intakes (1 per compressor).
Unbolt old air ride, dropping it a few inches, and supporting with wood blocks or milk crates underneath.
Only then was air line disconnection attempted.
The system was still pressurized.
Vehicle was blocked and supported from dropping.
I wiggled the connector to the air shock, and it burped air slowly.
Once all air pressure was out of the system. I disconnected the 2 air shocks, the accessory (toy) inflator line.
2 electrical connectors were then released, along with 2 plastic trees holding the wiring harness on the air ride assembly.
7. New air ride was installed. Fuses reinstalled. Vehicle turned on. The system immediately pumped up and leveled itself, to exactly the old settings. Did not throw any codes. No Tech2 tool required.
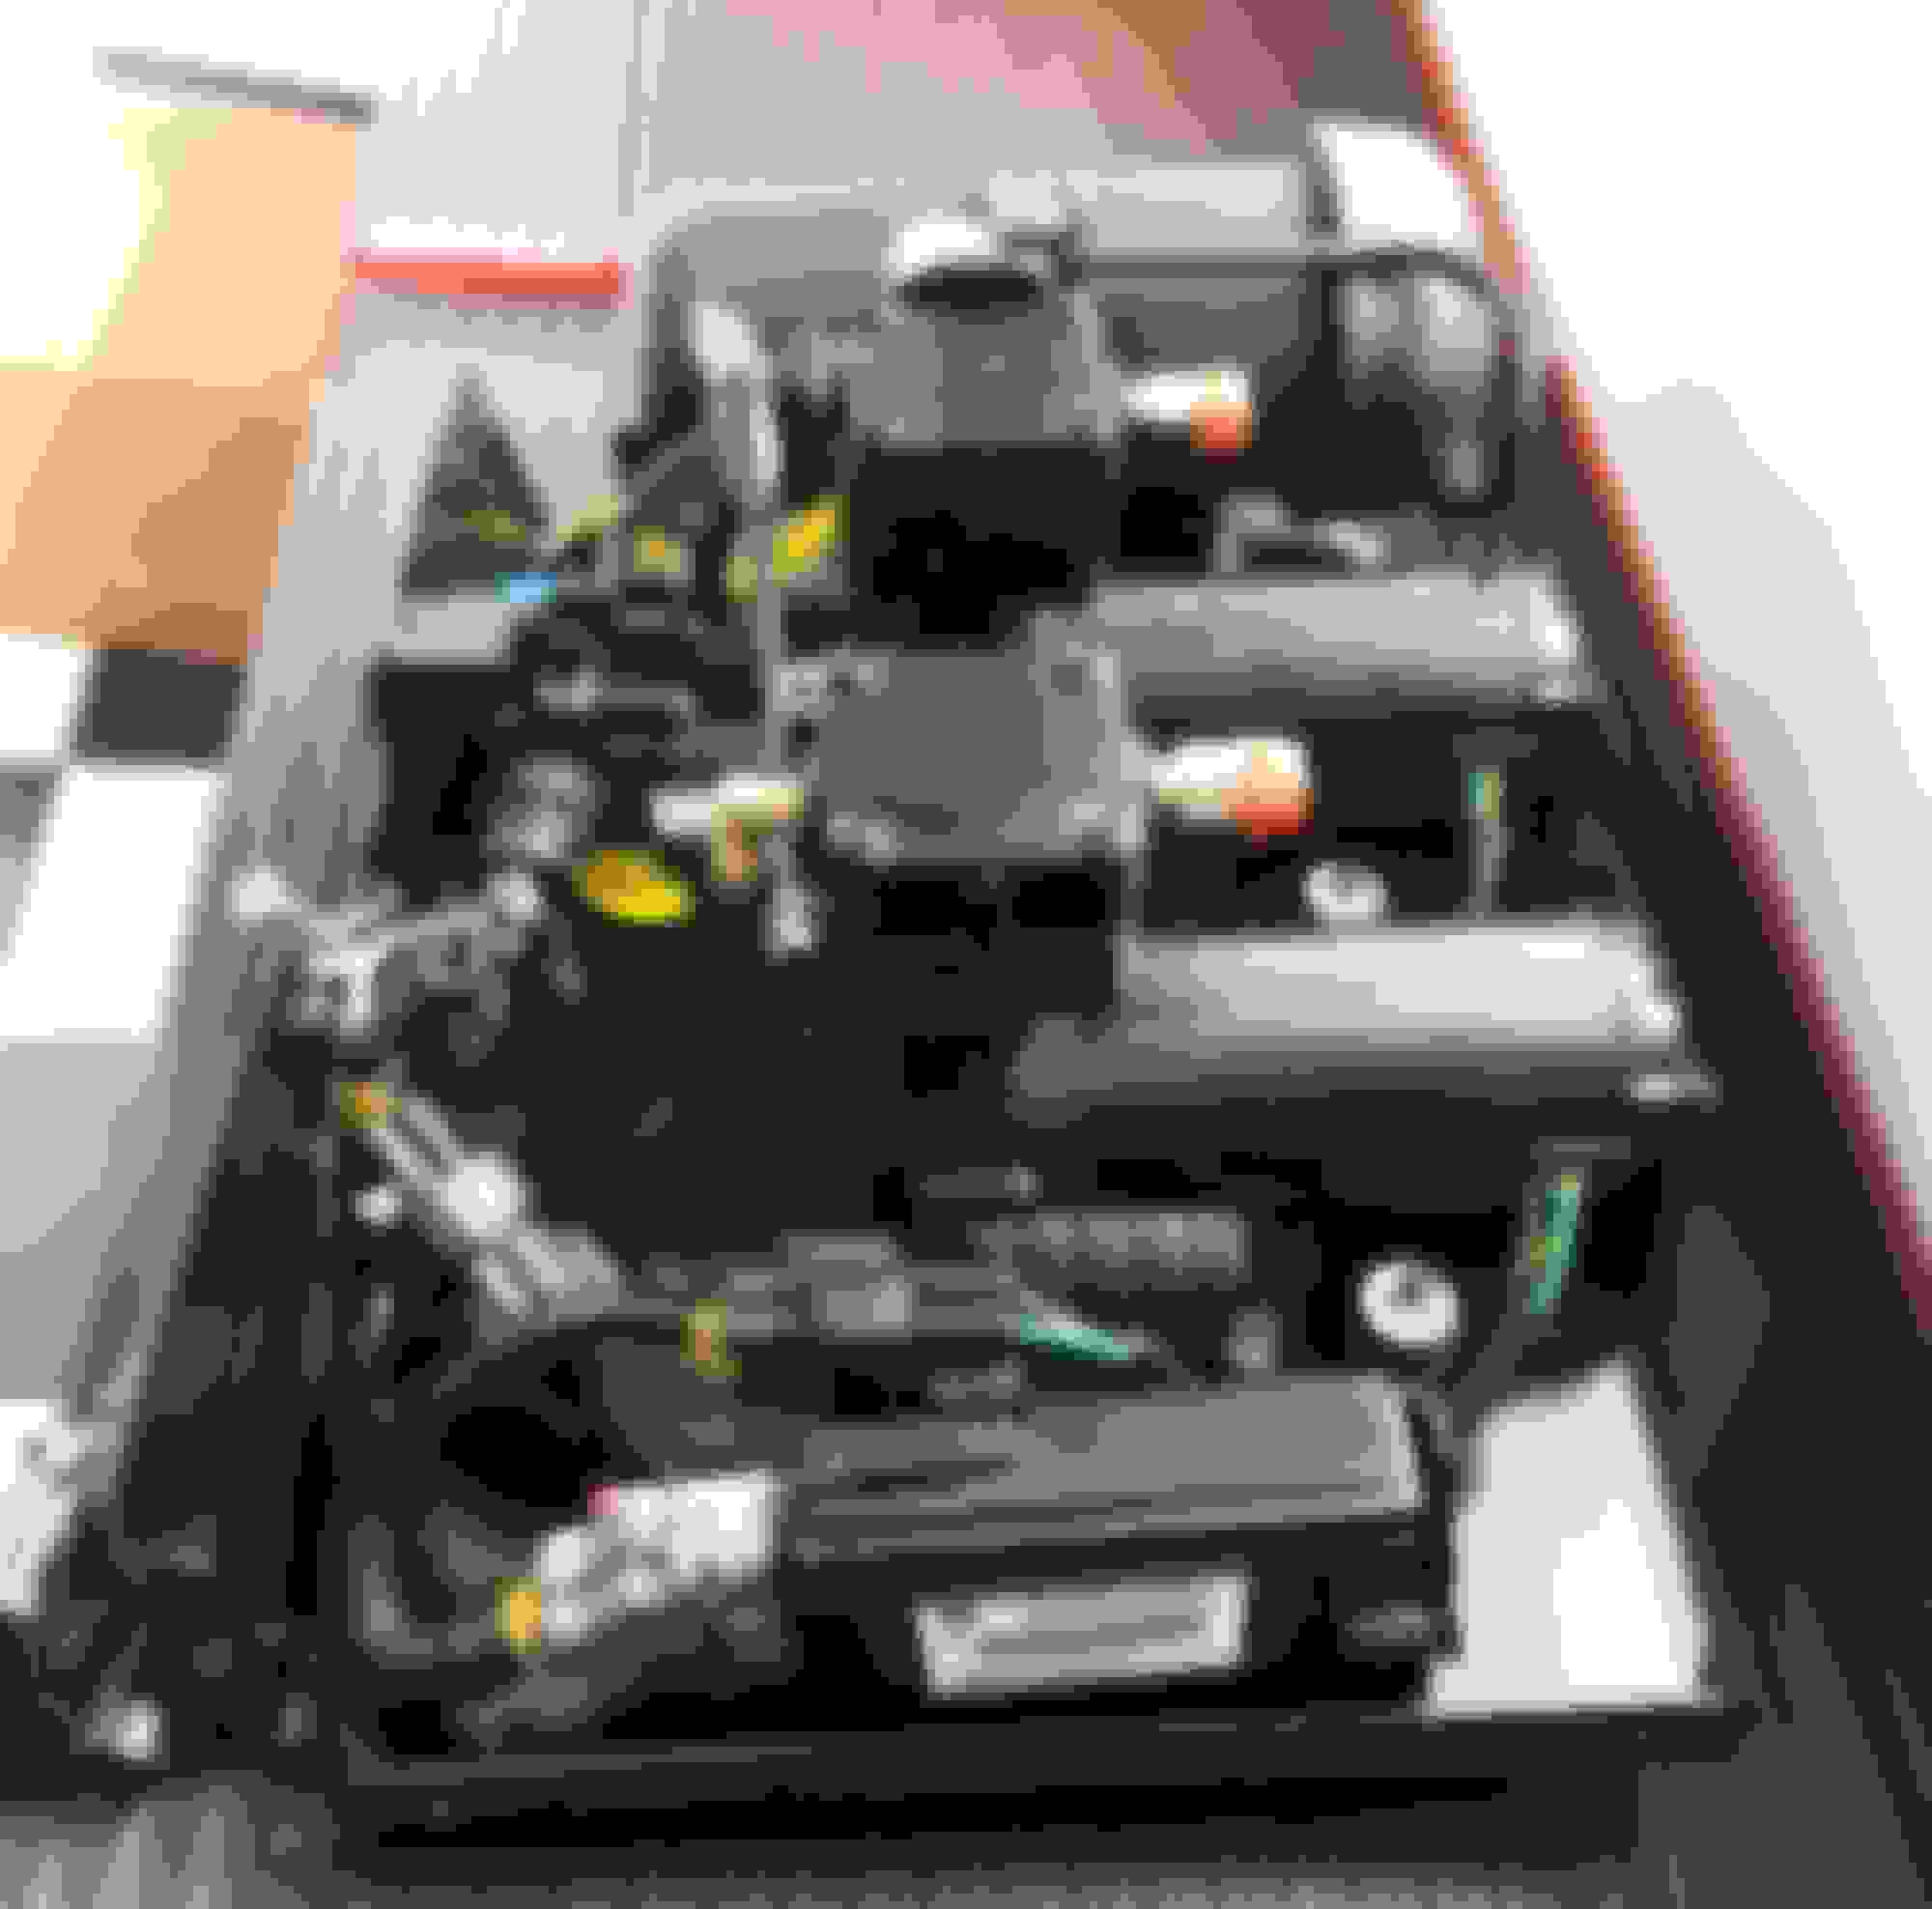
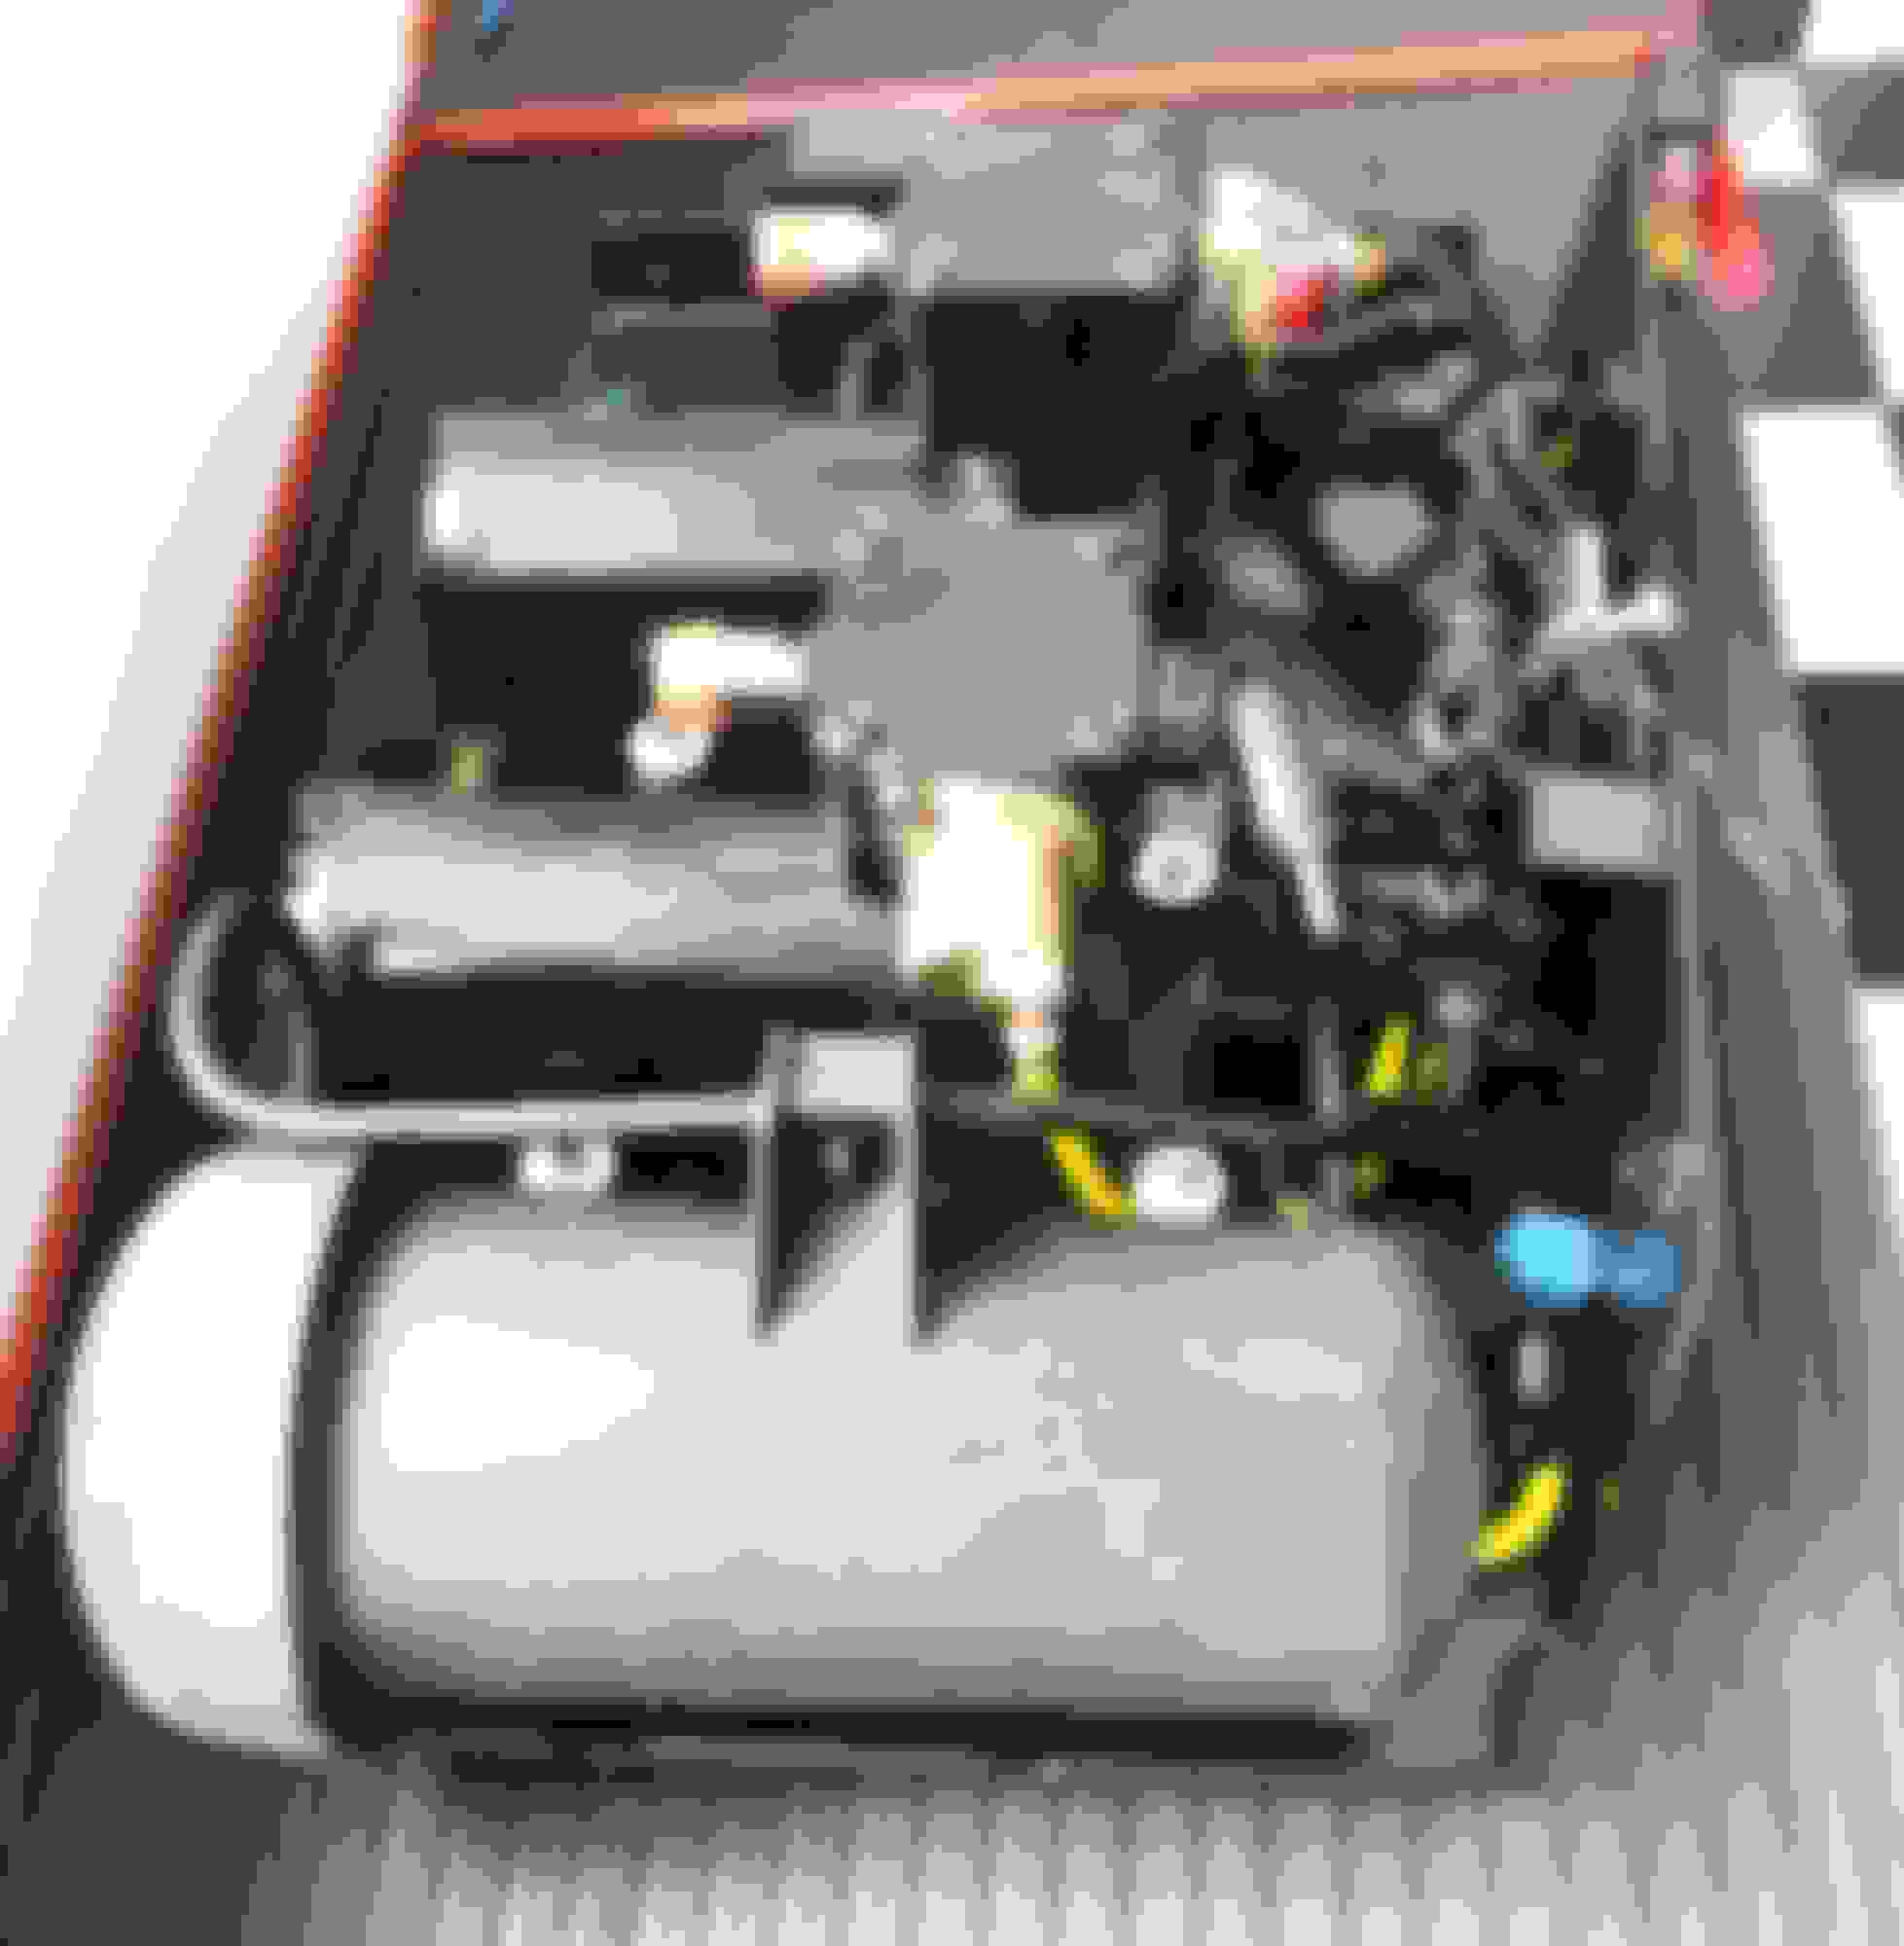
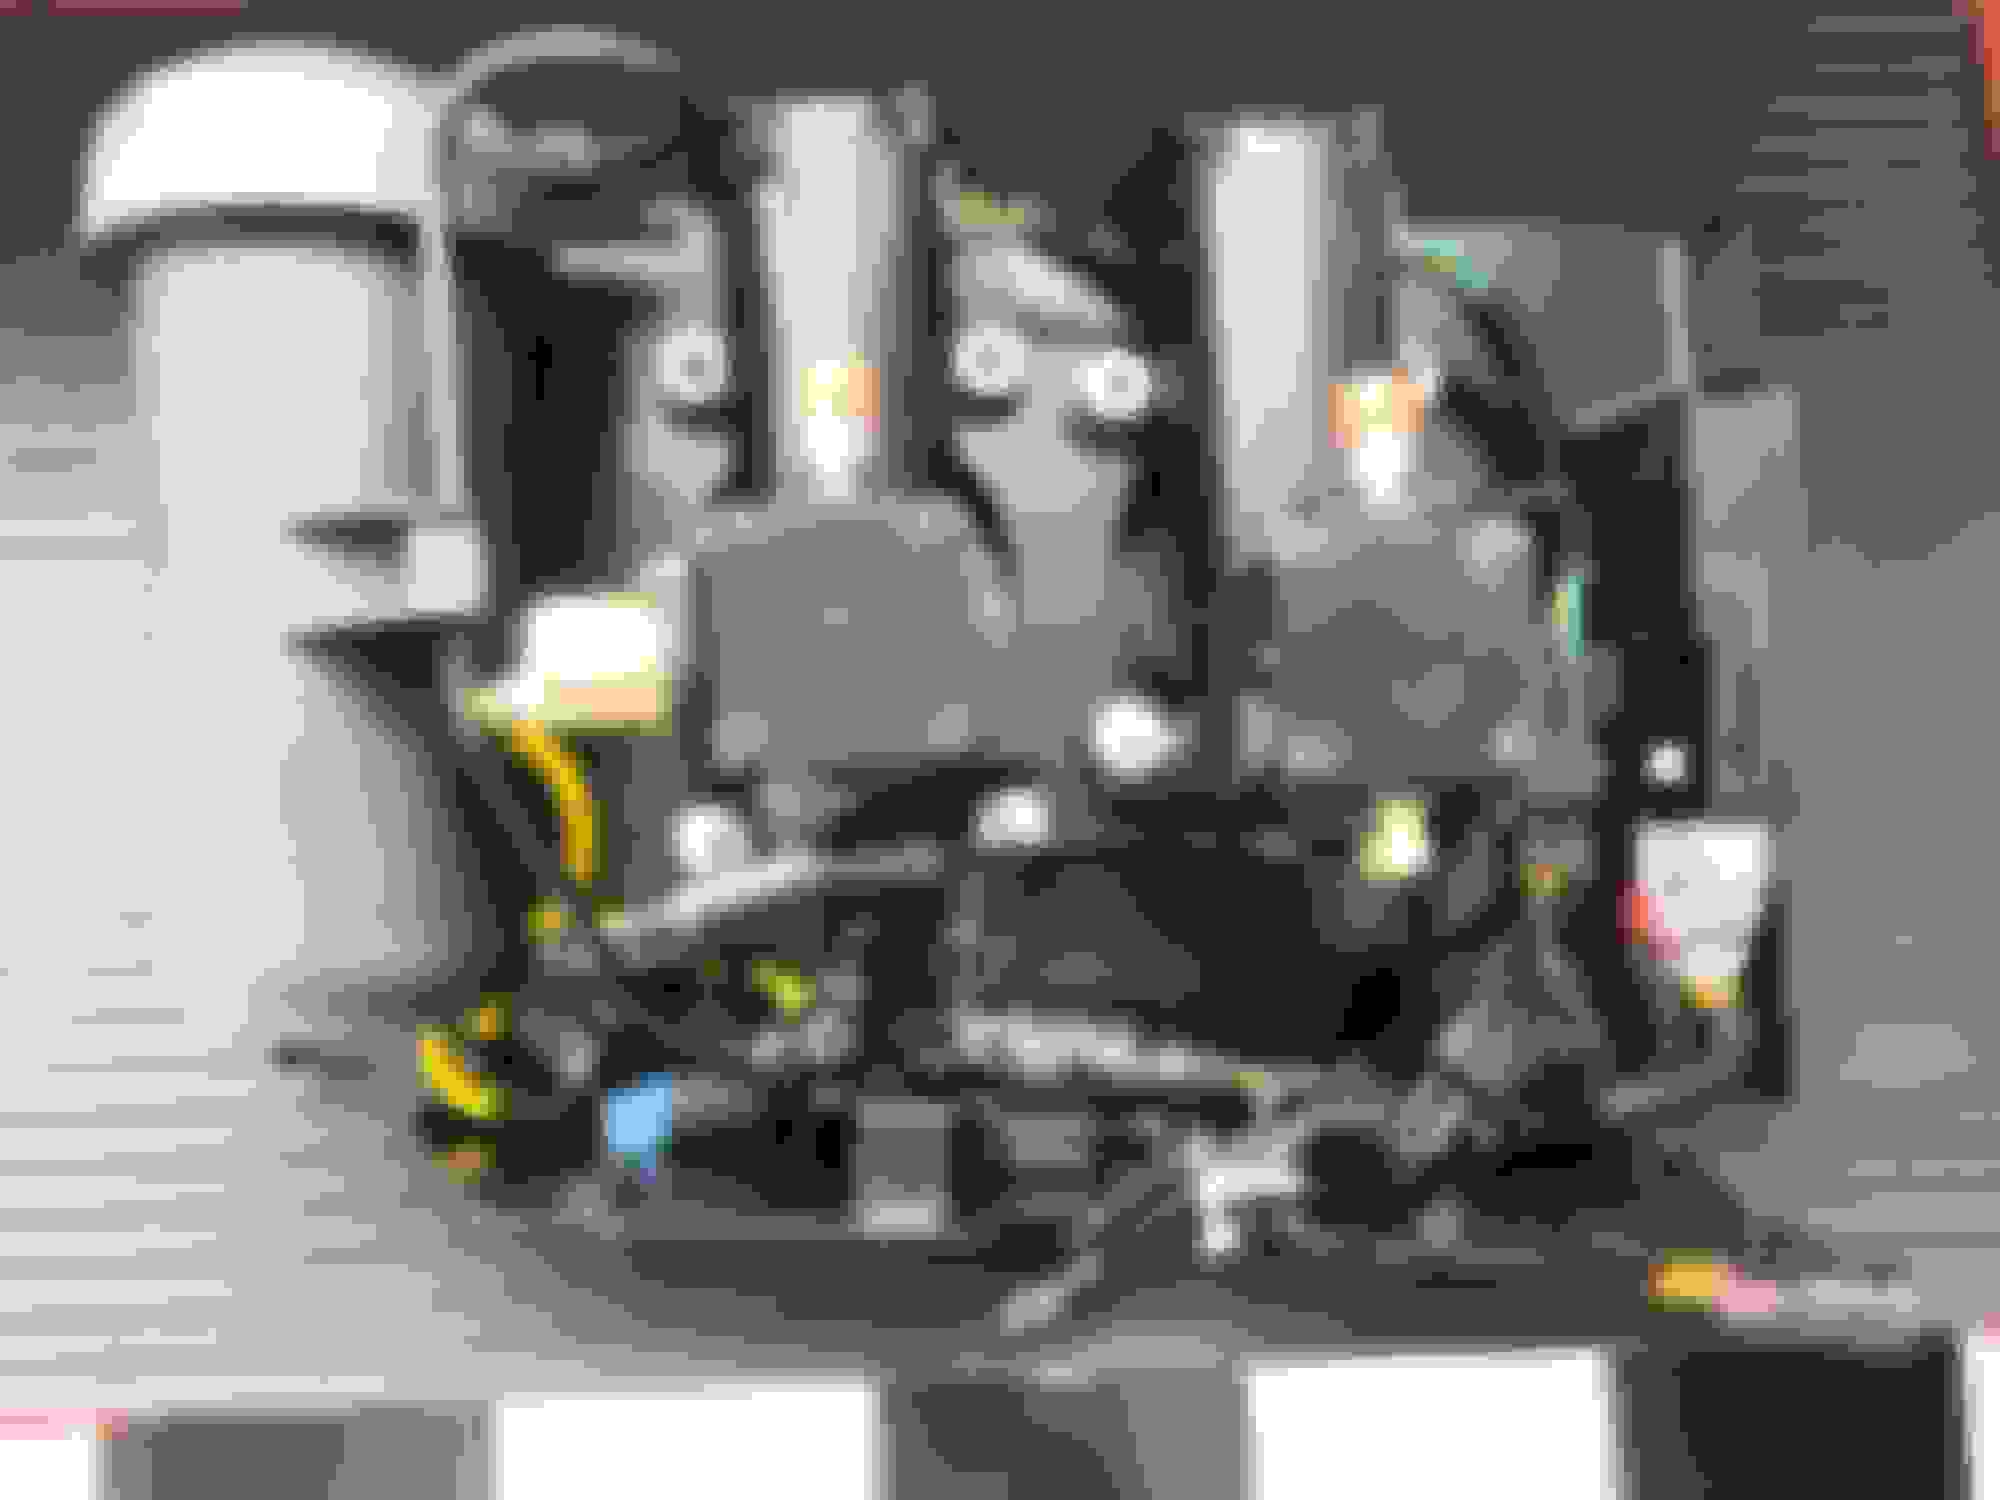
New compressor - note different exhaust solenoid New compressor New compressor New compressor. This new ECU is different from old model. Made by Dunlop in England
finall your new unit looks real good, so glad your truck is up and running OK 👍
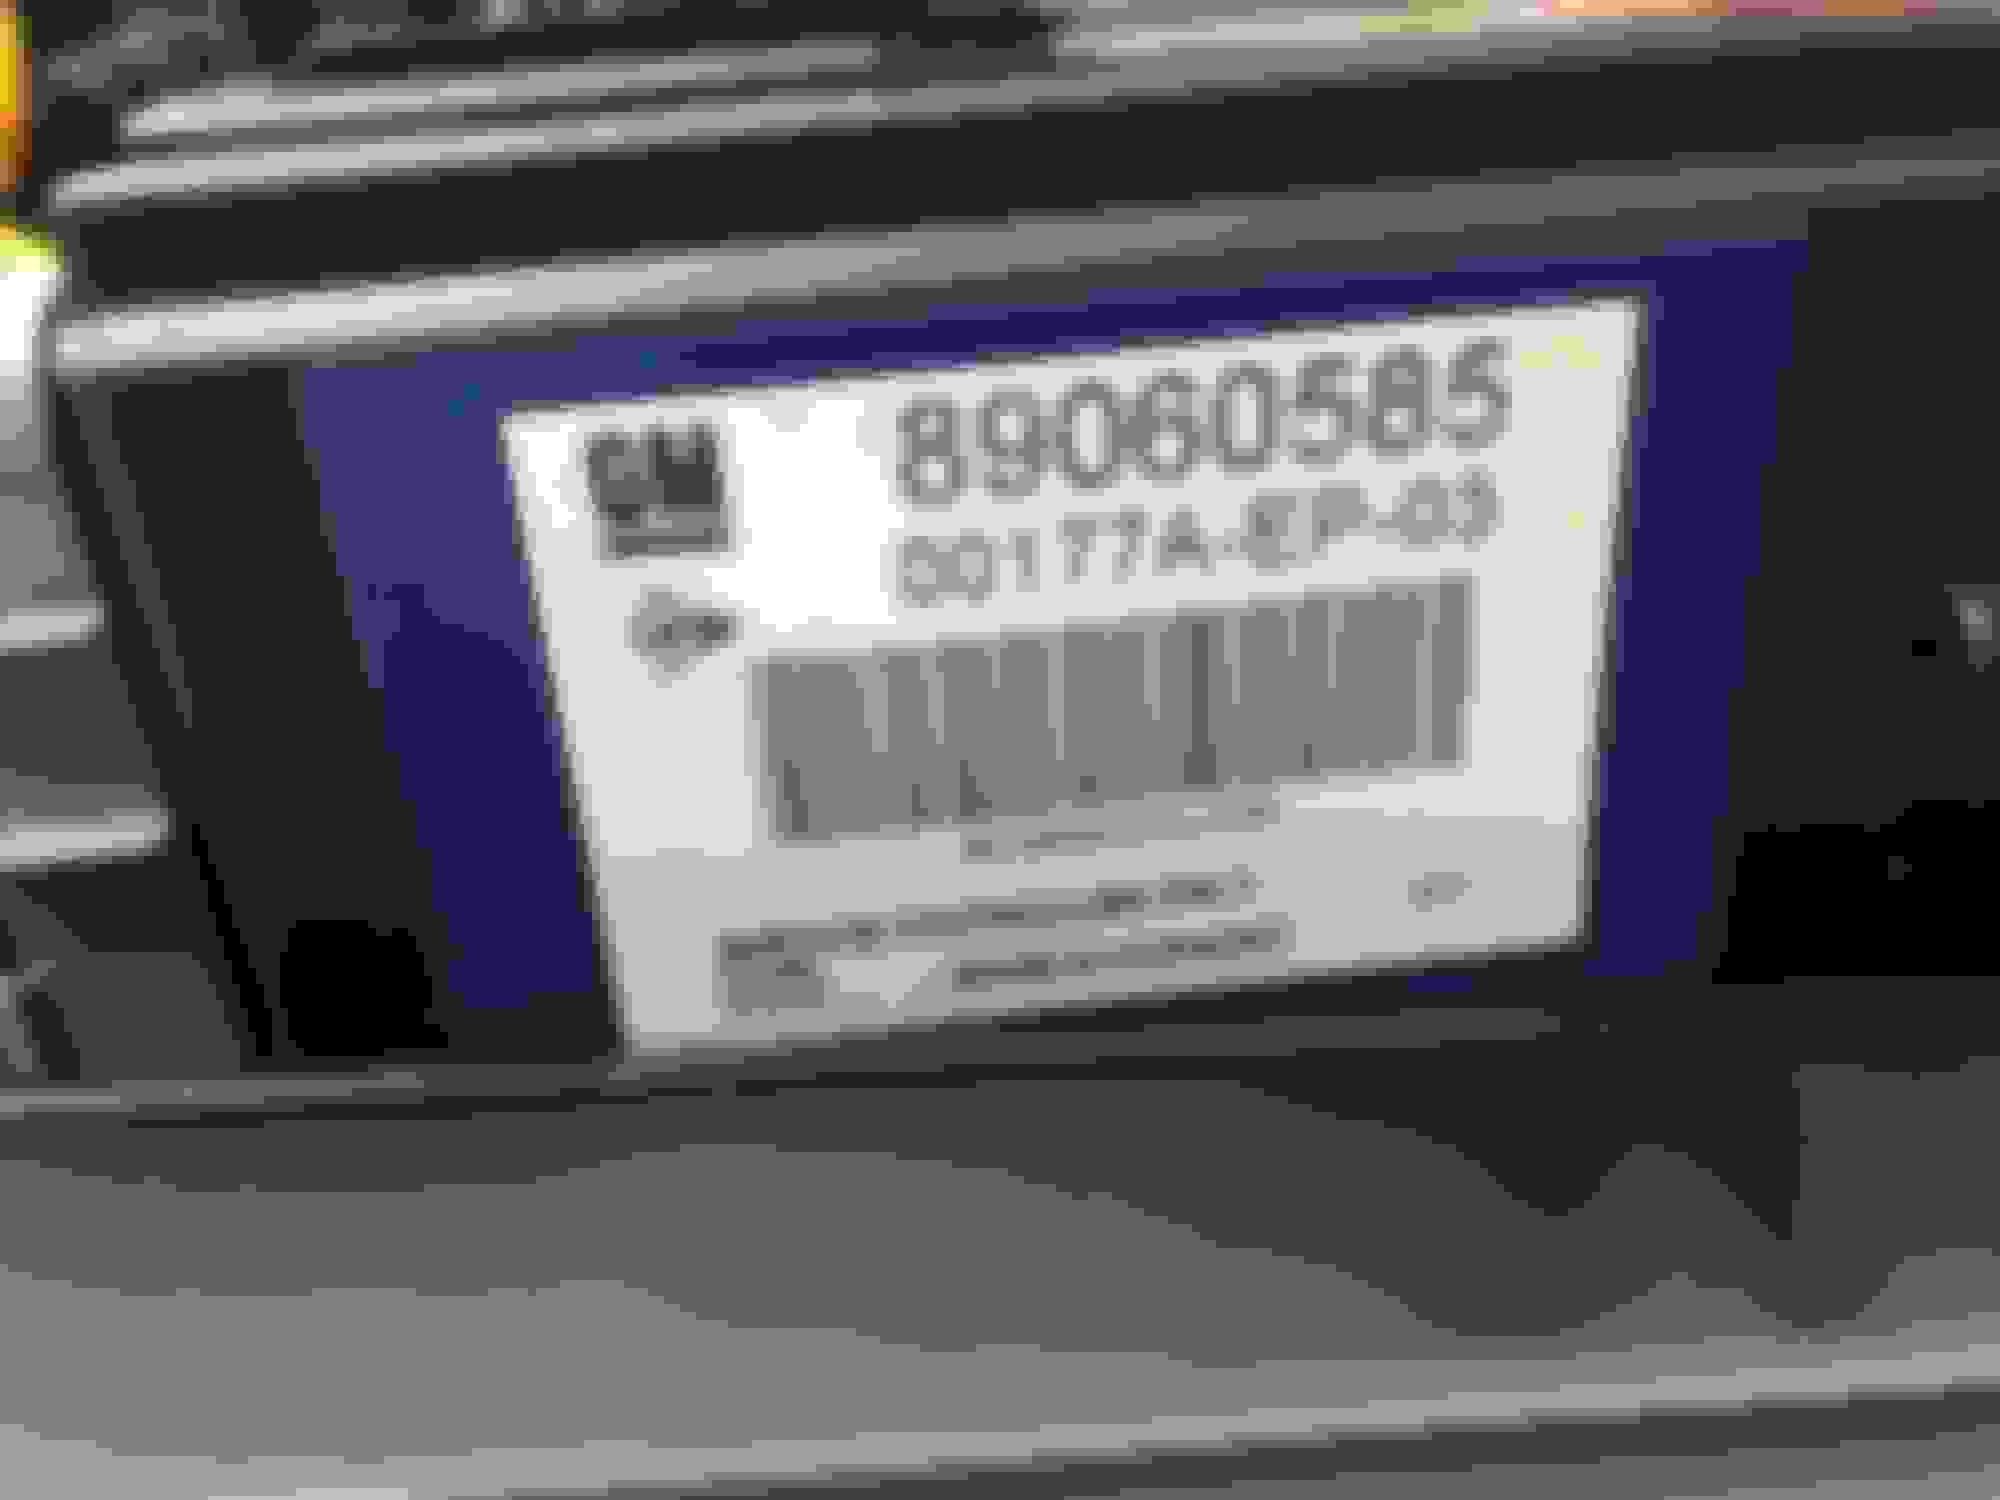
It looks very similar to the one I bought, but in better condition, it was probably pre-initialized and calibrated to a "reference" height, these values are stored in a 2KBit EEProm inside the ECU (89060585)
Although there was no DTC generated, there could be some change in ride-height or leveling, you could always check this using hummerz tape measure technique
Your old ECU is still OK so you could use it if you are concerned but I'd be tempted to leave things as they are now it's all working.
The unit I purchased was brand new from GM. Maybe it was pre-initialized, that is possible.
I used the hummerz tape measure technique, and it levelled identical to the old unit. Which always (since new) sat at 41.5" on the left (measured from floor to fender opening, at center of wheel) and 42.0" Right side. (it has always had a 1/2" discrepancy), with stock tires (BFG T/A KO2 LT315/70R17). If I ever buy the Tech2, I will attempt to re-level it to be even.
Do you know if the leveling calibration can level more accurately than +-1/2"? If not, I do not have to bother with it.
The old ECU number is different from the ECU number I posted in the pic. I initially thought to swap and use the old ECU with the new unit, but then decided against it. Just in case there was something wrong with the old ECU that would damage the new solenoids, etc. or the programming was not compatible with the new electronics in the Air ride assembly.
Your old ECU may be something like 10363984, anyway I pulled this info from here:-
"This part is a module, automatic level control, for General Motors cars. It fits for General Motors vehicles which were sold in the U.S., Europe, and UK. It's a genuine General Motors part with an OEM part number 10363984. Please keep in mind that this module is interchangeable with 89060585 for the U.S. market since June 1, 2005."
another site suggested 89060585, 10363984, 89038593, 88982304 are all compatible
If you measure as per hummerz suggestions and find the height needs correcting, then you have the option of either re-calibrating or using your old ECU I would say, perhaps someone could add a comment on this?
"it has always had a 1/2" discrepancy". Start by measuring the distance to the frame on the rear! If both sides check good, move to the front and measure.
Sure, I understand all that, but:
I do not want to pay someone to calibrate with a Tech2 tool. i.e. Dealer.
The 1/2" variance is acceptable, unless I want to spend $400USD for the tool or pay the dealer.
It is 42" on the other 3 corners, and 41.5" on the L Rear. Not noticeable to the eye.
The new unit already cost me a few thousand CAD, so not really interested in throwing more $$ at it for calibration to smooth out 1/2"
Pretty happy with the result. I will check the old ECU part # tonight.

 04-24-2021, 05:15 PM


 Start by measuring the distance to the frame on the rear! If both sides check good, move to the front and measure.