When you click on links to various merchants on this site and make a purchase, this can result in this site earning a commission. Affiliate programs and affiliations include, but are not limited to, the eBay Partner Network.
Hummer H2For those who like a little more gleam to their Hummer, the H2 offers a similar rugged look as the H1, but as a lower cost, and with more added features, making it almost a massive luxury SUV.
For some reason one of the lines from the fuel pump disconnected resulting in gas spill. I plugged it back in but as soon as I try to start the engine, it shoots back out. Is this a sign of bad fuel pump (have only 4k miles, it's new) or is it the line that's worn out? What is the correct name of this line in case I need to order one? I do get the "check the fuel cap" message as well.
I suppose I'm glad it happened at home and not while I was driving when the exhaust was hot. I dodged possible fire.
thanks
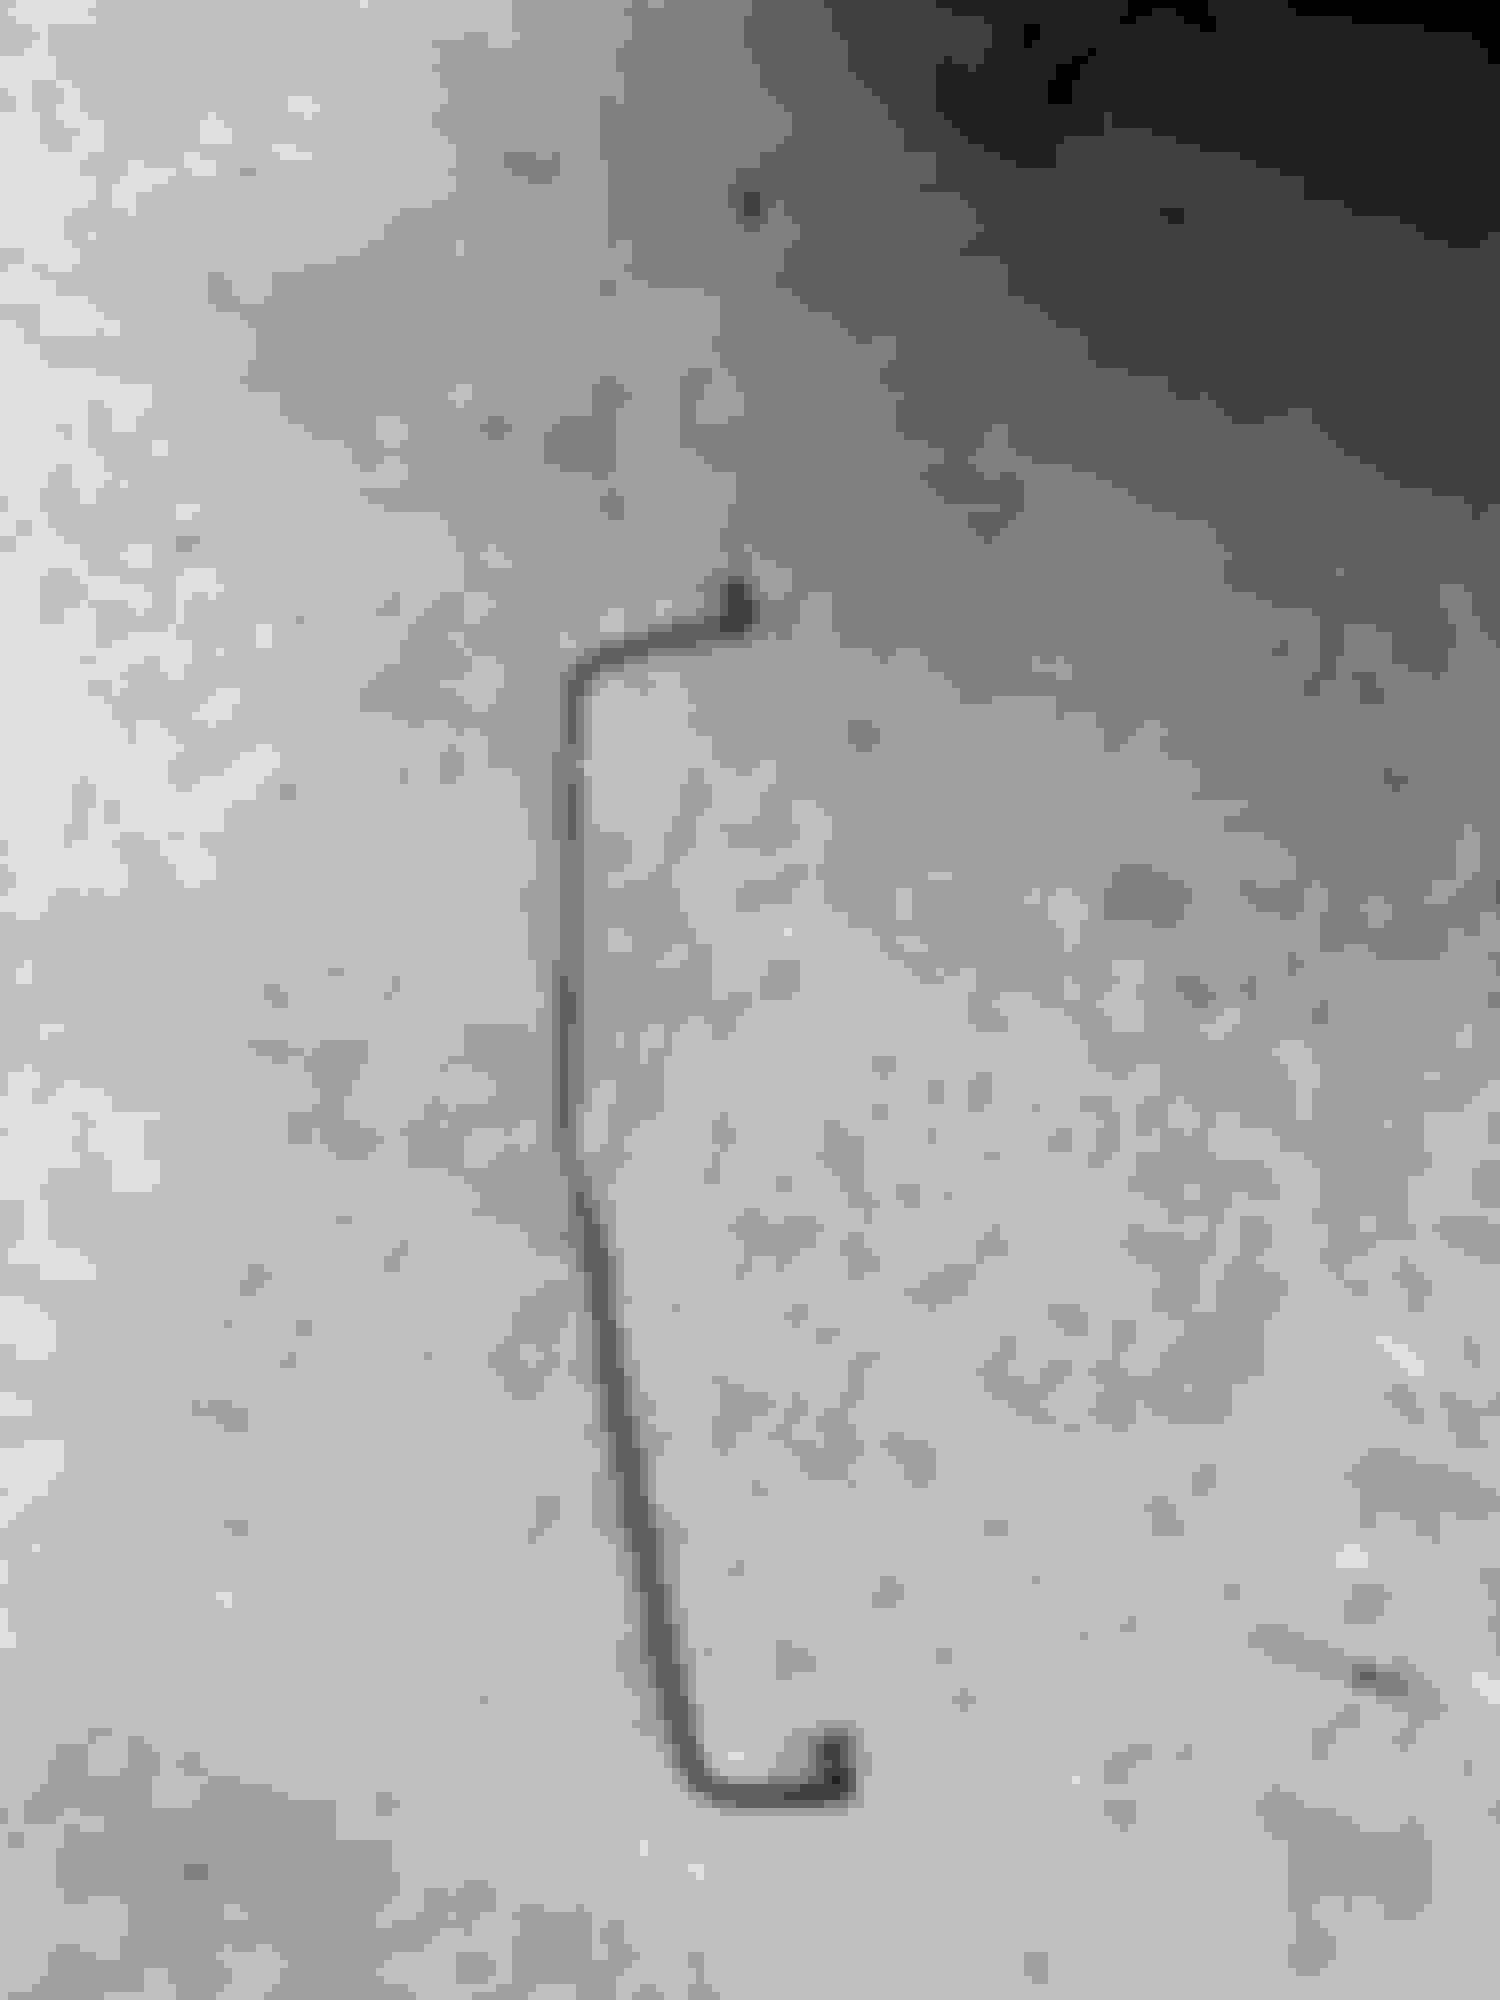
The smaller line to the right of the larger one, what is that line, evap?
When you get the new feed line, lower the tank a bit to remove from the snap ins on the tank, and snap the new line into them, then make sure when you connect each end, give it a tug to make sure it's secure at the line connections.
Decided to remove the gas tank altogether and found a few more issues with the rust which was expected. But question to the experts, can this be fixed, refer to pictures.
The entire bottom of this member is gone. Yikes Right side of the fuel tank, yup thats a slab of rust from the cross member. Fuel feed line, all this work because one clip gave out and access to disconnect the lines is impossible unless you have baby hands. Can these ends be replaced with aftermarket connectors or need entire new line? The other side clicks and holds well.
Fuel feed line, all this work because one clip gave out and access to disconnect the lines is impossible unless you have baby hands.
Can these ends be replaced with aftermarket connectors or need entire new line? The other side clicks and holds well.
Yes, you can replace the ends, check your local parts store. Btw, DON'T ever use a gear drive clamp on a nylon line, ONLY use a crimp clamp. Crack the old fitting to remove, slide on crimp clamp, heat the line with hot water or carefully with heat gun, insert new fitting, crimp clamp. Tug on it to make sure it's secure. SUR&R
Yes, you can replace the ends, check your local parts store. Btw, DON'T ever use a gear drive clamp on a nylon line, ONLY use a crimp clamp. Crack the old fitting to remove, slide on crimp clamp, heat the line with hot water or carefully with heat gun, insert new fitting, crimp clamp. Tug on it to make sure it's secure. SUR&R
I know this is two years too late, but instead of messing with dropping the tank you can undo the body mounts, take off the MC1 and MC2 master cylinder lines and just jack up the drivers side of the body. takes a few hours, hell I even replaced all 12 of my mounts with new hardware and energy suspension poly mounts as well! I changed my brake lines to Classic Tube HR2001B-SS CNC Bent lines with the SBH6131 STOPFLEX braided Stainless line kit. They also make stainless fuel lines and returns that sit on top of your transmission from the poly lines. Far less of a PITA taking the tank down! Make a weekend of it and schedule replacing a bunch of stuff while the body is up!
I need to do this also with the body mounts. Can I ask you where you got the energy suspension brand body poly mounts? Is poly better than the OEM rubber, or is vibration now harsher?
And where did you get the steel hardware?
The price from the dealer for the bolts, and large washers is crazy high. About $1000 for the pucks and hardware from the dealer, the last time I priced all this out.
And where did you disconnect the Master Cylinder 1&2 lines? At the MC end? Then bled the system? Any other advice or anything else need disconnecting?
Importantly, how did you distribute the weight while lifting? Piece of lumber against the body and between jack?
Did you need to jack up at each of the 8 or 10 (I forget how many there are) body mounts? Or did you lift an entire corner or side at once?
My reason for posting on this thread is I was looking for the part numbers to the 5/16 and other poly fuel lines to redo the fuel and return lines as well as evap. I got everything for all the projects from Amazon. The Classic Tubes I purchased in 2017 and finally installed Easter Weekend 2023. The body mounts I believe I purchased last August. I will list all the part numbers below and close to the cost. I have some pics as well. The energy suspension kit only comes with new TIN plated 4" washers. I ordered the Grade 8 Tin bolts and stainless small washers as well. See Pics below for Part #'s. I HIGHLY RECCOMEND The KIMO cordless Impact Hammer!!! Get the bi battery too. It has pleanty of tourque to knock free the body mount bolts. I used it to get the Roack Rails and Steps off and swap a transmission. Worked perfect and was like 89.00. And yes I have beet the hell out of it.
Disconnect the Negative Battery Cable!
As for the ride its softer and not as sloshy. Almost all of the lower mounts were missing the washers or so soft from age. YOU WILL NEED TO REUSE YOUR STEEL MOUNT UPPER SHELL!!! They pry out with two flat blade screw drivers and the new mounts moly grease and slid on. I cleaned mine up with a grinder and shot with black appliance epoxy and let cure for 24 hours. I wire brushed and POR15ed then appliance epoxied my frame a few years ago. Still looks great! I had two upper shells that the stems were too rusted through to re use and although I could have repaired them with my MIG it was just as cheap to buy two OEM style kits and use the new steel from them. I have included the part # in the pics as well. As far as lifting the body. I loosened the bolts on the passenger side and took off the bolts from the drivers side. Honestly in hind sight I could have removed them all. The only thing you really have that absolutely needs to be undone are the two break lines MC1 and MC2 going into the master cylinder. MC1 is the one closest to the front of the truck and MC2 is the one closest to the cab. Use a shop syringe extraction pump (Swan Lake Part 66012) or similar turkey baster to suck out most of the fluid in the MC. Put a towel or something under the lines to catch the overflow as well. I used a Pig Pad, but a walmart pet pee pad would have worked just as well if not better under the master cylinder. Everything else is on the frame rail and you can take the body up about a foot or soo for easy access. Park on a level surface, Get a small pair of bolt cutters 14 to 16" to cut up the old break lines. Don't try to save them. Just take pics so you know were everything goes and cut them into 12 or 16 inch pieces to go in recycling. Just hack away. The ABS (Located under the drivers seat area has the Evap can in front of it so you have to lift the body or cut a hole in the floor to get down to it. You can cut the old lines about a inch above the connectors so you can just but SAE Deep well sockets on them to knock them free. Use angle **** (PB Blaster) and let it sit on the connectors for an hour or so to make you job easier. In the mean time open your brake kits and make the straightening bends you need to for packing. their will be flaggs on the tube to let you know. Lay them out logically, short front (DS) Long front with W bends(PS) short Rear (DS) Ling Rear (PS) two front flex cables (Upper control hardware already to crew on) and two enter flex lines (female / female) two short lines from the armored wrapped lines (Down from the diff to wheel calipers) you will need to look at the line on to match em. I did the whole thing with the wheels still on the truck. plenty of room to work around them and I'm a 255/56yr old guy so not too small. You will need to re use the black and green frame clips so be gental with them too. You cant buy them anymore the the few Dorman aftermarket suck! their is a tab above the dicky that goes into the frame. be qental it just pry's up, not off. you the Passenger Side goes on the inside towards the engine in followed by MC2 pin MC1 and Drivers side (See Line pic below). I started with the Passanger side front first. You will need to remove the 11ish bolts of the H2 aluminum Skid plate (22lbs). KIMO works great here and it comes with its own deep well impact sockets too. They are 15mm. Next you will need to take the front bumper off. Easy too don't panic. (40lbs) There are two 17mm bolts down by the front body mounts, and two under the 4" plastic covers in the center. I took this opportunity to scuff and appliance epoxy the steel part of the bumper. Came out great btw. their are the two molex connectors that connect to you fog lights that will need to be disconnected. just let them hang and then take the two top bolt the rest of the way out and lift the bumper down via the tow shackle holes. Its just the 4 17mm bolts and the two connectors, Nothing else. Set on the side and you now have complete access to feed in the passenger front line. this is the easiest one as well. you will need to pull it through to the ABS module. Seems like it wont fit but it does. Remember it needs to be on the engine / transmission side of the main 3" wire loom. (PS Wire loom is brittle. I cloth taped over mine wile I had access. Cloth electrical tape works better than the vinal electrical tape, your next line is the MC2 5/16" line and then the MC1 line and finaly the DS front line. this way you can feed them in order through the black/grey frame connectors. The rear is easy as well, just take the green clips off the same way by lifing up the center pin. do the hard lines first then your two center lines then the armored lines to the Calipers. I have included a pic or two of the ABS connector order. Here is were I used a specialty tool. MAC/SNAP ON makes a retreading kit. I got the non branded one. I cleaned up the surface are of the ABS. First I took a paper towel and ripped it in to six 1 inch pieces soaked em in brake fluid and packed em down in the holes below the treads to stop anything from getting into the ABS. Use the rethreading dies to clean out the threads from corrosion and burrs. remember to keep perpendicular to the ABS surface. then check each of the stainless line connectors as well this ill fix any burrs. get a deep well socket to use as a bender to make any fine adjustments. Each line should be at 90 degrees to the ABS. Remove the paper tow pieces as you put the next line in. From you the first small one on top is Front Drivers Side. The one Above it away is the Rear Drivers side. The Big hole to the right of the FDS is the MC1. the big one above it is the MC2 line. On the side rear of the ABS the first one is the Front Passenger Side and the one away is the Rear Passenger side. This order is important. Because their is a tightening sequence as well to get everything to fit and line up. FDS First, MC1 Second, RDS third, MC2 forth, FPS fifth, and RPS last. each should sit in with the line not pulling. Here is where the deep well comes in. make fina adjustments to the lines so the flare sits flush without pulling. then finger tighten the connector. That's why cleaning the treads is so important. Use the Anbull ratcheting line wrenches to snug them up. then flip it and loosen it and then tighten it. do this 4 times. the last time you will have a perfectly matched witness mark and it will be a solid non leaker! Just remember to use the retreading taps on all your line ends and hoses. makes install a breeze and do the 4 step loosen tighten process.
Its time now that everything is tucked in to do the body mounts. Go to your pile of drivers side mounts. the bottom rubber and what's left of the bolts are trash. recycle the bolts. Separate the rubber from the bowel with two flat blade screw drivers. just keep prying and they will pop off. Worst case spray some angle **** down the steel center shaft between the rubber. now lay out the Energy Suspension kit. I did all this when I first lifted the DS but its a good idea to spray the steel bowl to make it last a little longer. If you have some crappy ones its just better to buy the LONSTAR replacement and just use the steel. (Its cheaper to by their complete kit than to buy the GM Steel alone by over 50.00) I sold the rubber guts and stock replacement bolts on ebay for 30.00 per set without the steel and they went quick. put on some surgical gloves and grease the inside of the dish after the paint/epoxy has cured. then slid the poly bushing over onto it. this will keep the metal nice for years and stop any squeak. now lower the truck. Pause for now.
Now its time to use the Phoenix Systems V5 Reverse brake Bleeder. go to the Passenger Side rear. I just laid down, like I said previously this can be done without taking the tires off unless the caliper needs changed. The bleeder is a 10mm. I use a 6 point box end wrench for this. that way you have a good fit and no slop to mess with the corners. Don't use a 12 point!!!! You will strip it. If its already mangled you know you are going to have problems cause the mechanic used vise grips on it before. If you need to use vise grips to get it off, get a new one! the size is M10x1.5x 29.5 (30 will work too) | 10mm Hex | Stainless Steel Brake Bleeder Screw! trow the mangled one out and screw in the new one and back it off a little for fill. Now for the Phoenix System Reverse Bleeder. You want to fill the bottle 3/4 full of fresh new break fluid. it has a magnet so it will hang in the wheel well off the frame. Love this system. Make sure you have the check valve arrow towards the gun end. now we bleed the gun. evenly squeeze the gun till the fluid comes up from the bottle through the check valve and into the syringe end and their are no bubbles. fill the for line and squirt a little into the grass or a rag so you know there is no air in the line. now put the black end on the nipple of the bleeds screw and squeeze. you will do this 6 to 10 times to get the fluid to the ABS through all the lines. you should have NO LEAKS all the way to the ABS. tighten the 10 mm and move to the DS rear caliper, refill your reservoir bottle to 3/4 and do the same thing. Tighten it and move to the front Passenger Side and refill and same thing. You should now have some fluid coming into the master Cylinder by now. remember to keep the top off. you may want to put a brick or 2x4 from the brake petal to the seat to depress it maybe an inch to open the system if your not getting fluid up yet. Then do the DS front last since its the closest line to the Master Cylinder. pump till the MC is at minimum. Now you have forced all the air from the furthest line up and out the MC. Top off to full line with fresh fluid and cap.
Now put the new bolts, stainless steel washer, tin coated 4" washer and poly bottom on and tighten with the impact till on. Remember we now have to lift the Passenger side and remove, touch up paint the mounts and upper steel of the mounts and then grease, assemble the 6 from that side. (Pic below of Body Mount locations) 6 mounts per side. Once complete, assyemble the bottoms in the same order as the Drivers Side. Use the Kimo to tighten snugly. Now you will torque all twelve of them to 68ft lbs.
Reconnect the negative battery cable, Start the truck. Push the pedal a few times, get out look for leaks and top off Master Cylinder to full ine as needed. You should have a firm responsive brake peddle. If its not you may need to use a Autell or similar scan tool with ABS to bleed the system. There are other ways as well. Use of a GM Tech II or some other ways are available on youtube, I was lucky and dint need to.
Now its time to replace the front bumper and front skid plate. Just do in reverse order. the KIMO impact will make short order of it.
Notes:
I got some stainless Banjo bolts and new copper washers from Jegs, and stainless bleeders form 4LifeTimeLines. You don't need these but if you cant get your bleeders to release or your banjo bolt you need to replace the caliper. Yes there are some hybrid Bleeder/Banjo bolts out their as a fix but... best to just run to Advance/Autozone/O'Rileys for a new caliper. Now if your calipers are OLD OLD you may want to just order new ones and pads and rotors. I dint since I put new calipers and ball joints Upper Control Arms, and wheel bearings two years ago.
Another caveat: My hummer has Easy Step Electric running boards on (Love them BTW) so the Rock Rails and the lower step are not there to get in the way.
Parts/Cost/Where Purchased Tools: Anbull SAE Ratcheting Wrench Set with Open Flex-head,Open end Ratcheting Standard Wrench Set 72 Gears CR-V Chrome Vanadium Steel Tubing Ratchet Wrench(10PCS) $185.99/Amazon for Break fittings
KIMO Cordless Impact Wrench 1/2", Brushless Impact Driver with 332 ft-lb & Max Torque 3000 RPM, 20V Electric Impact Wrench 97.99/Amazon
WORKPRO W017004A Bolt Cutter, Bi-Material Handle with Soft Rubber Grip, 14", Chrome Molybdenum Steel Blade 15.43/Amazon
LTI Tools (MAC/SNAPON) LT993 SAE Break Line/Break Cylinder Fitting Re-Threading Kit 90.00/Amazon
Phoenix Systems 2104-BOT V-5 Light Duty Reverse Brake Bleeder with Refill/Capture Bottle 76.20/Amazon
Parts:
LOSTAR Lower Body Mount Kit Cab Mount Fits 2000-2009 Chevrolet GMC Cadillac Hummer 924-040 $36.83ea/ Amazon
Energy Suspension 3.4156G Body Mount Set, Part # ENE-3.4156G HUMMER H2 $267.55/Amazon
Classic Tube Stainless Steel Break Line w/6 Stainless braided Hose kit HR1001SB-S $529.99/Amazon
AMP Research 75107-01A PowerStep Electric Running Boards for 2003-2009 Hummer H2 w/Light kit $1795.99/Amazon
Dorman 460-697 CAP Screw, Hex, Hd-CL10.9-M12-1.75x120 10ea. need 2 for 12 bolts $28.99each $57.98/Amazon
Washers Stainless 50pc M12Metr Stainless 304 for Bolt Screw X001QBB3 $9.99/Amazon
Last edited by sturmbringer; 04-20-2023 at 04:03 PM.

 11-07-2020, 01:57 PM